This is a memo on how to use Maplat, a historical map viewer library.
https://github.com/code4history/Maplat
In addition to the above GitHub repository, the following Qiita articles are also helpful.
https://qiita.com/tags/maplat?page=1
Downloading MaplatEditor
Download the latest version of MaplatEditor from the following page.
https://github.com/code4history/MaplatEditor/wiki
Creating Data
Launch the installed MaplatEditor and click the “New” button.

Enter the required metadata. The items shown in the figure below are mandatory fields.

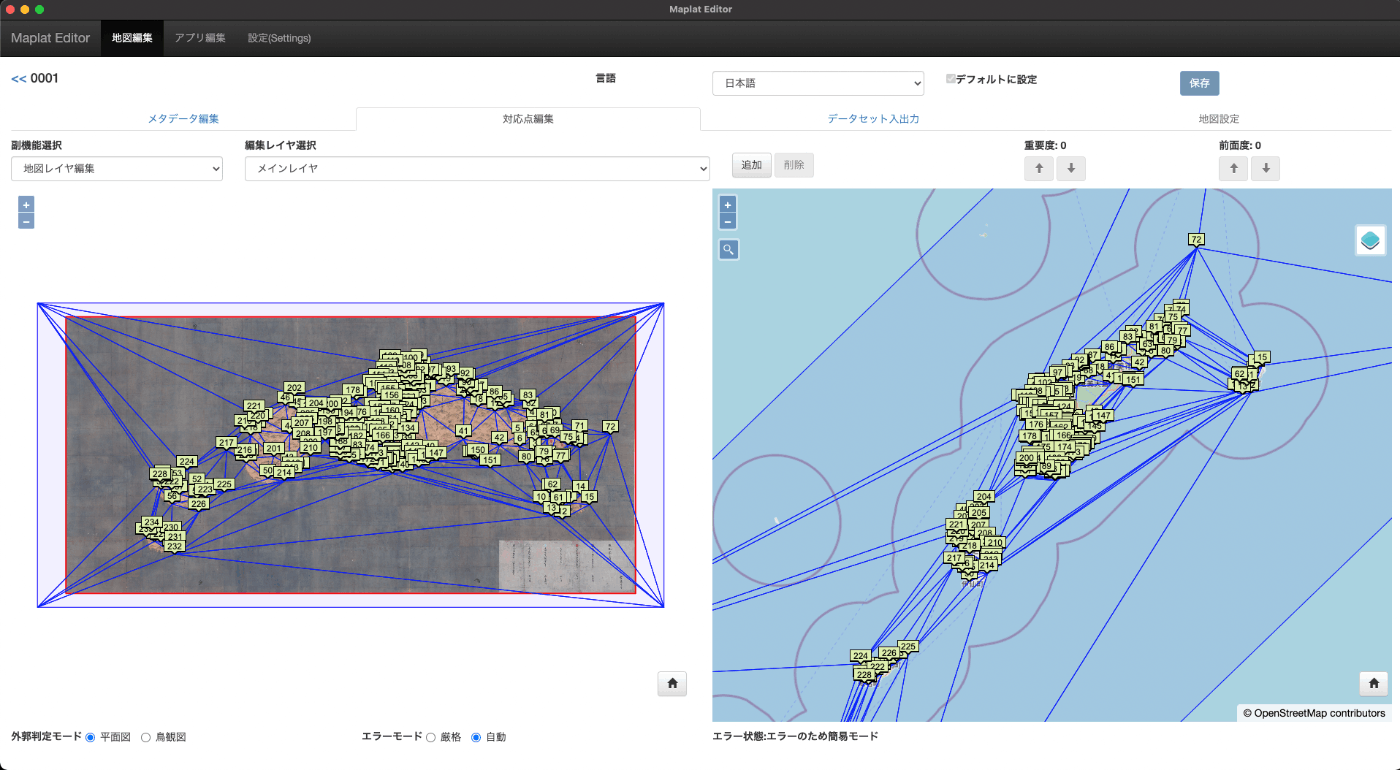
Next, navigate to the “Control Point Editing” tab and add control points as shown below.
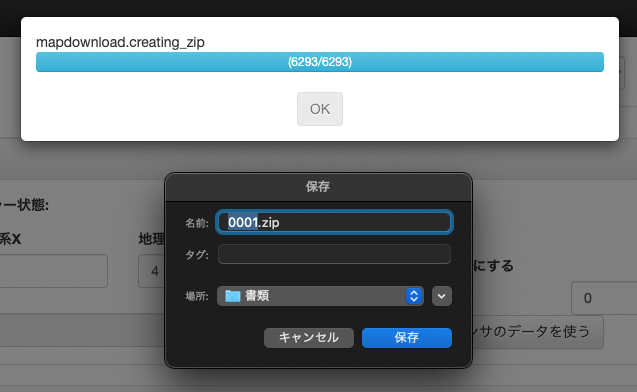
Navigate to the “Dataset Import/Export” tab and click the “Export Map Data” button.

Save the <id_name>.zip file to an appropriate location as shown below.
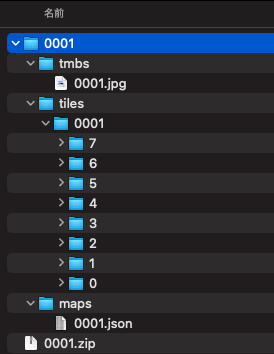
When you extract the downloaded file, you can confirm that it contains tmbs, tiles, and maps folders as shown below.
Creating an Application (Using Source Code)
This article explains how to use the source code approach. We assume that the npm command is available.
A simpler method for creating applications using sample packages is summarized below. Please refer to that as well.
https://github.com/code4history/Maplat/wiki/How-to-set-up-Maplat-Application
Preparation
Navigate to an appropriate folder and download the source code using the following command. A folder called Maplat will be created.
Next, install the libraries with the following command.
Then, start the application with the following command.
You can access the application at the following URL.
http://localhost:8888/index.html

Editing the Application
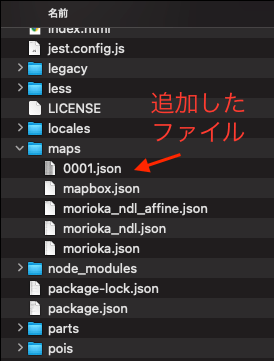
First, copy the previously exported contents into the tmbs, tiles, and maps folders respectively.
Below is an example of files added to the maps folder.
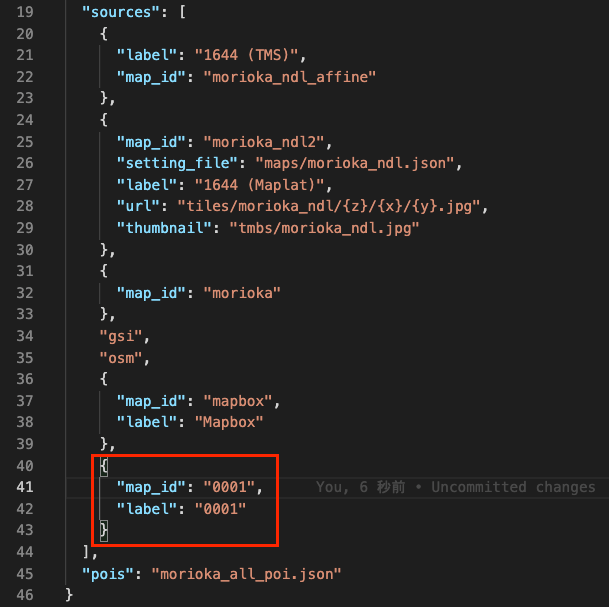
Then, edit <Maplat download path>/apps/sample.json. Specifically, add the id of the created map (in this case 0001) to the sources item, as shown below.
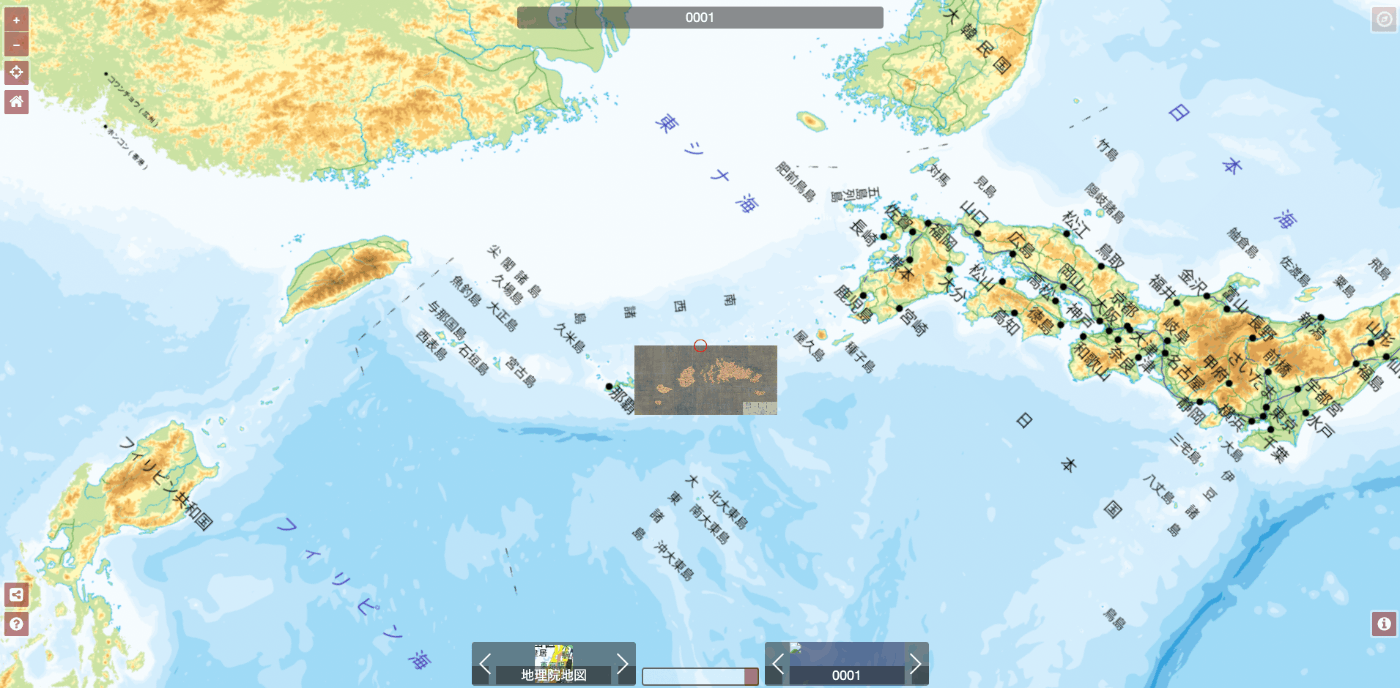
As a result, the added image is displayed in the application as shown below. You can change the display name in the app by modifying the label value in the above input.
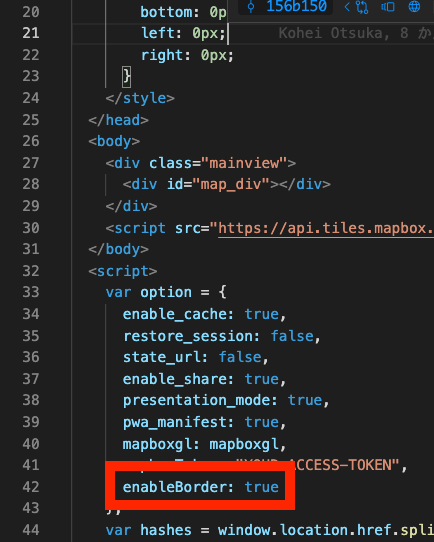
You can also modify the display content by editing <Maplat download path>/public/index.html.
As an example, try adding enableBorder: true to the option as shown below.
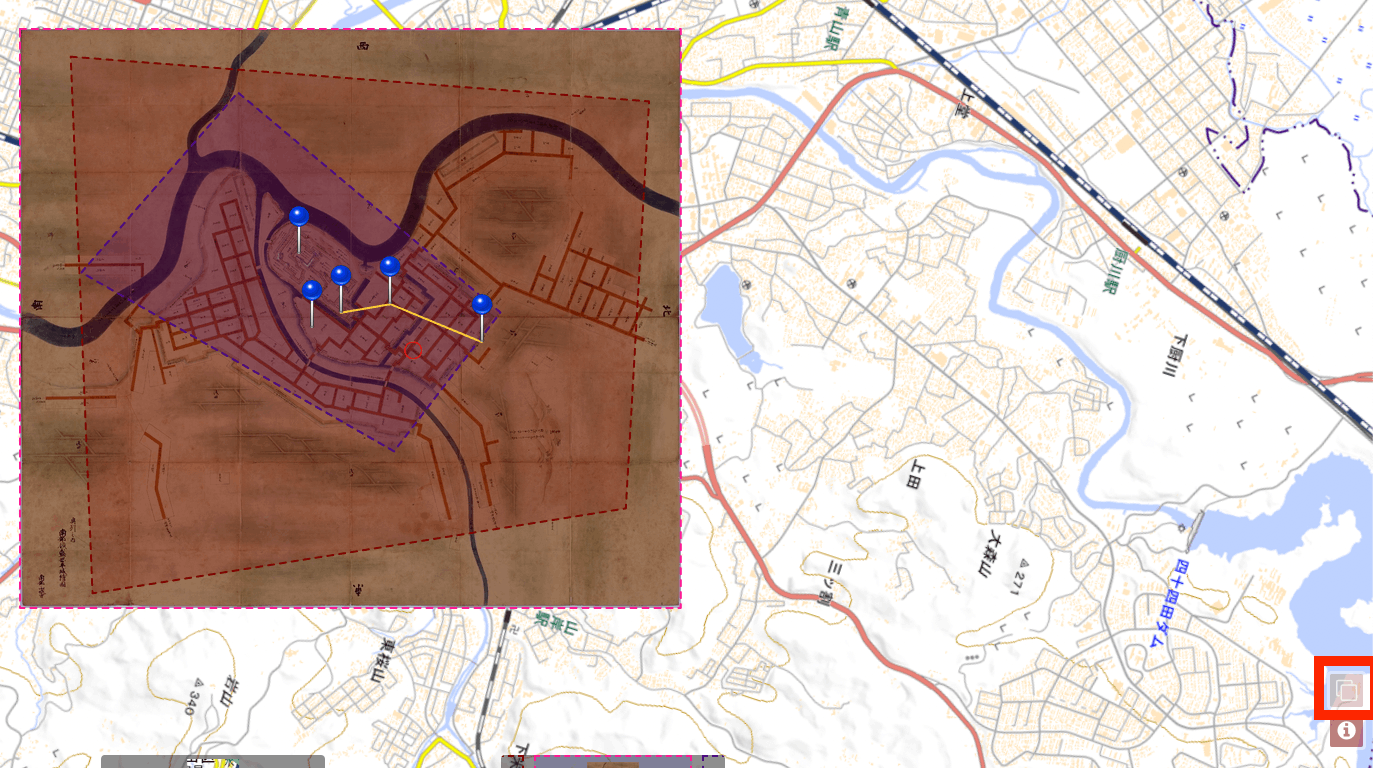
As a result, a “Map Border Display” icon appears in the lower right corner of the screen, and selecting it displays the map boundaries, as shown below.
Various other settings are available. For configuration details, the following page is helpful.
This completes the application editing. In this case, we only added a new map image. In practice, you would need to remove the map image data bundled with the repository from the beginning, organizing it to include only what is needed for publication.
Reference
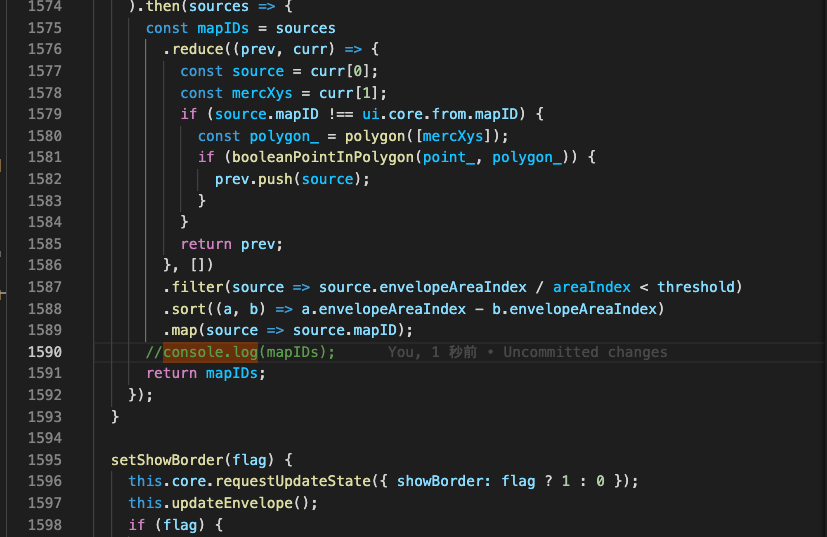
As reference information, commenting out the following line in <Maplat download path>/src/index.js can reduce the content displayed in the console screen.
Building
Once application editing is complete, perform a build. Run the following command.
As a result, the dist and dist_packed folders are updated.
Deployment
Deploy the build results. Here, we demonstrate how to upload to AWS S3.
profile=PROFILE_NAME and --exclude "*.DS_Store" may not be needed depending on your environment. Also, modify the profile and S3 bucket name according to your environment.
First, upload the contents of the dist folder as follows. Here, we show an example of uploading directly under a bucket called mybucketname.
Additionally, upload the tiles folder and others. For example:
The above uploads the necessary files to the correct paths. After that, use CloudFront or S3 static website hosting to publish the application externally.
Summary
This article summarized how to use Maplat. In this article, I performed building from source code and deployment to S3 to match my environment, but as mentioned at the beginning, there are also simpler methods using sample packages.
I hope this serves as a useful reference when using Maplat.