Overview
This is a memo on using DNS records configured in AWS Route 53 with Sakura Rental Server. Additionally, we use free SSL with Let’s Encrypt.
Sakura Rental Server
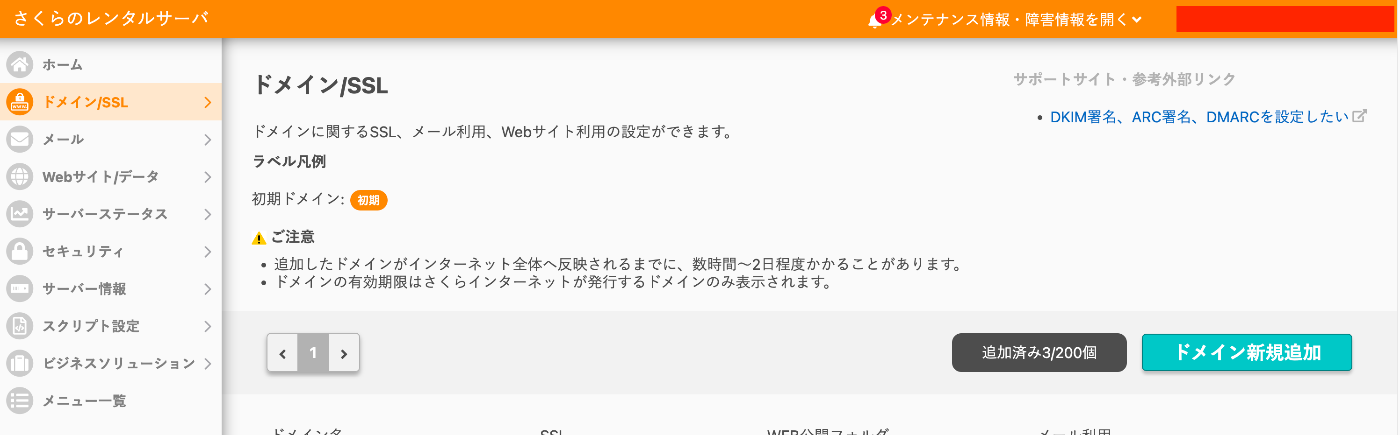
Go to Domain/SSL and click the “Add New Domain” button.
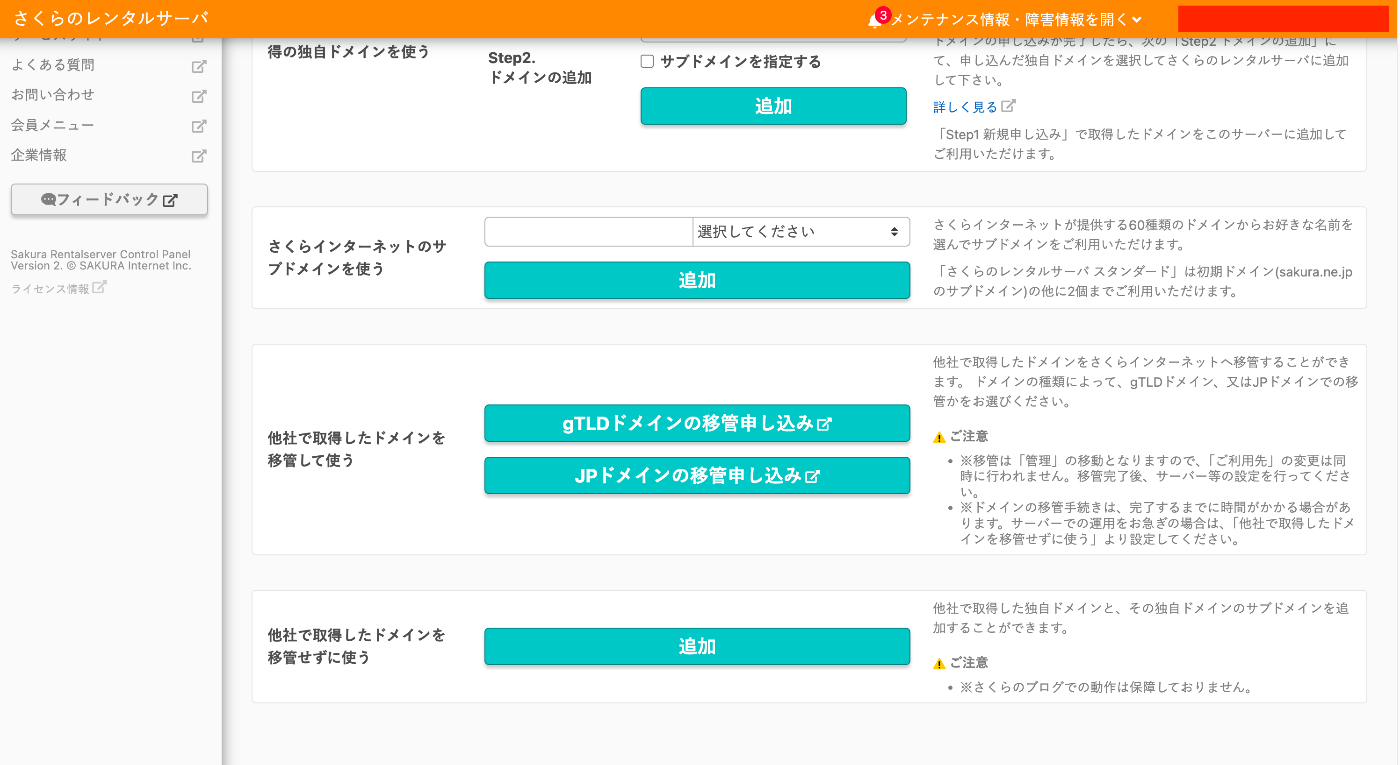
Click the “Add” button under “Use a domain acquired from another provider without transferring” at the bottom of the screen.
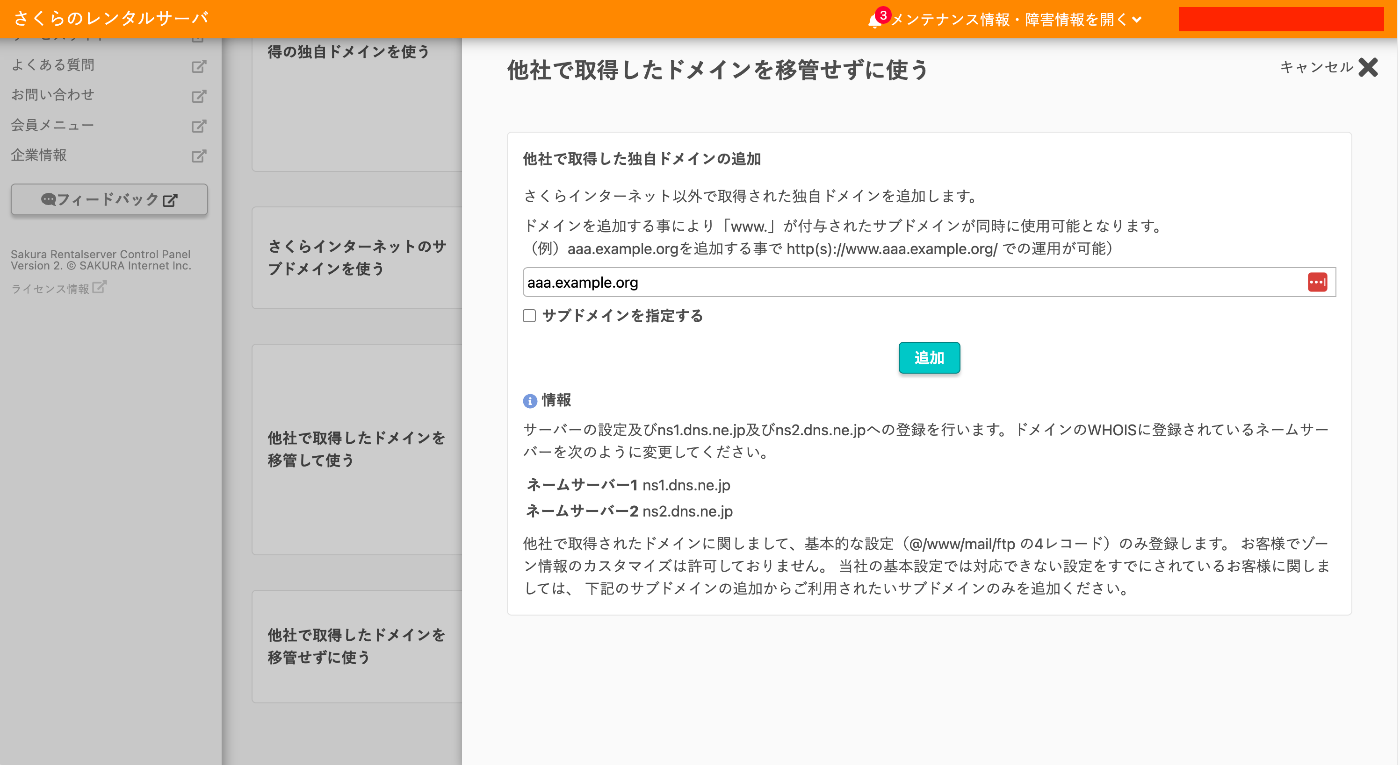
Enter the custom domain and click the “Add” button. In the following example, “aaa.example.org” is used.
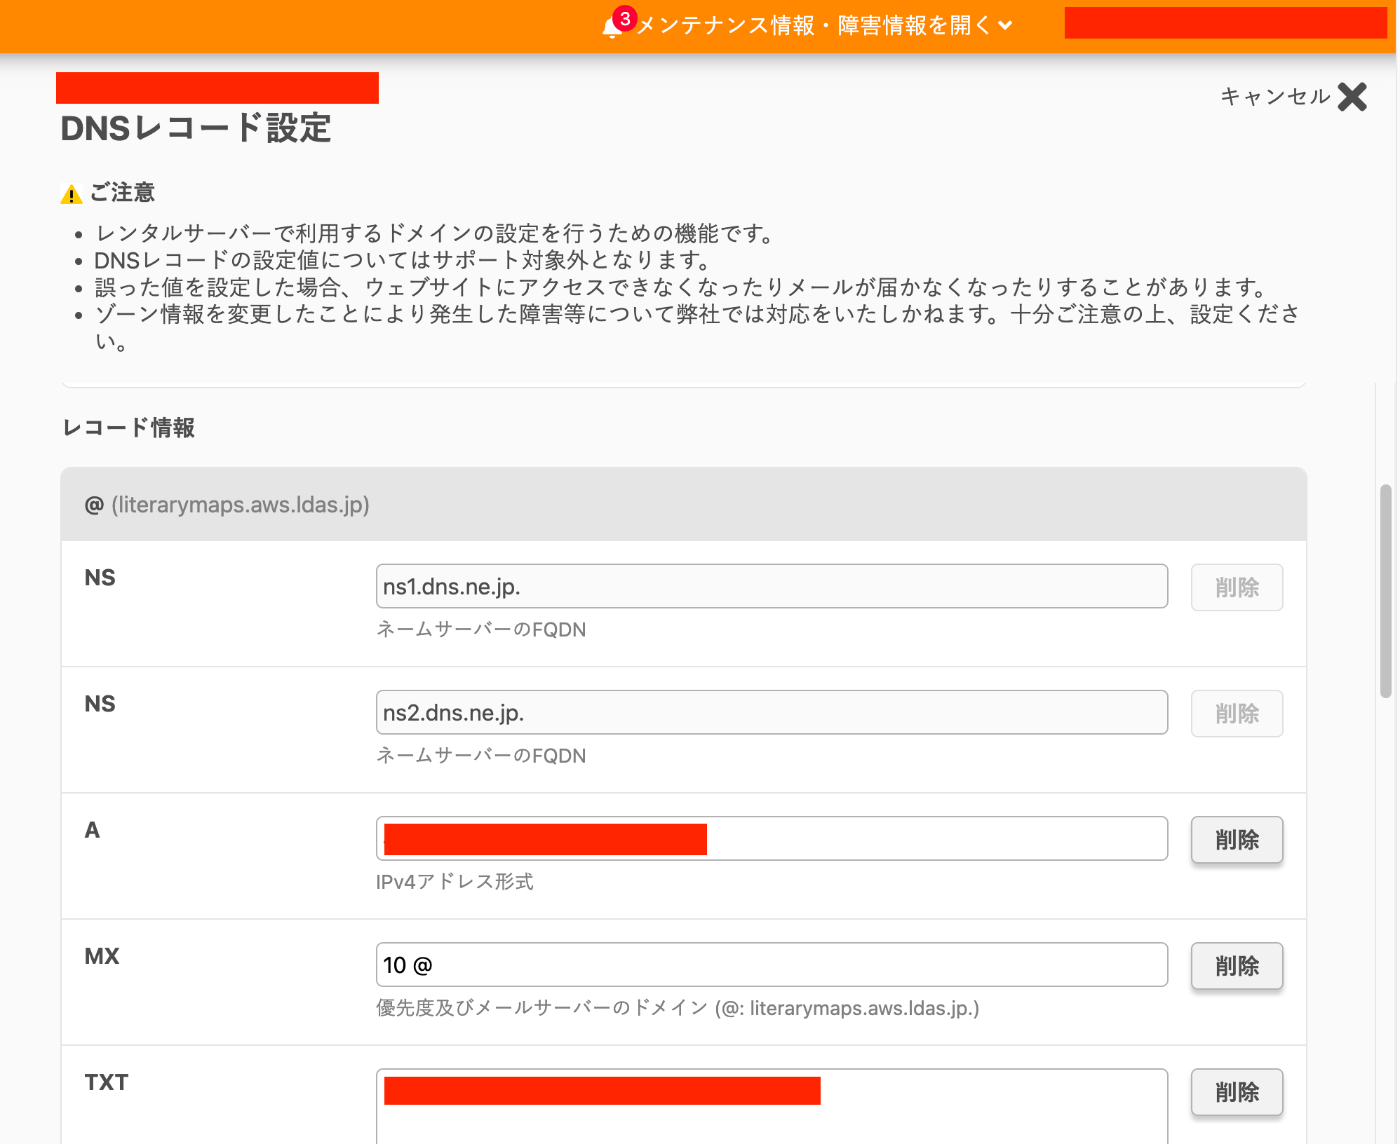
After adding, click “Settings” > “DNS Record Settings” for the added domain name, and note the IP address from the A record.
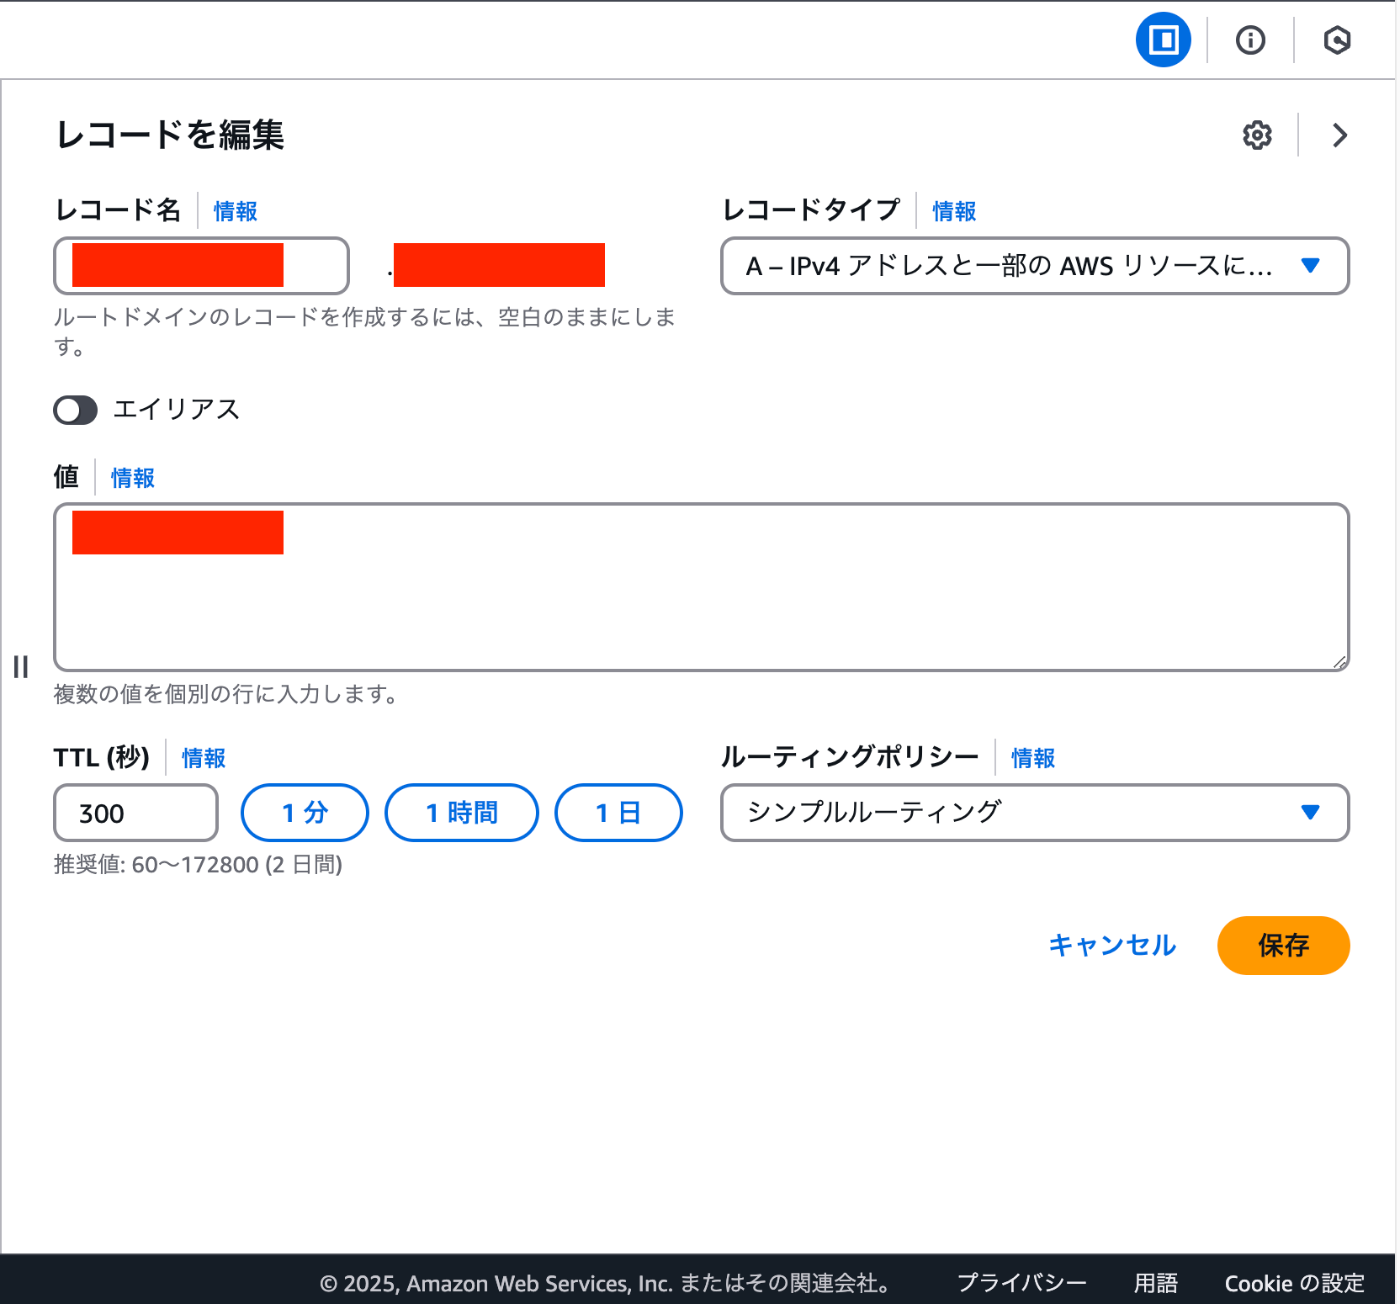
AWS Route 53
Add a record using the IP address noted earlier.
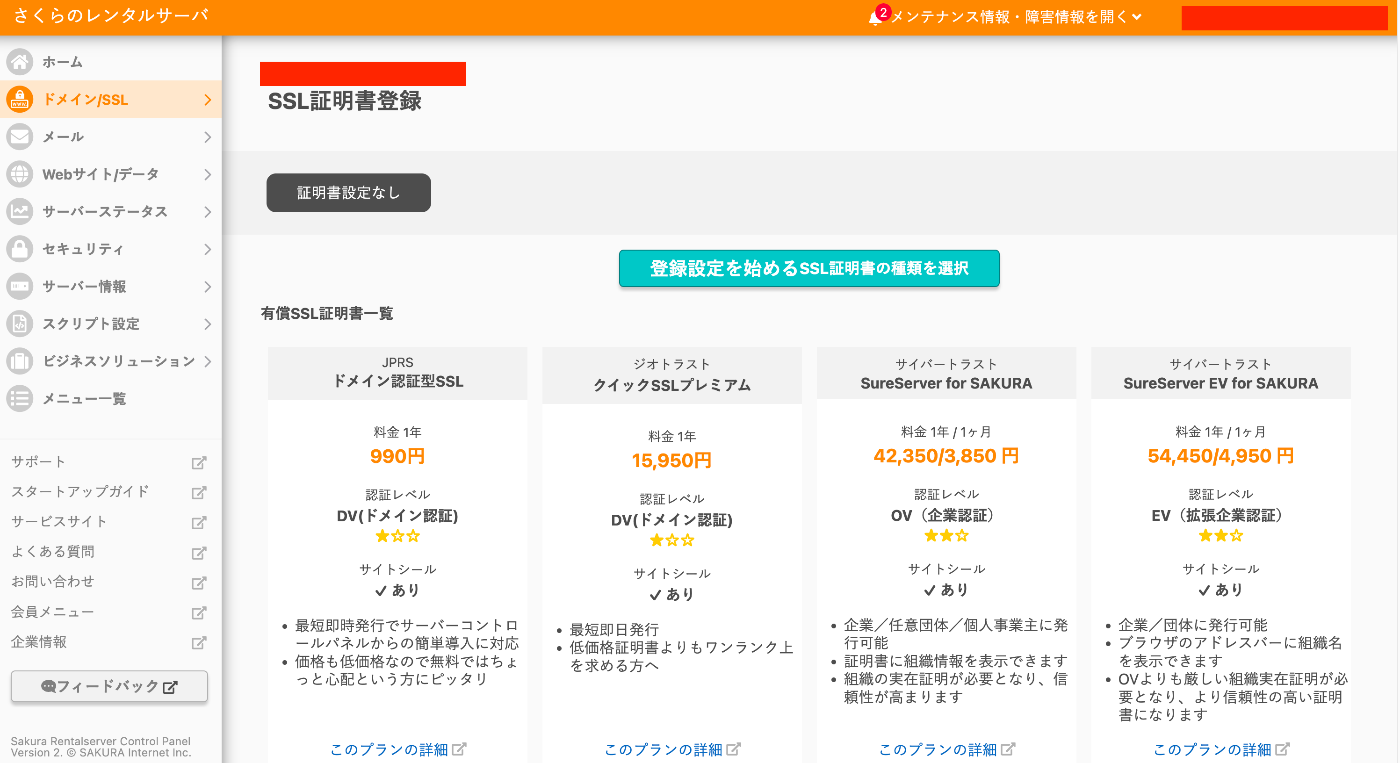
Sakura Rental Server
Configure SSL.
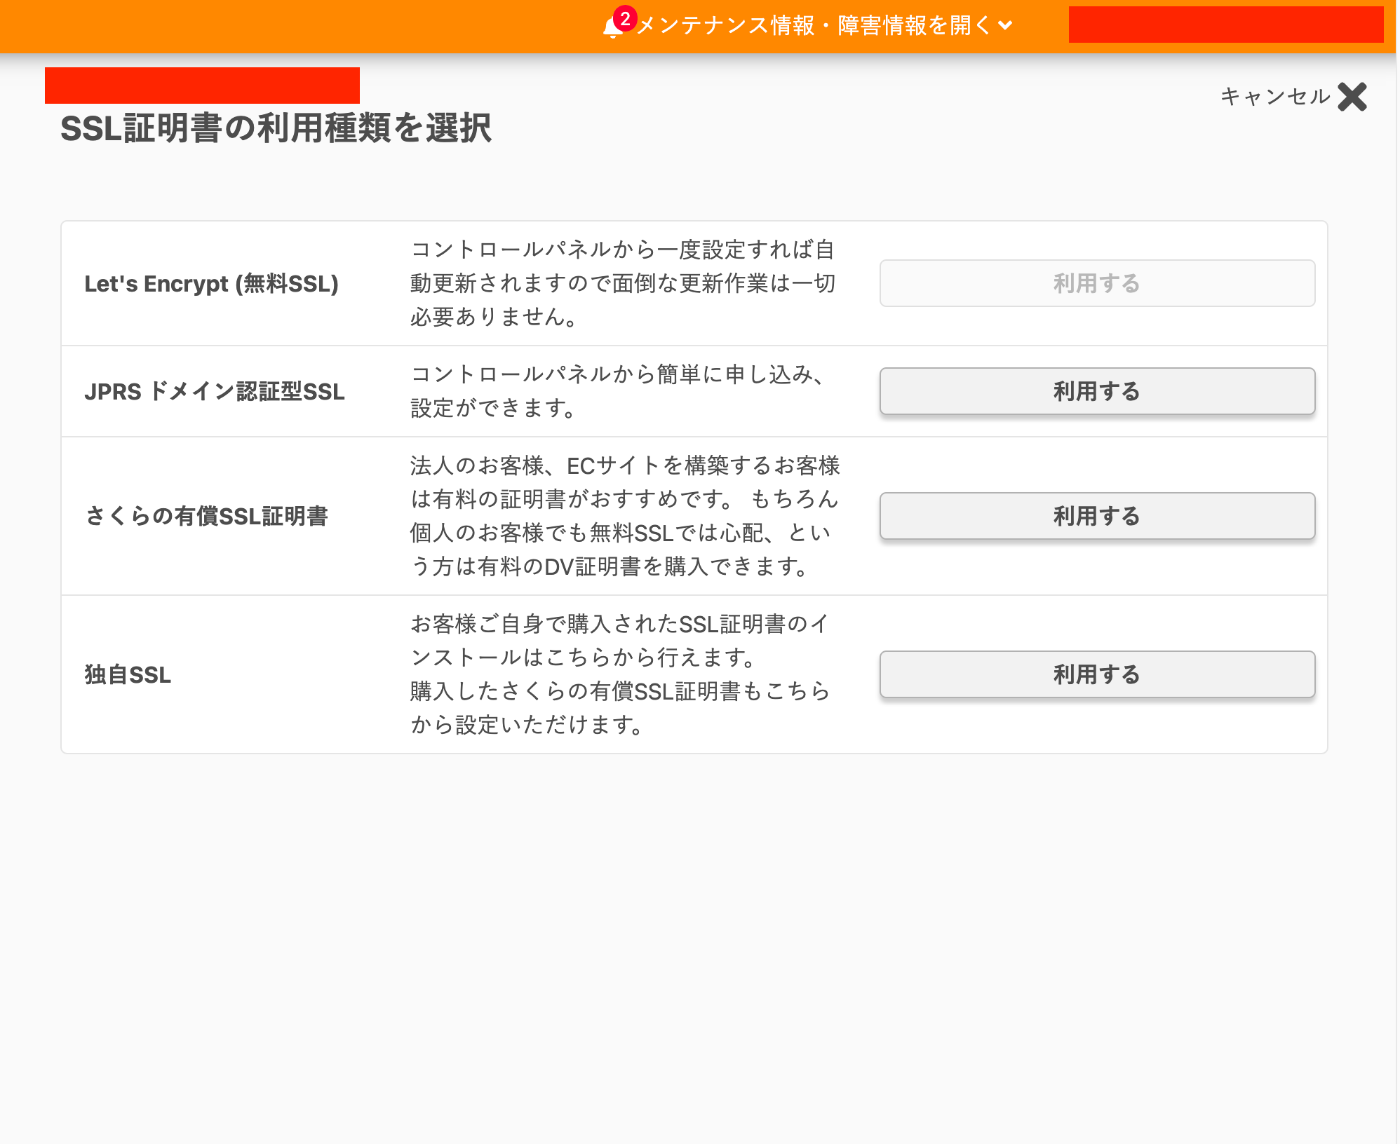
Click the “Select SSL Certificate Type” button.
Click the “Use” button for “Let’s Encrypt (Free SSL).”
After configuration, the screen will look like the following. Wait a moment.

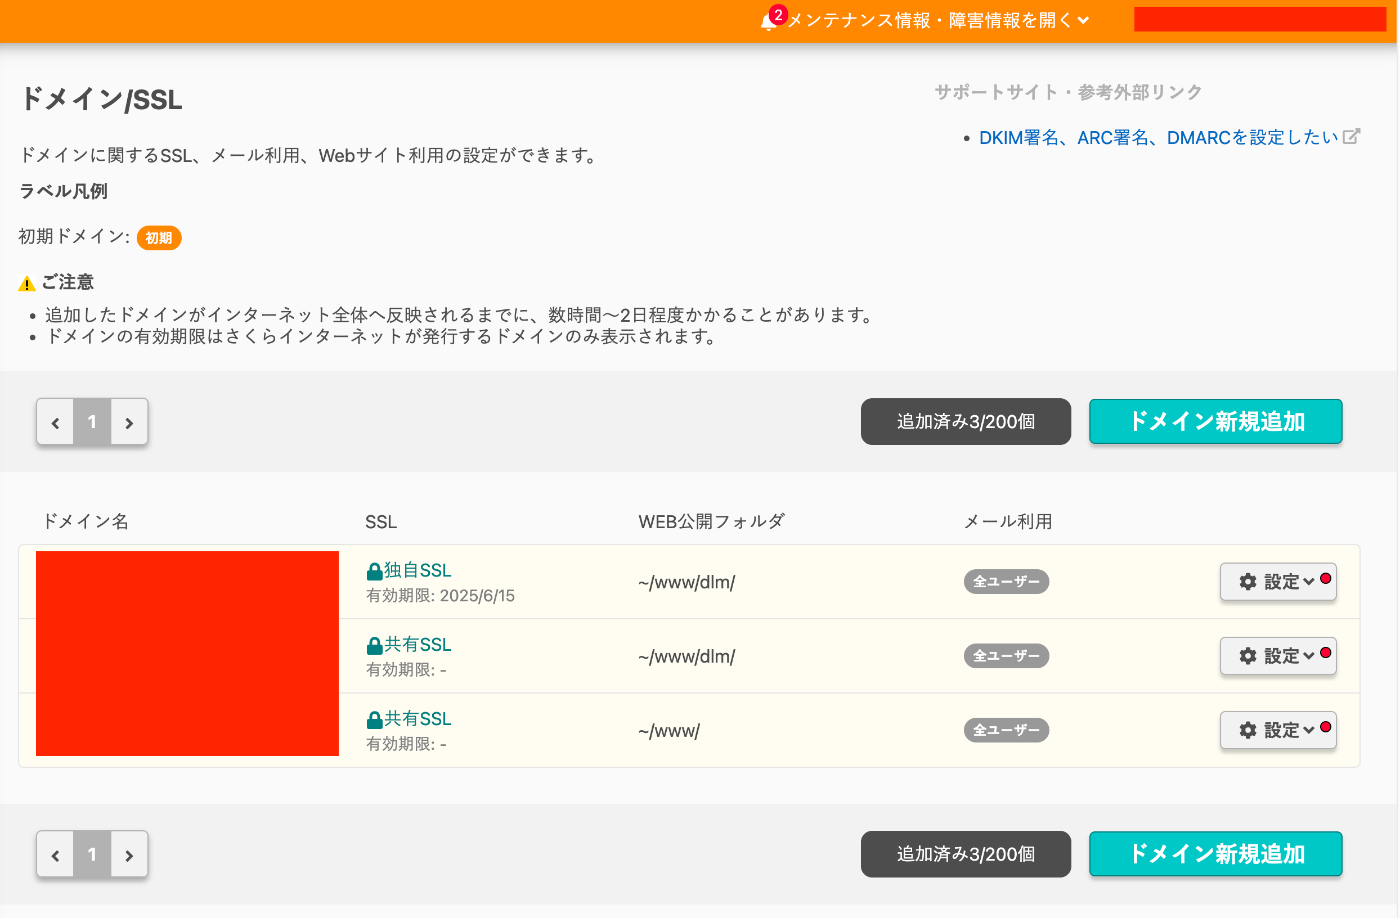
Then, configure the domain settings as follows.
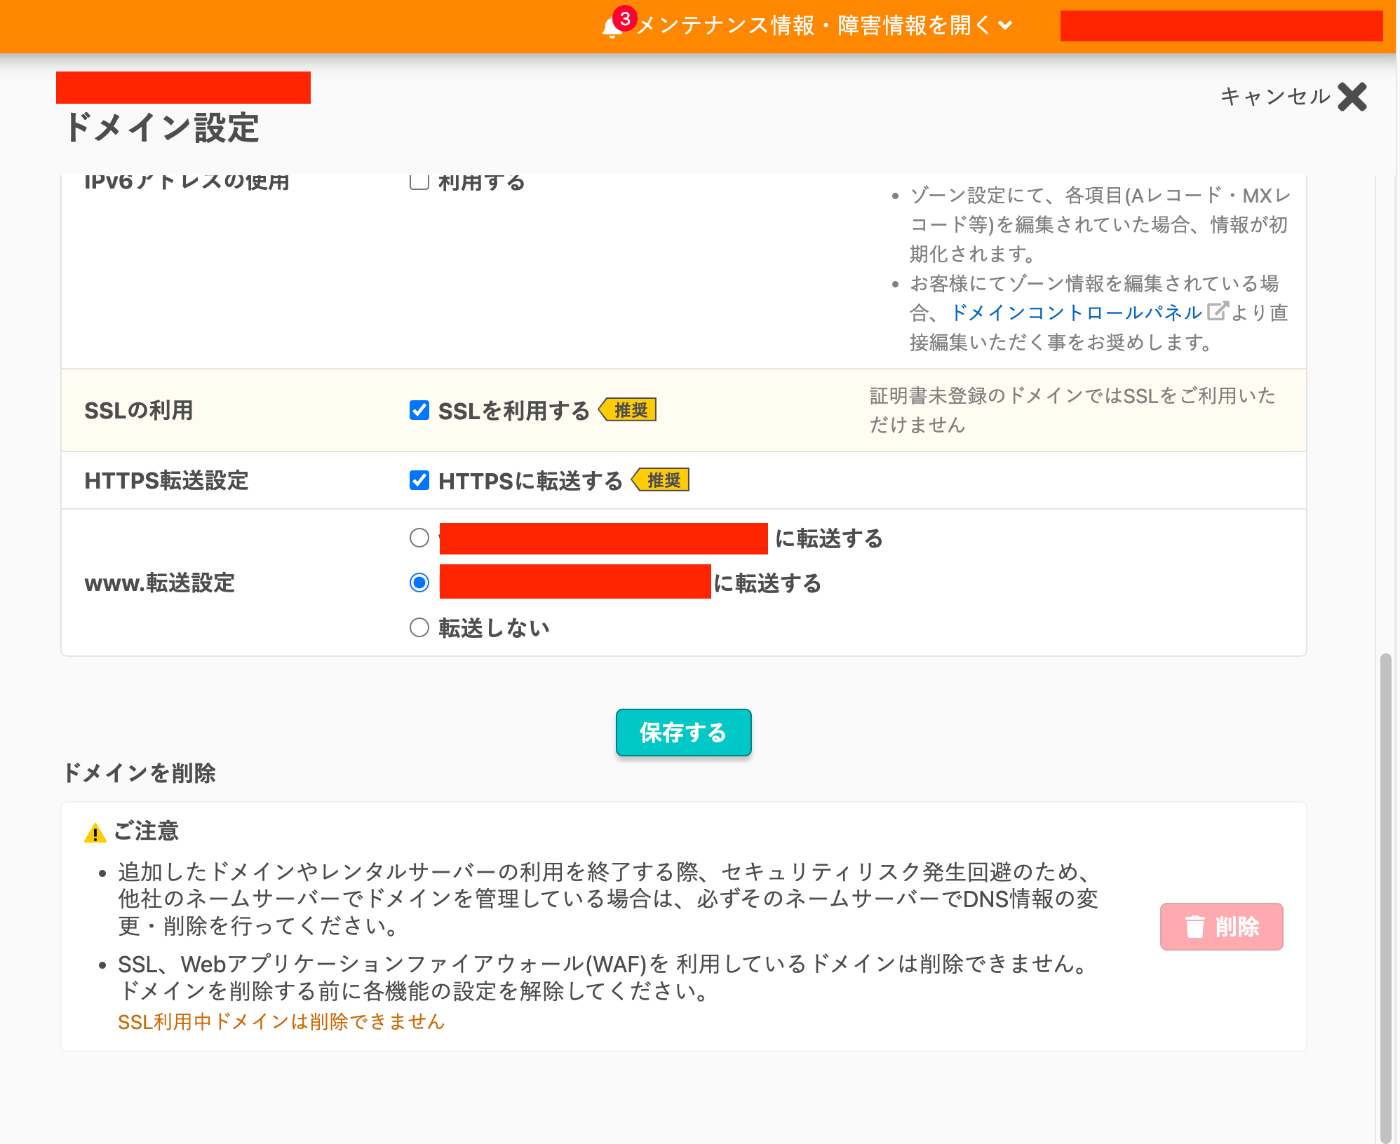
Furthermore, by setting the “Web Publication Folder” for each domain, you can change the root directory.
Summary
Similar procedures should be applicable with DNS services other than AWS Route 53.
There may be some inaccuracies, but I hope this serves as a helpful reference for using custom domains and SSL on Sakura Rental Server.