Overview
This article introduces the basic usage of “CATMA”, a text markup tool.
Since annotation results can be exported in TEI format, it is possible to create highly interoperable data that can be used in other systems. Although still in an experimental stage, a JSON API is also provided. This allows for a configuration where annotations are performed in CATMA and the results are used in other systems via the API.
While the above includes some unverified and somewhat advanced approaches, this article serves as a basic usage guide for CATMA.
Usage
Access the following link and “Sign Up”. Logging in with a Google account should be smooth.
The screen after logging in looks like this:

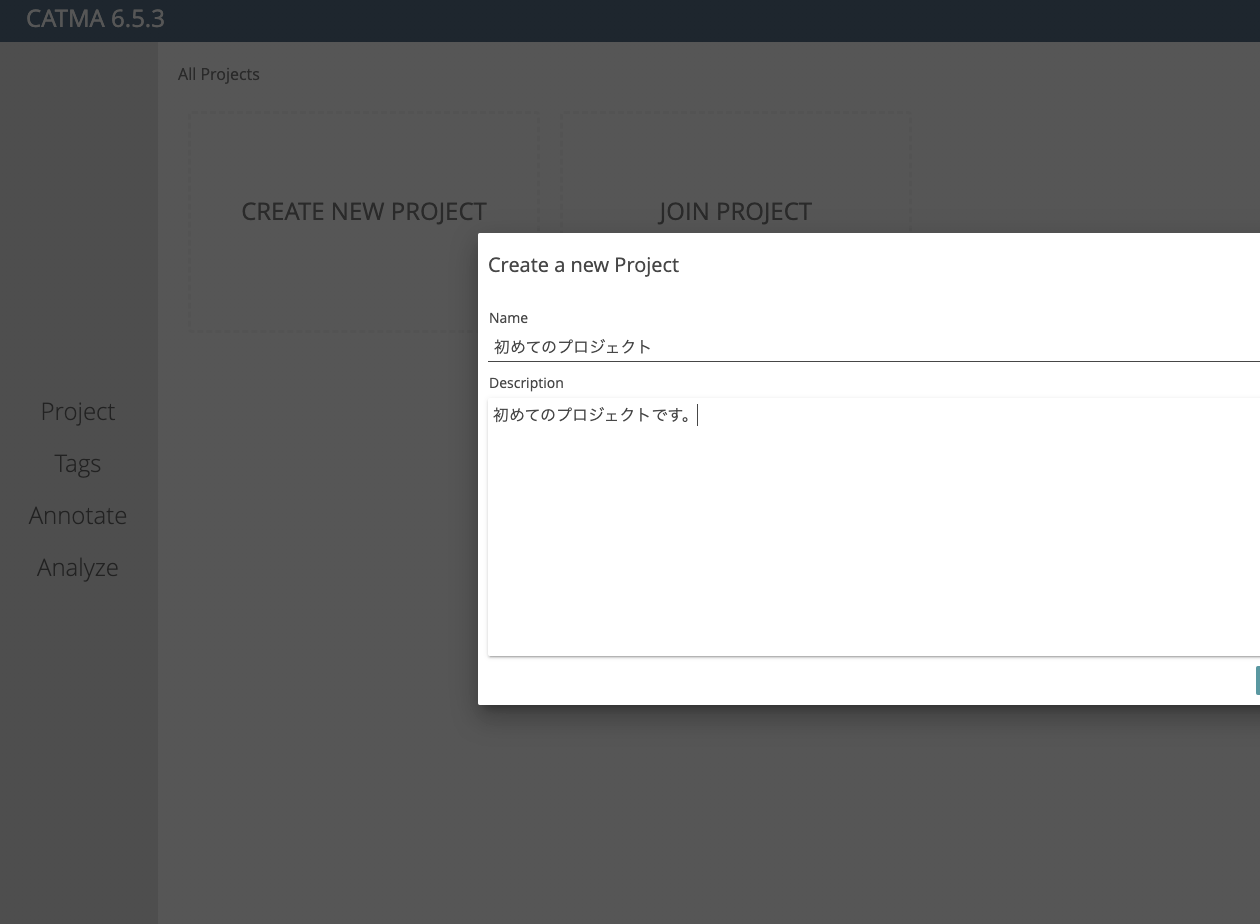
Creating a Project
Create a new project from “Create New Project”.
Registering a Document
Click the “+” button and select “Add Document” as shown below.

This time, we will try a simple txt file like the following.
The subsequent options can be left at their defaults, but it may be good to set the language to “Japanisch” as shown below.

As shown below, a document called example and a collection for storing annotations called example Default Annotations are created.

Creating a Tagset
Next, create a tagset. Select “Tags” from the left menu and click the “+” button in the upper right, then select “Add Tagset”.

I created a tagset with the name “はじめてのタグセット” (First Tagset). Then, from the “+” button in the upper right, select “Add Tag”.

Select the target tagset for adding the tag, and this time, add a tag called “persName”. You can configure additional “properties”, but we will skip that for now.

Annotation
Navigate to “Annotate” from the left menu, and select “example” as the annotation target document and “はじめてのタグセット” (First Tagset) as the tagset, as shown below.

Select the text to annotate, then choose the tag from the right panel. An underline in the color set during tag creation will appear.

Export
Return to “Project” from the left menu, select “example Default Annotations”, and choose “Export Documents & Collections” from the menu icon.
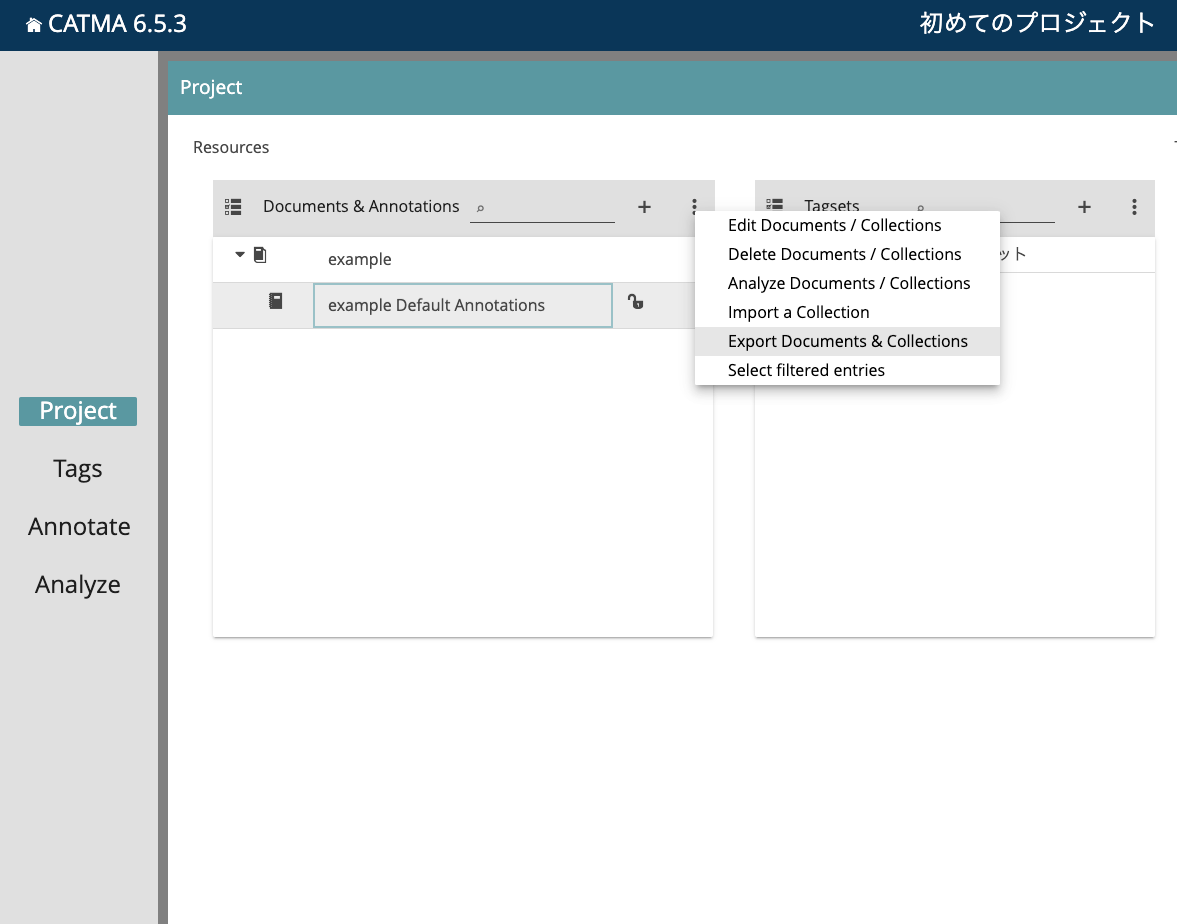
A zip file is downloaded, which contains the original text file and an XML file with the annotation results.
The XML file is output in TEI format as shown below. The <encodingDesc> section shows the tags used, specifically persName.
Also, under <body>, information about which tag was applied to which character range is stored.
This structured data can be used for various applications.
JSON API
From the menu in the upper right of the project screen, select “Share project resources”.
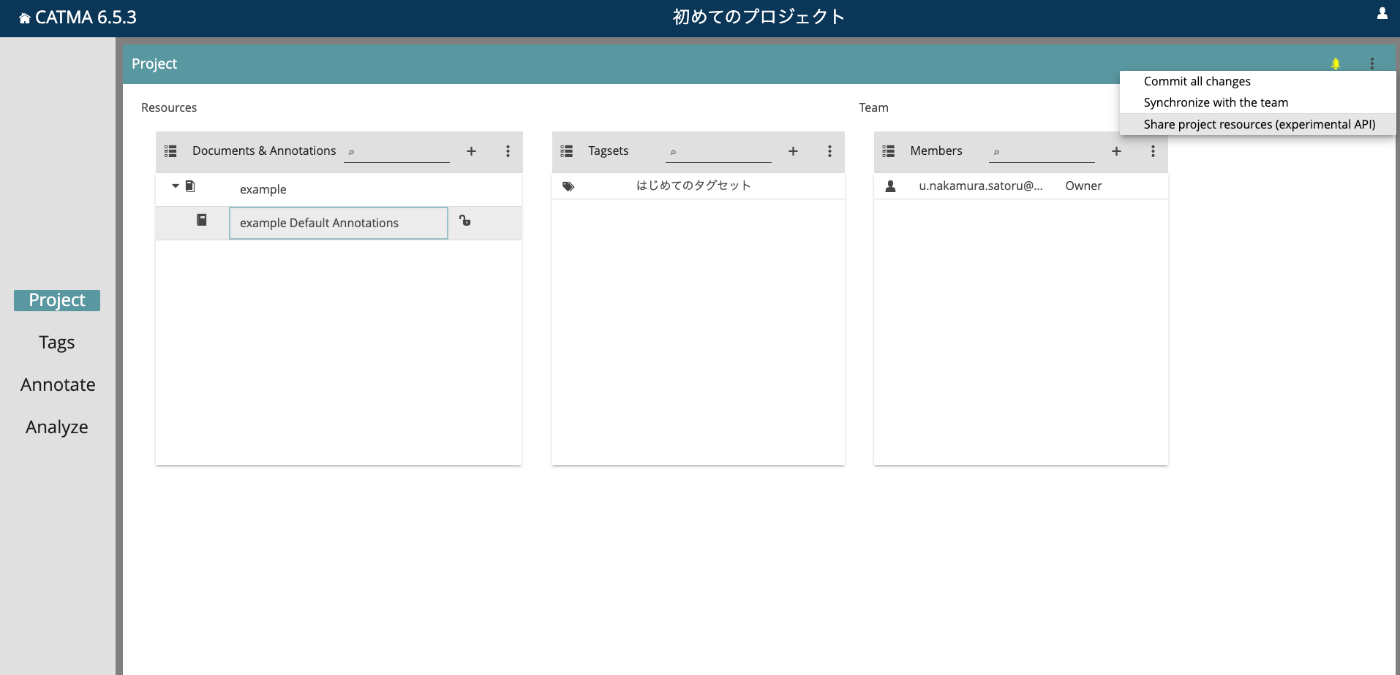
By setting it to “Enable”, the JSON API is activated.
As a result, you can access JSON like the following, where you can confirm that the tag persName has been applied to the string 中村覚.
Although it is an experimental service, it could be useful for integration with external systems.
Summary
This article explained the basic usage of CATMA.
While we registered a txt file this time, it is also possible to register XML files that have already been marked up with TEI.
I hope this serves as a helpful reference.