Notice
I have documented the usage instructions as of 2024 in the following article. Please refer to it.
Overview
This article introduces how to build an IIIF Image Server using an AWS serverless application, as featured in Awesome IIIF.
https://github.com/samvera-labs/serverless-iiif
Please note that following the procedures in this article will incur AWS service charges, so please be cautious if you try it.
Target Audience
The above repository describes the following prerequisites:
- Basic knowledge of AWS.
- An Amazon Web Services account with permissions to create resources from the console or command line.
- An Amazon S3 bucket to store source images to be served via IIIF.
Preparation
Preparing the S3 Bucket
Create an Amazon S3 bucket to store source images to be served via IIIF. In this case, I created a bucket called “serverless-iiif-s3-dd” and created a directory called “ezu” inside it.
Creating Tiled TIFF Files
This time, I used the following national pictorial map published by the National Diet Library as sample data.
https://dl.ndl.go.jp/info:ndljp/pid/1286201
Download the JPG image and create a tiled TIFF file using the following conversion commands as reference.
Using VIPS
vips tiffsave source_image.tif output_image.tif –tile –pyramid –compression jpeg –tile-width 256 –tile-height 256
Using ImageMagick
convert source_image.tif -define tiff:tile-geometry=256x256 -compress jpeg ‘ptif:output_image.tif’
Uploading Tiled TIFF Files to S3
Upload the converted files as shown below.

Building the Image Server
Setup
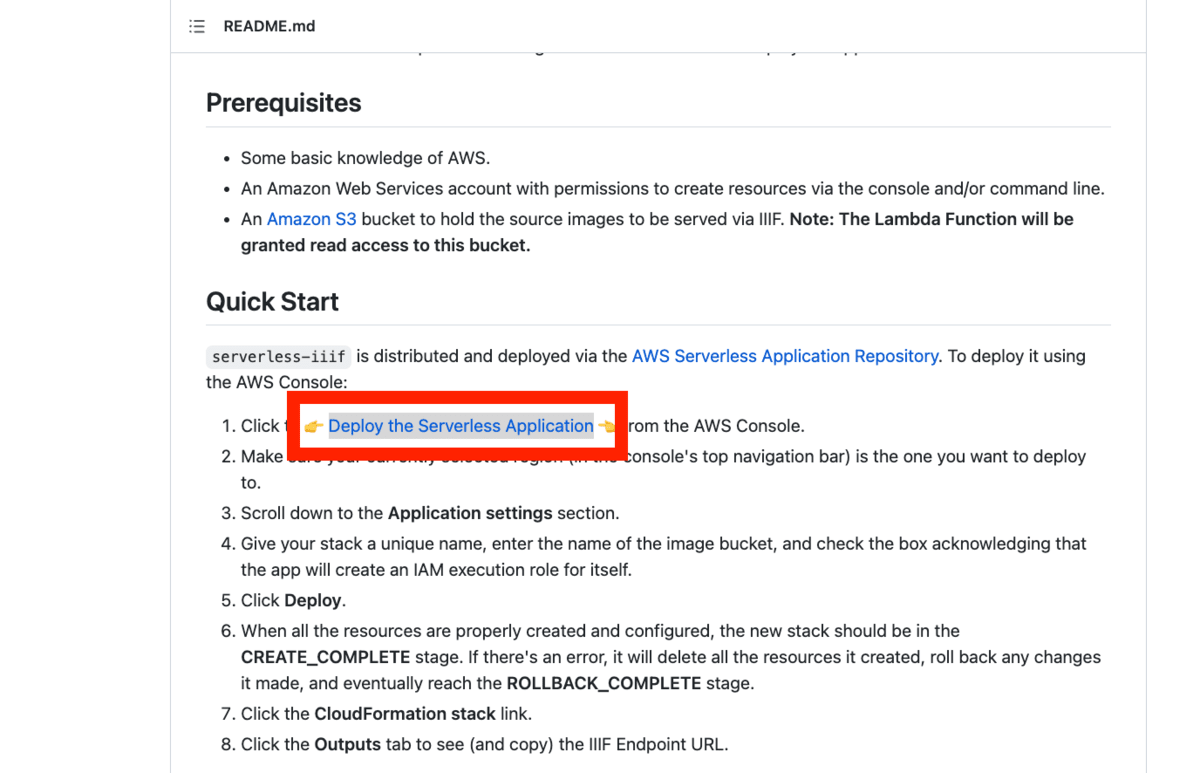
First, access the repository page introduced at the beginning, and click the “Deploy the Serverless Application” link in Quick Start.
https://github.com/samvera-labs/serverless-iiif
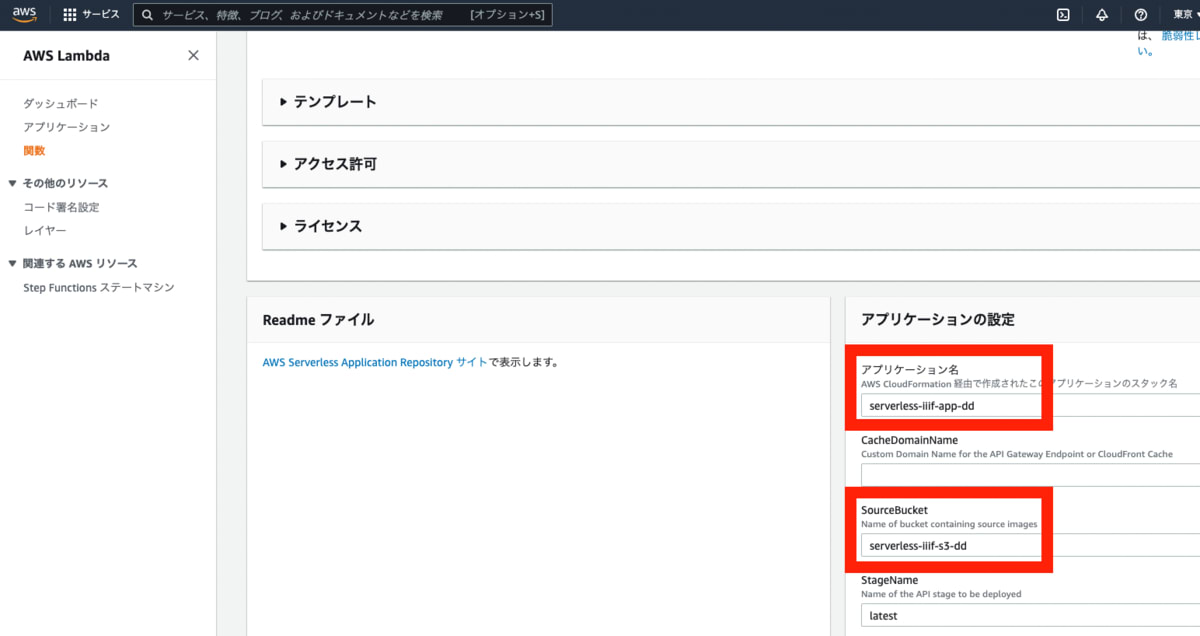
After navigating to the following screen, give the application a unique name. (If the name is not unique, errors may occur in subsequent steps.)
For SourceBucket, enter the name of the S3 bucket you created earlier.
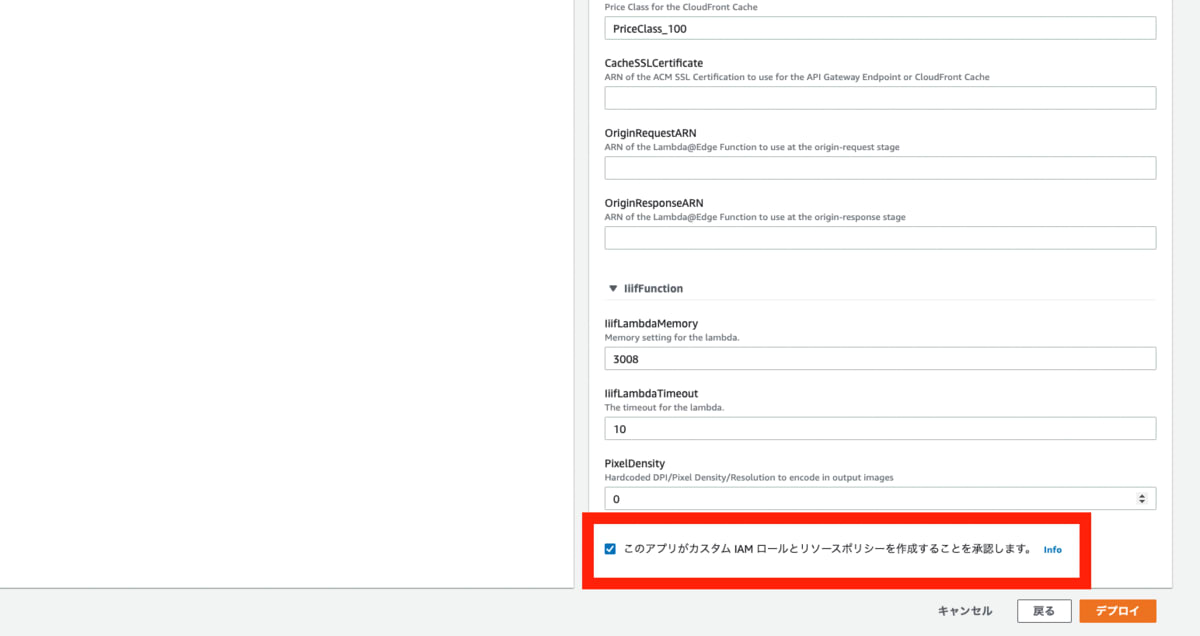
Then, check “I acknowledge that this app creates custom IAM roles and resource policies” at the bottom of the screen, and deploy.
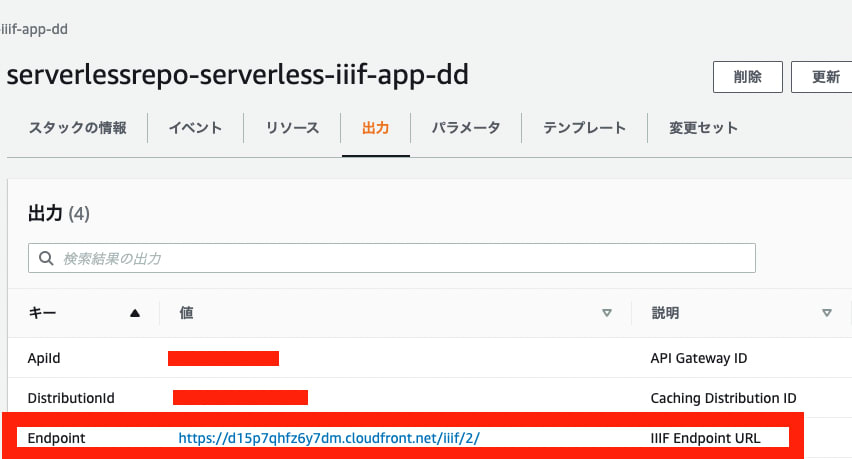
After that, you will be taken to the following screen. Once the “Status” shows “Create complete” in the “Deploy” tab, the process is complete. Then click “CloudFormation Stack” in the upper right.
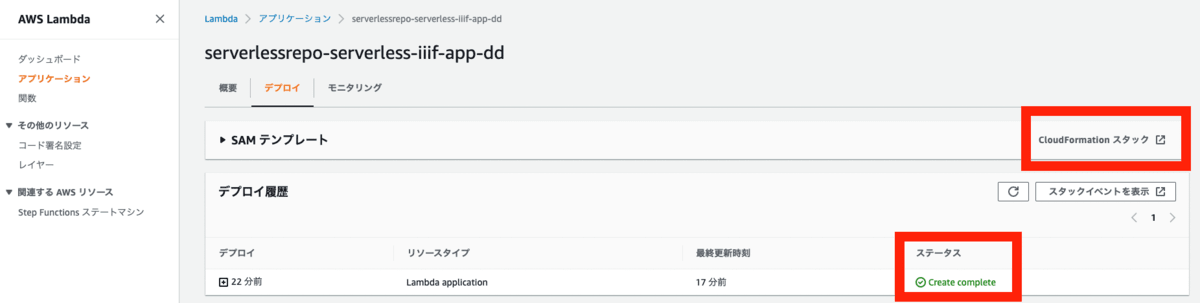
The URL displayed under “Endpoint” in the “Outputs” tab is your endpoint URL.
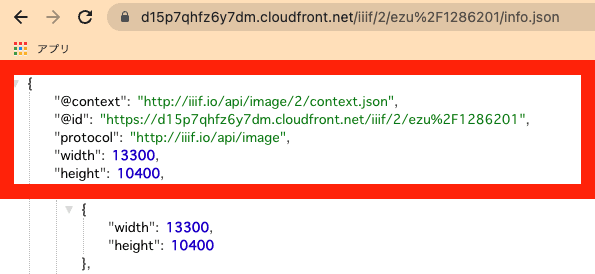
Displaying info.json
The image uploaded earlier can be accessed from the following URL. Note that for an image at path “ezu/1286201.tif”, you need to replace “/” with “%2F” and omit the file extension.
https://d15p7qhfz6y7dm.cloudfront.net/iiif/2/ezu%2F1286201/info.json
If the JSON file is displayed, it was successful. With just these steps, you have built an IIIF Image Server as an AWS serverless application.
Temporary Fix for a Bug
However, as of March 17, 2022, errors occur when displaying with IIIF-compatible viewers. This issue has been raised in the following:
https://github.com/samvera-labs/serverless-iiif/issues/57
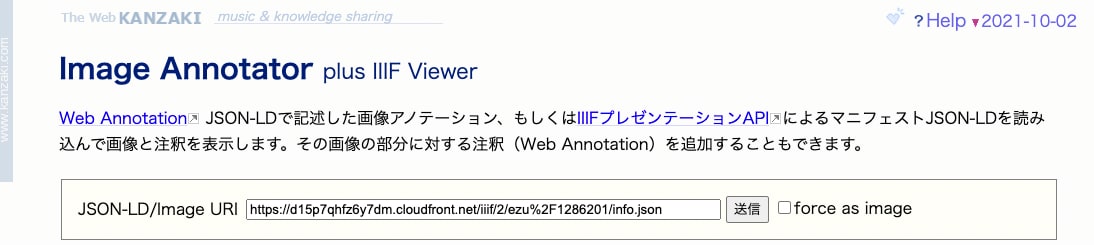
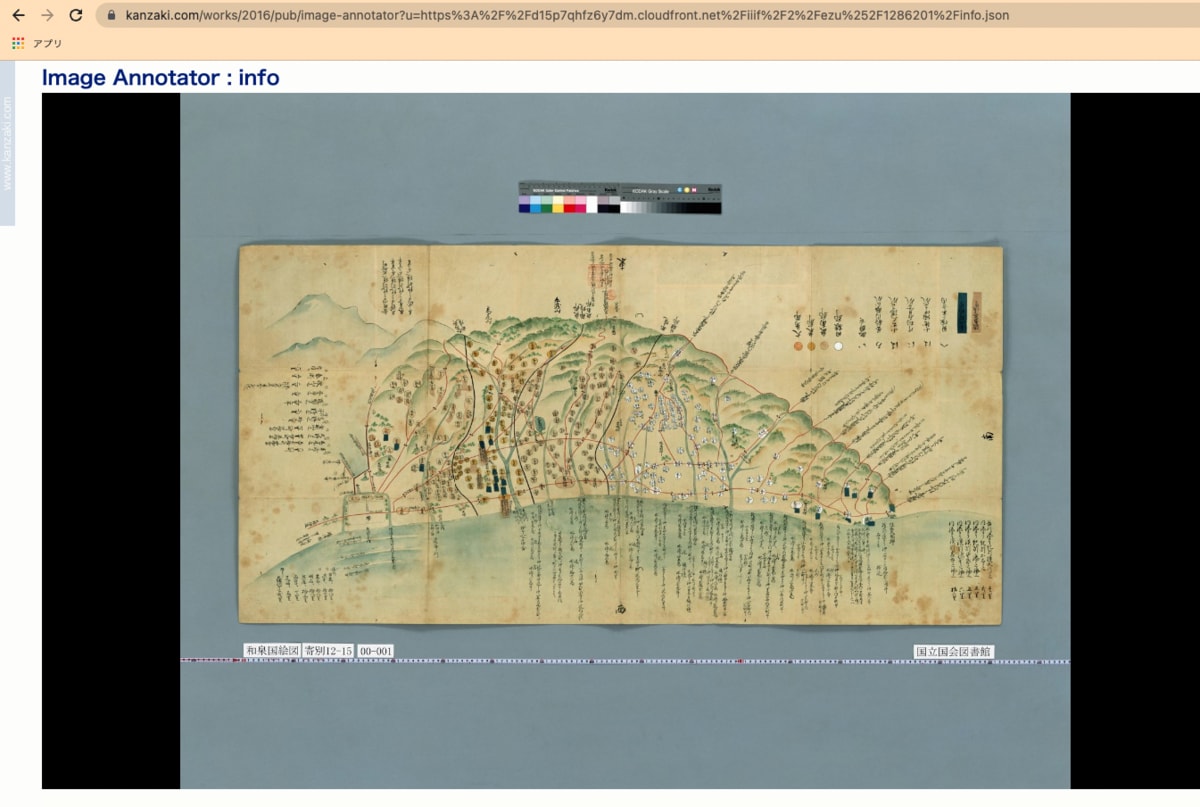
For example, loading the above URL into the Image Annotator created by Masahide Kanzaki results in an error.
https://www.kanzaki.com/works/2016/pub/image-annotator
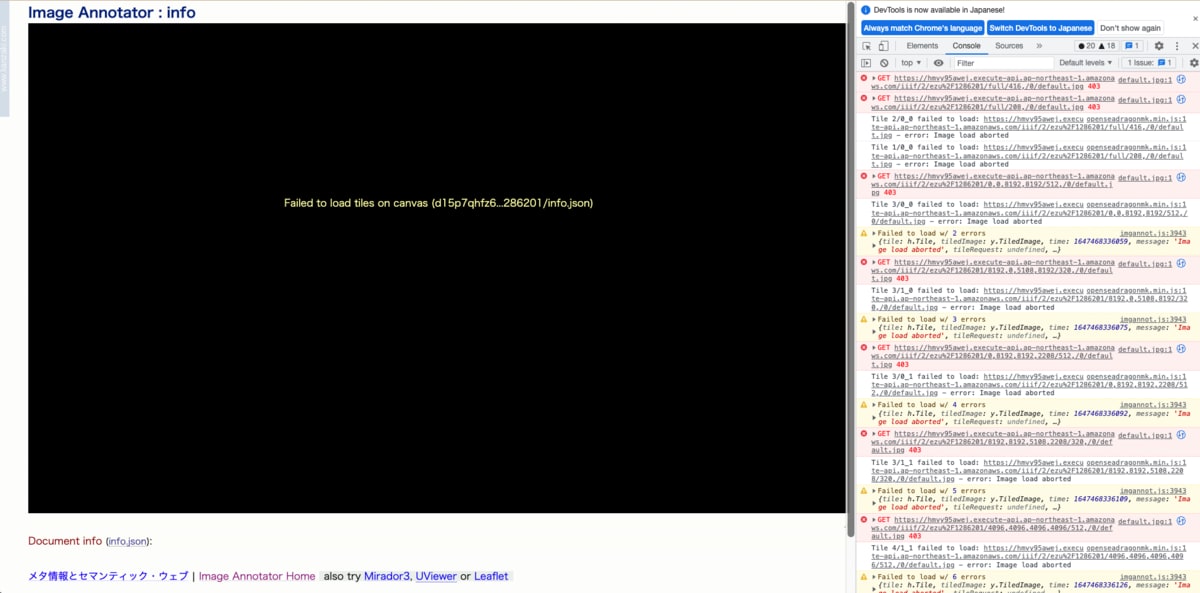
The cause appears to be that the @id is set to the API Gateway URL.

While we would like to wait for the above-mentioned issue to be resolved, as a temporary workaround, we modify part of the file used in AWS Lambda.
AWS Lambda
Access AWS Lambda and select the application created this time.
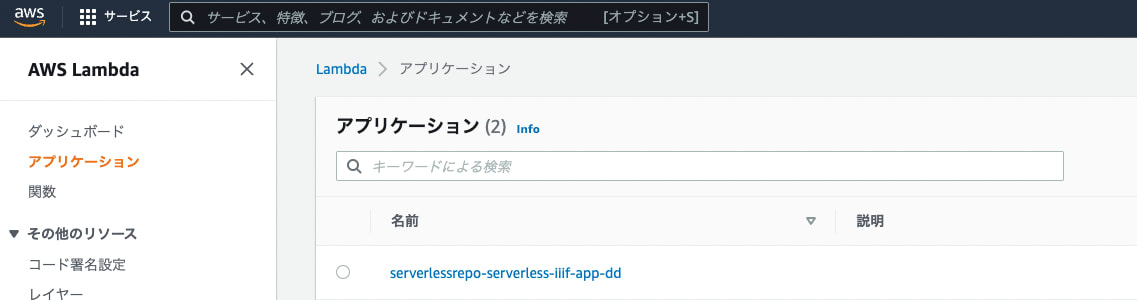
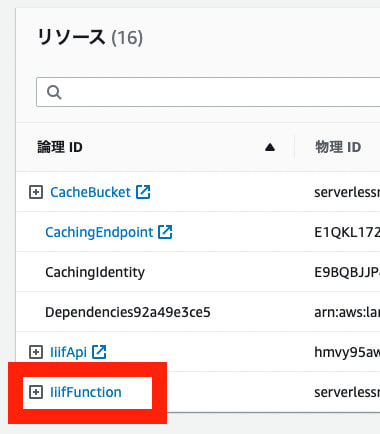
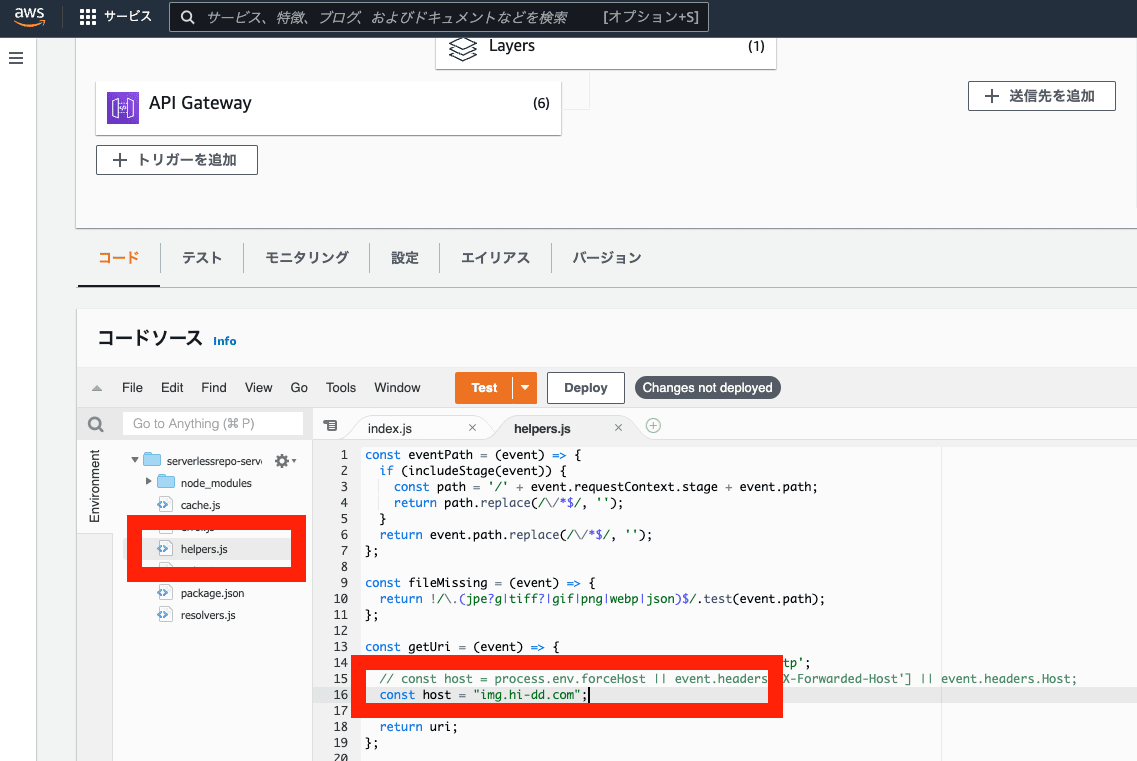
Then, select IiifFunction from “Resources” at the bottom of the application page.
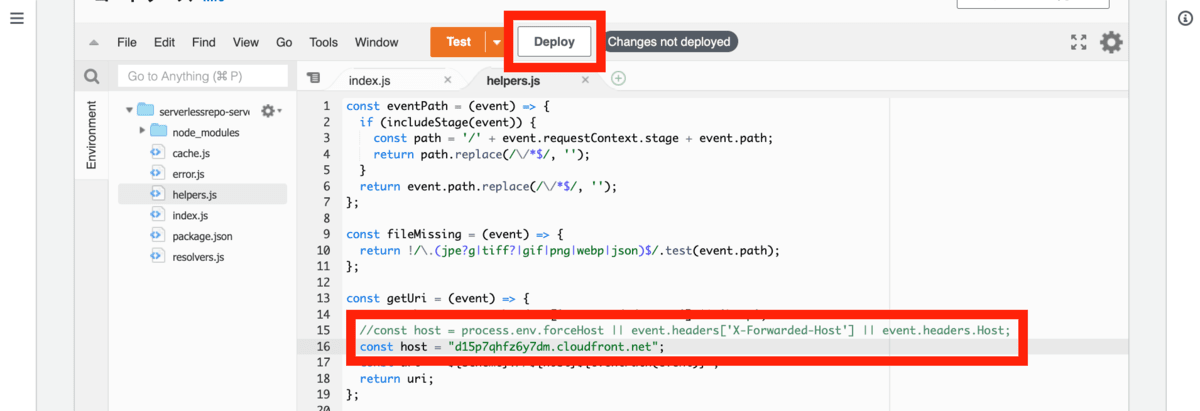
Then, modify line 15 of “helpers.js” as shown below. Specifically, set the CloudFront domain name generated earlier, “d15p7qhfz6y7dm.cloudfront.net”, and click the “Deploy” button.
CloudFront
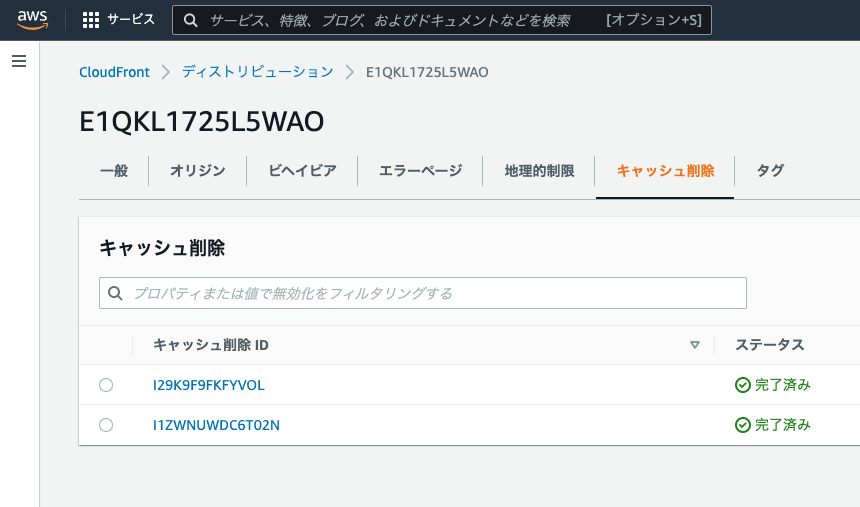
Then, clear the CloudFront cache.
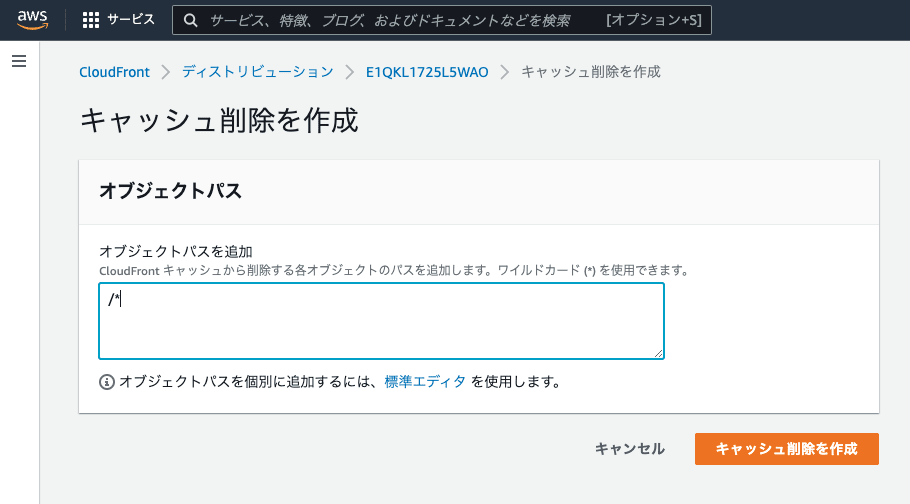
For example, specify the path as follows.
As a result, the image is displayed as follows.
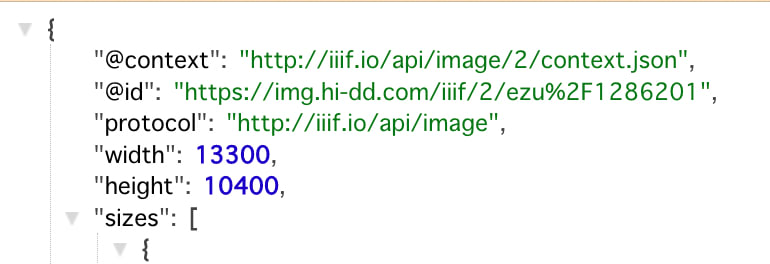
Specifically, the “@id” value in info.json has been corrected to the configured domain as shown below.
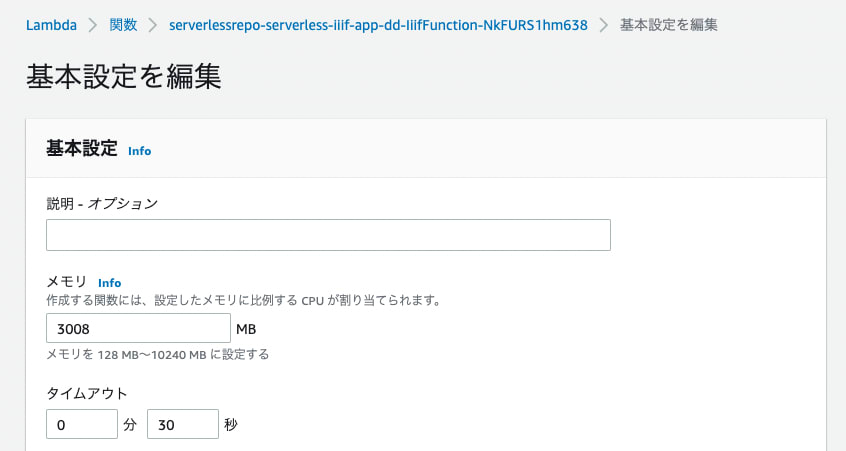
Note that memory and timeout settings can be changed in the Lambda function configuration screen.
By registering the IIIF image URL created above in Omeka S, referring to articles such as the following, you can create IIIF manifest files using a GUI. (Of course, it is also possible to create manifest files using other scripts, software, or manually.)
https://nakamura196.hatenablog.com/entry/2022/03/04/212102
For example, register the IIIF image in Omeka S as follows.

As a result, an IIIF manifest like the following is generated, and it can be displayed in other IIIF-compatible viewers such as Mirador and Universal Viewer.
https://shared.ldas.jp/omeka-s/iiif/1261/manifest
(Reference) Setting Up a Custom Domain
Since the above used the CloudFront URL as-is, we will set up a custom domain.
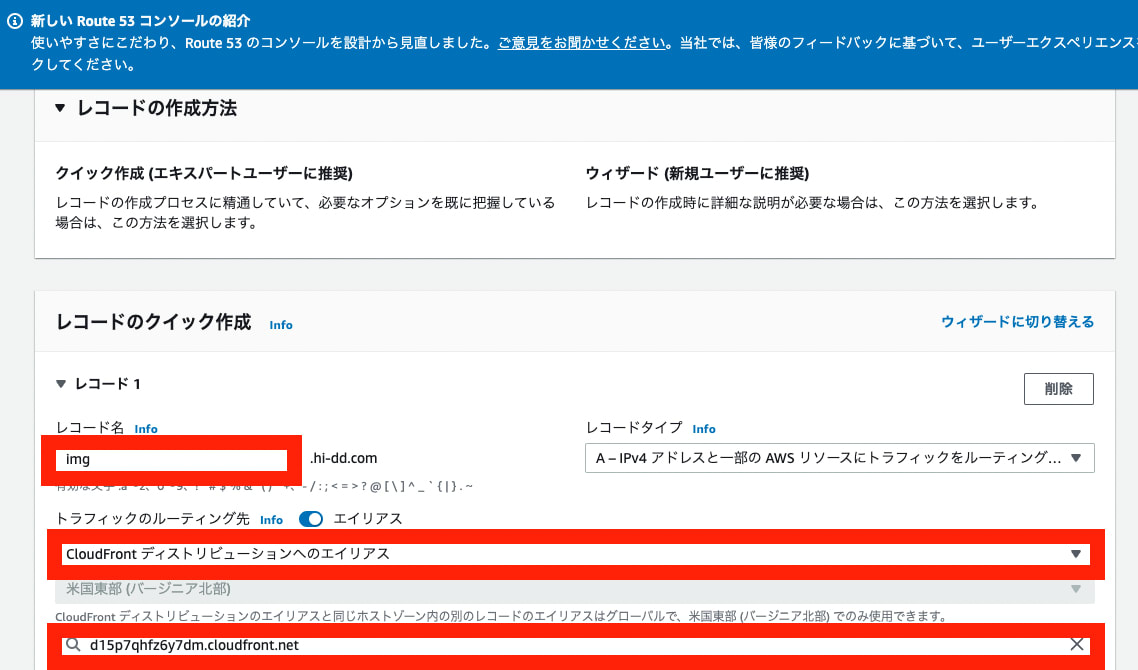
Route 53
If you are using Route 53, add a record in the following manner.
CloudFront
Also, configure the following settings in CloudFront.
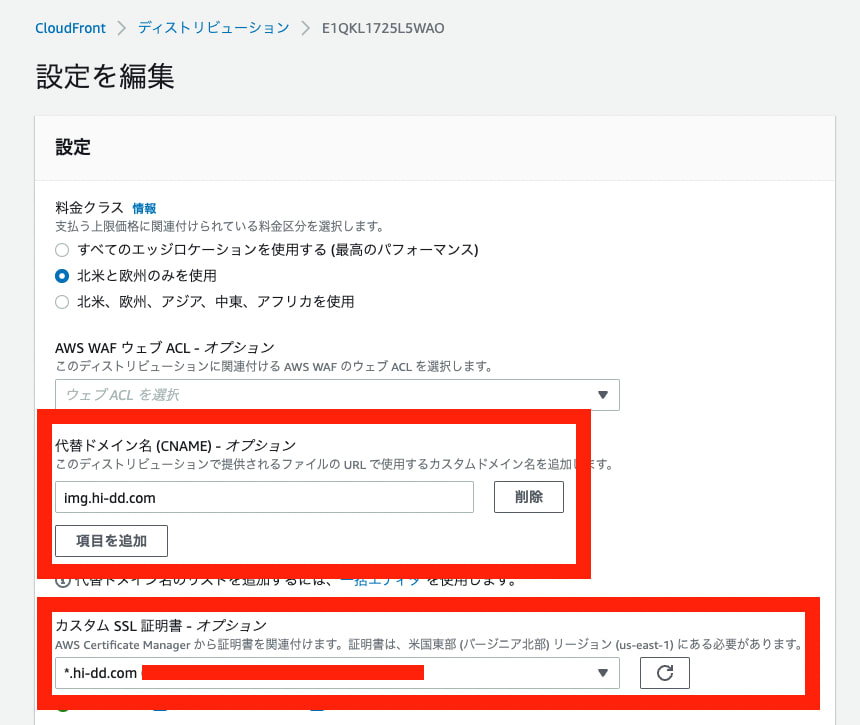
After the above settings, the process is complete when the “Last Modified Date” has changed from the deployment.

AWS Lambda
Furthermore, for the Lambda function edited earlier, set the custom domain name as the host and deploy.
Result
As a result of the above, you can obtain info.json with a custom domain from the following URL, for example. The “@id” has also been set to the custom domain, albeit through the temporary fix.
https://img.hi-dd.com/iiif/2/ezu%2F1286201/info.json
Summary
This article explained how to build an IIIF Image Server using AWS. While you need to be aware of the pay-as-you-go pricing model, the ability to easily build a fast IIIF Image Server using CloudFront and other services is a significant advantage. I am grateful to those who built such a system.
Note that large images may take time to display (although second and subsequent accesses benefit from fast loading via cache), so I recommend thorough consideration when using this approach.
I hope this article serves as one option to consider when building an IIIF Image Server.