Overview

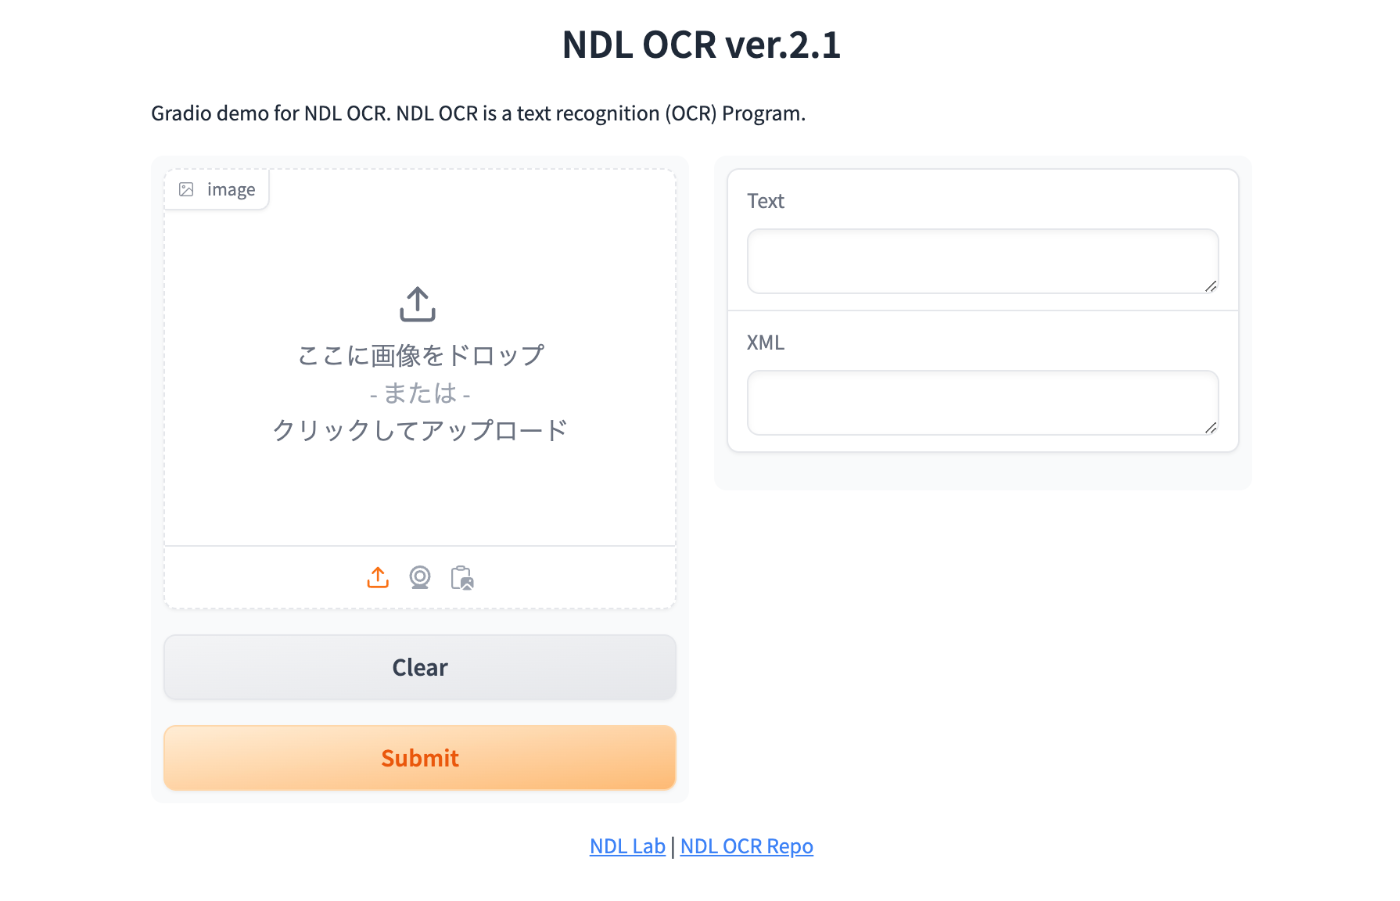
In the following article, I introduced a Gradio app using Azure virtual machines and NDLOCR.

This article provides notes on how to build this app.

Building the Virtual Machine

To use a GPU, it was necessary to request a quota.

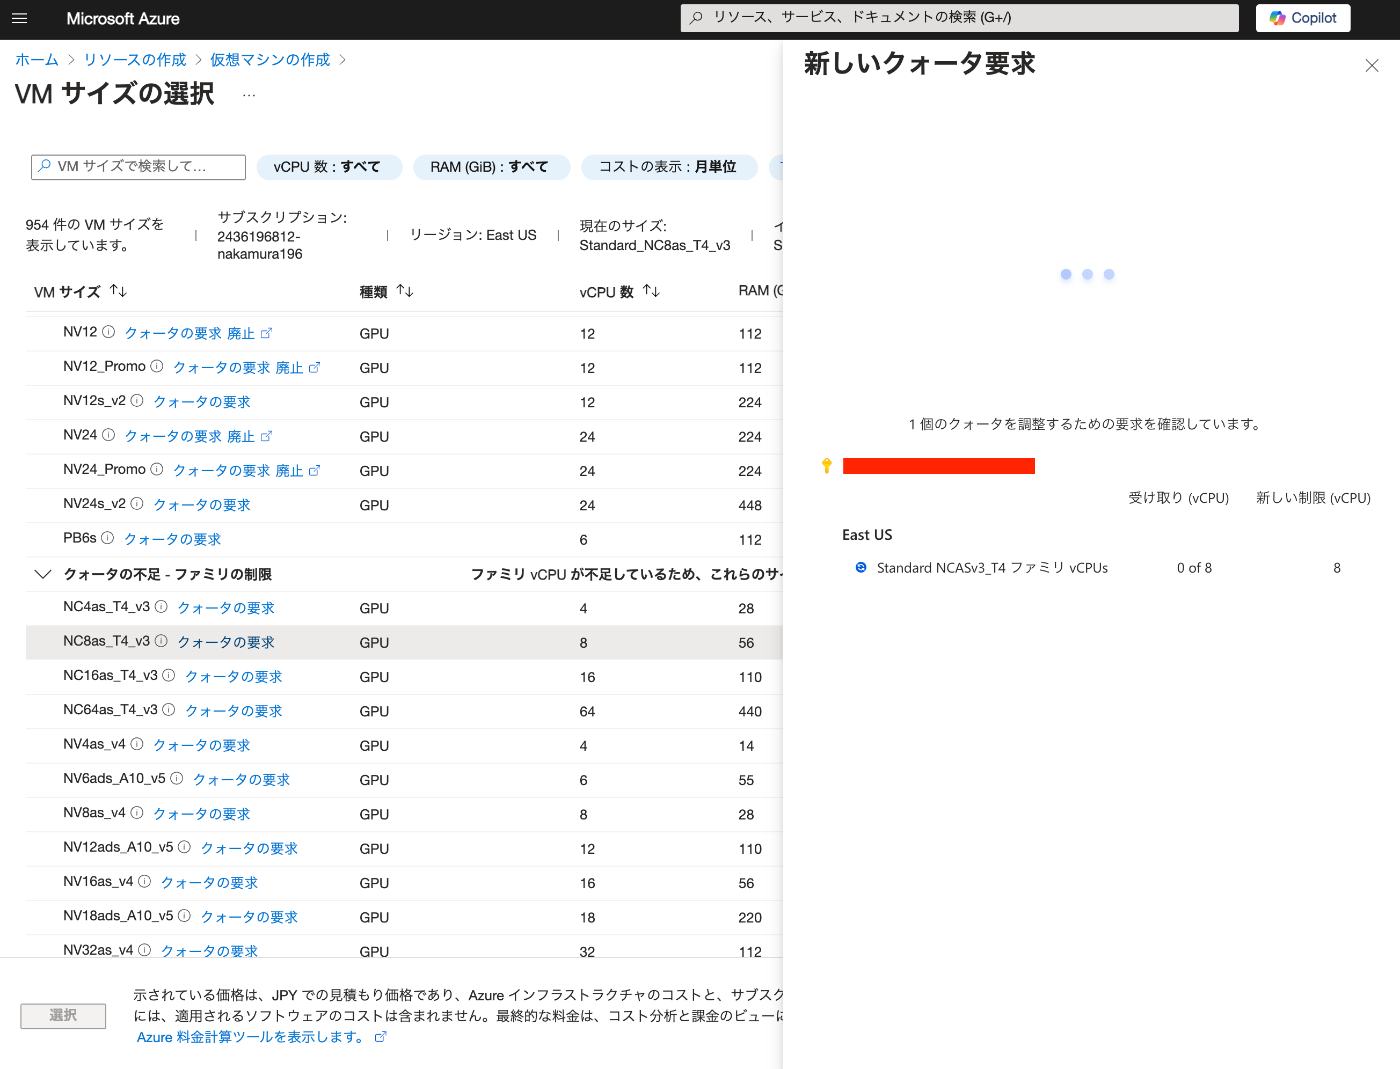
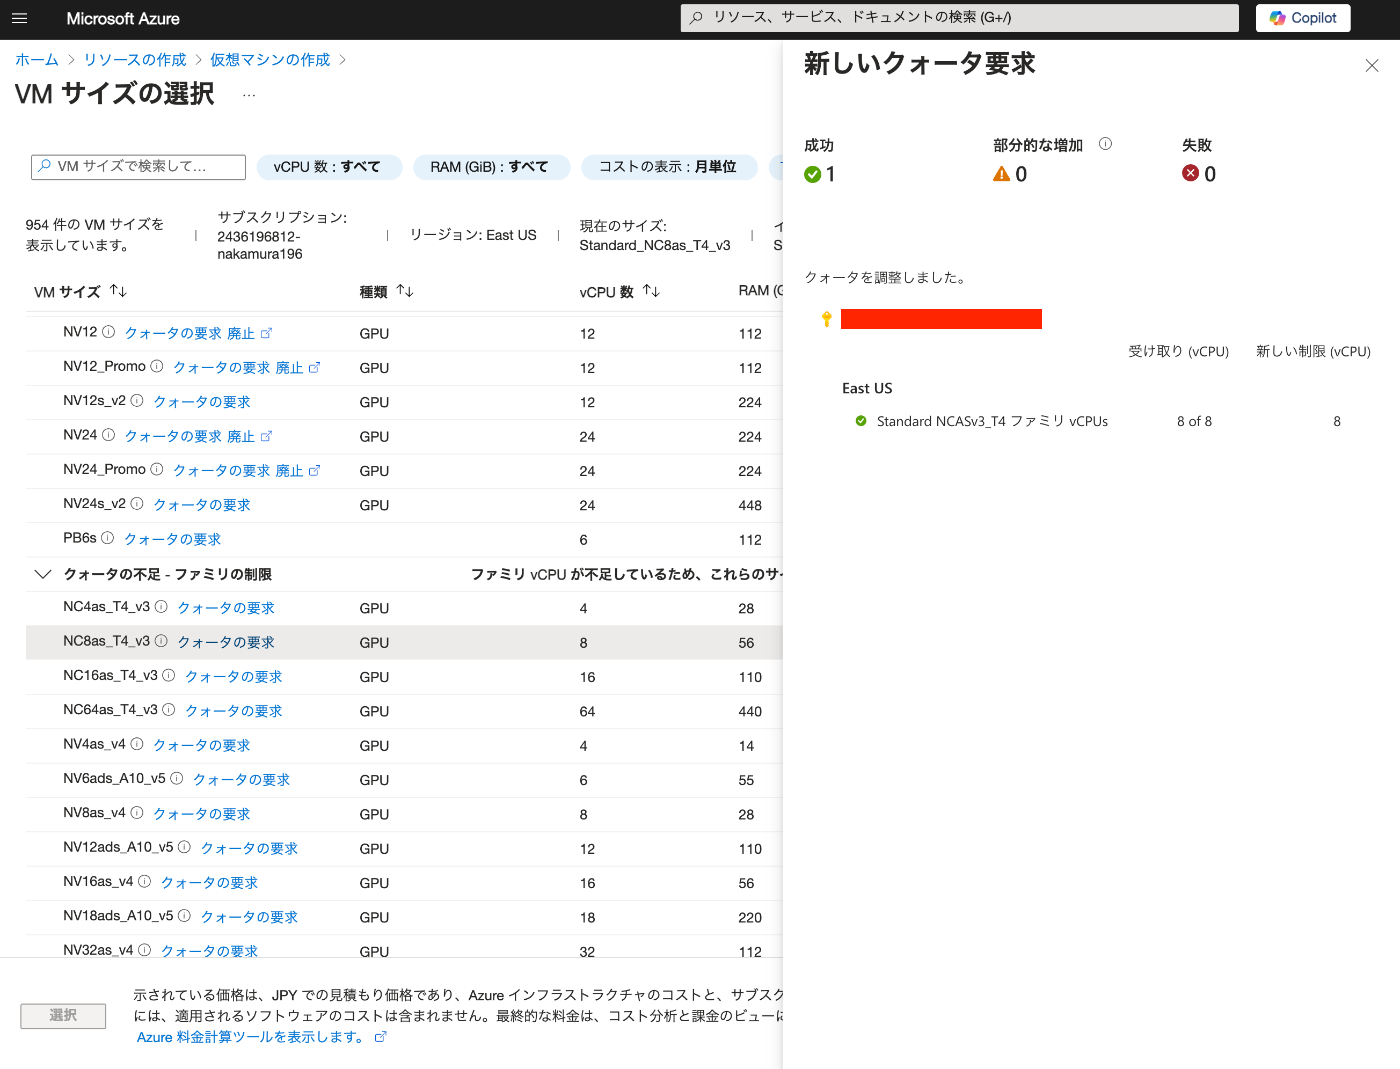
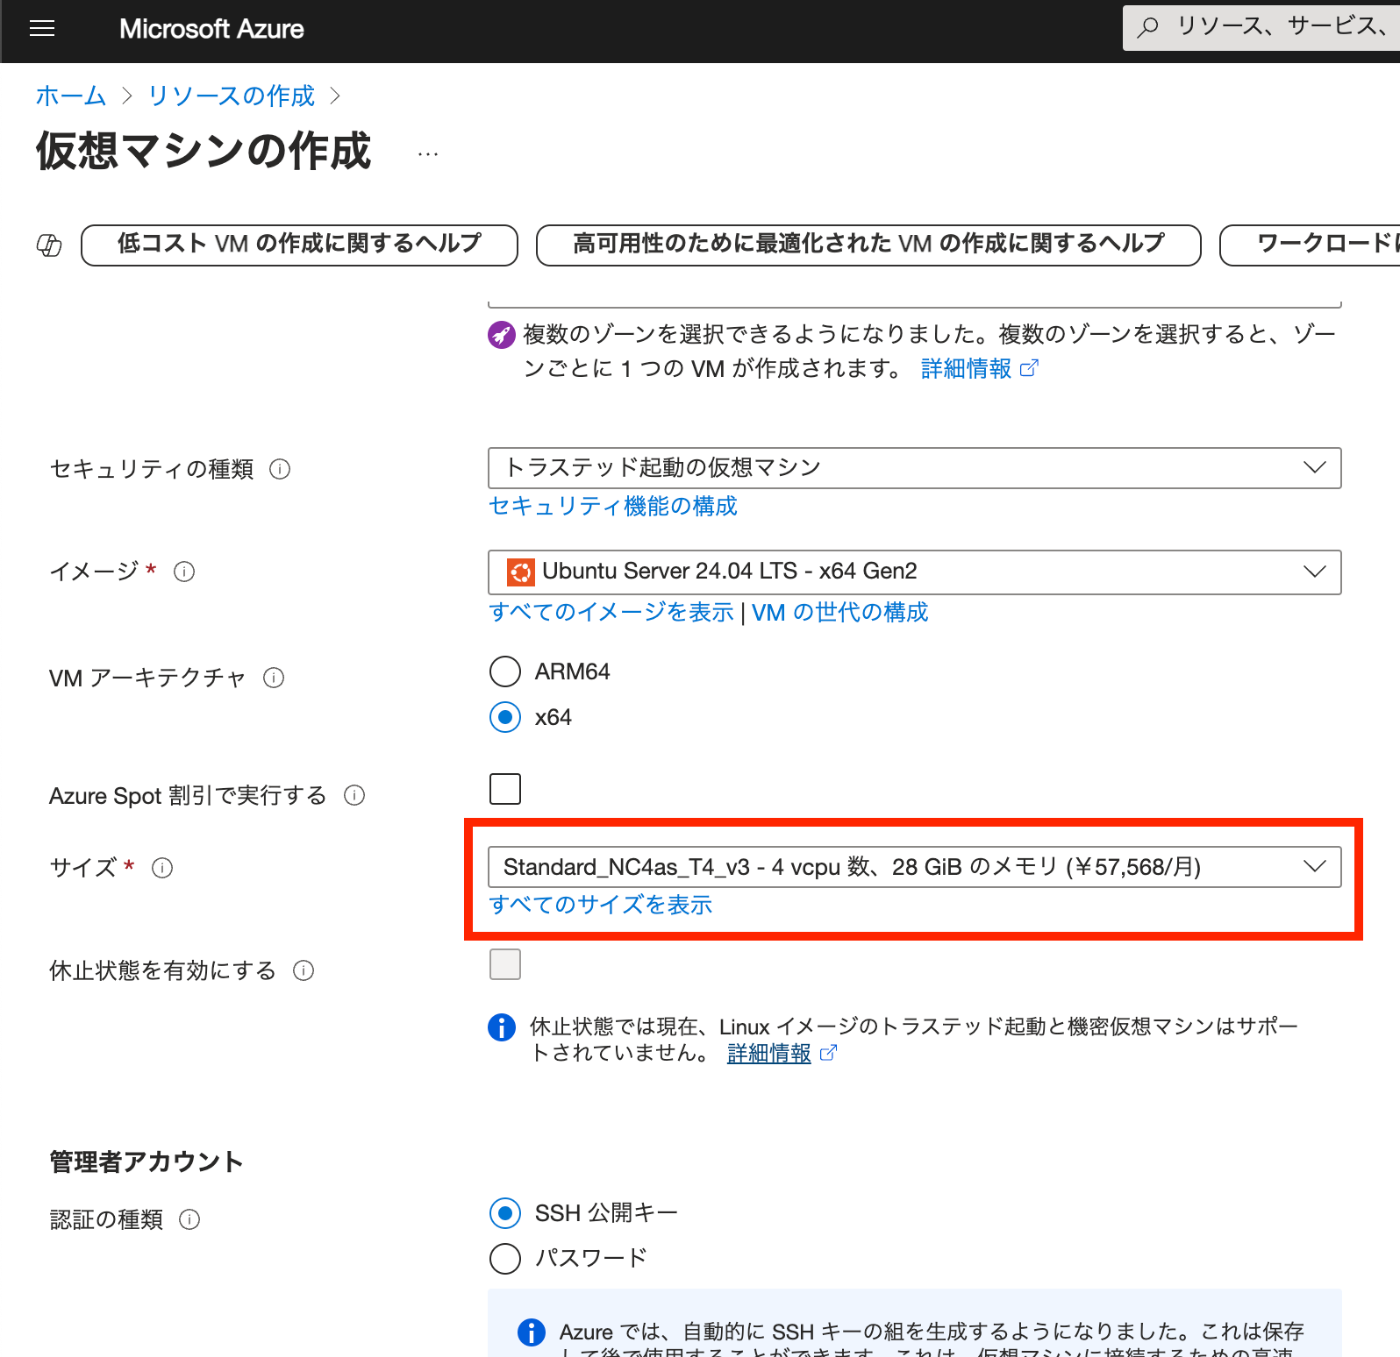
After the request, “NC8as_T4_v3” was used for this project.

Building the Docker Environment

The following article was used as a reference.

https://zenn.dev/koki_algebra/scraps/32ba86a3f867a4

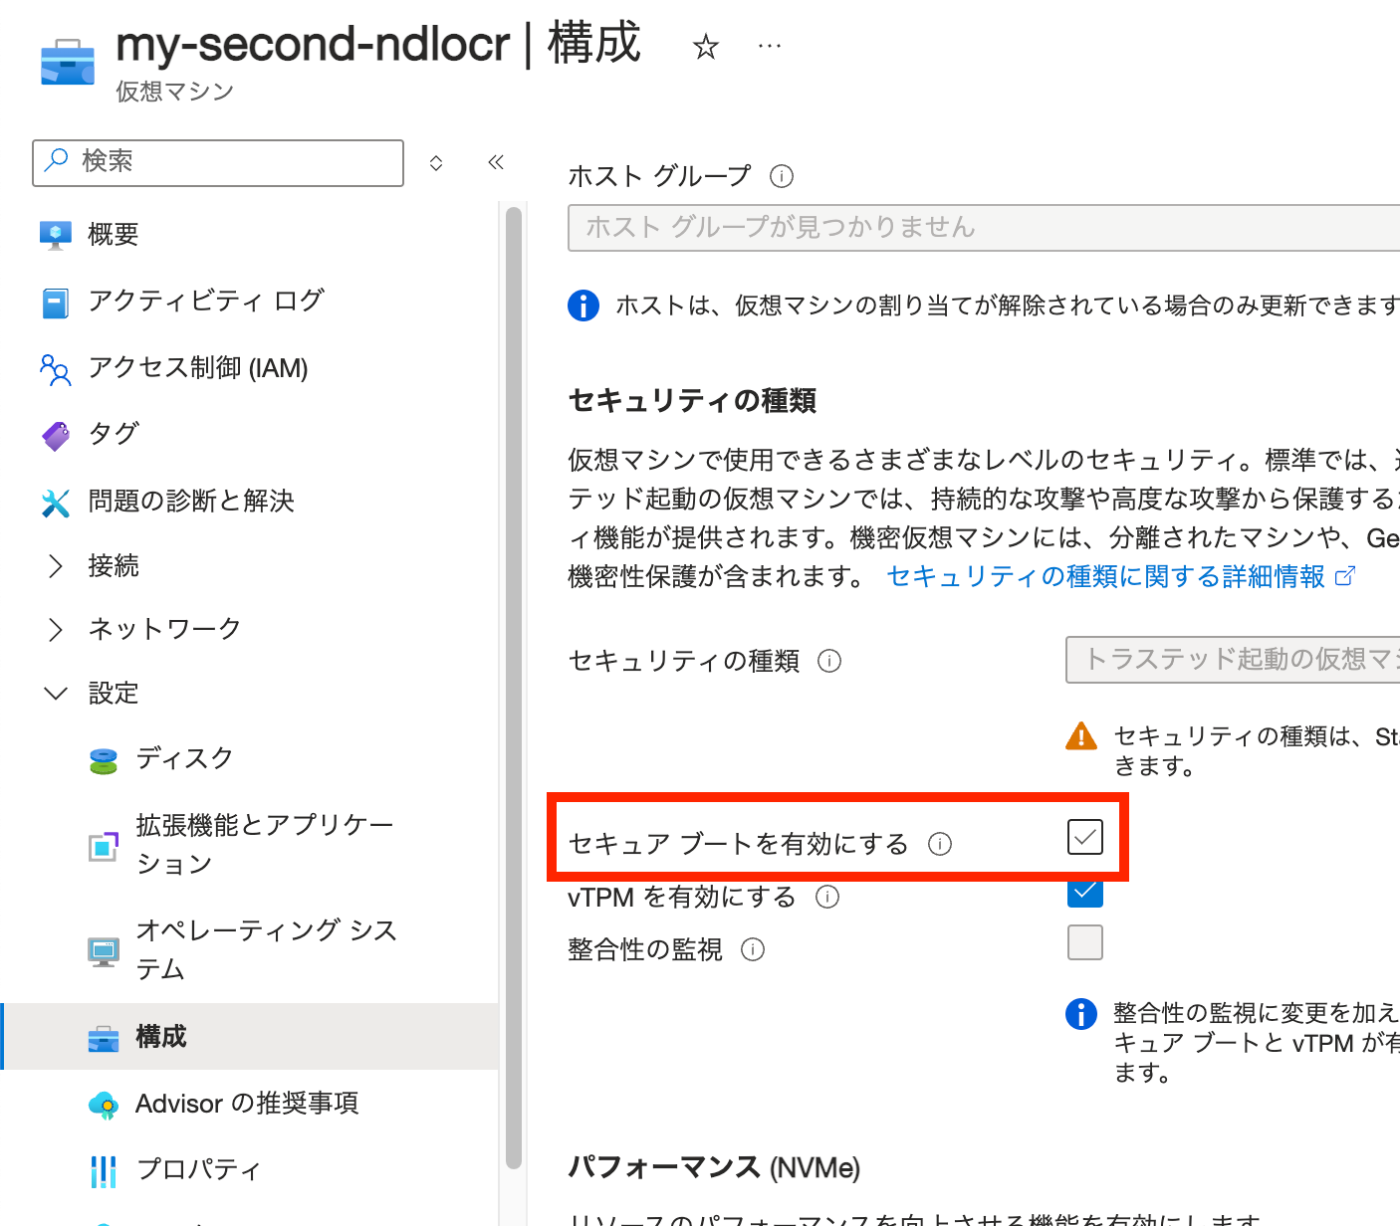
Disabling Secure Boot

The following is stated:

Secure Boot must be disabled for the NVIDIA Driver to be installed correctly.

Indeed, when it was not disabled, the following screen appeared and I could not proceed.

Secure Boot is disabled as follows.

Installing the NVIDIA Driver

Install the ubuntu-drivers command and check the available NVIDIA Drivers.

ssuuubdduoontaaupp-ttd-rgiienvtsetruaspldldaetuvebiucnetsu-drivers-common

The results are as follows.

vmdddddeorrrrrndiiiiidevvvvvoleeeeerrrrrr:::::::NTnnnnxVUvvvvsI1iiiieD0ddddrI4iiiivAGaaaaeL----rCdddd-o[rrrrxrTiiiiopevvvvroseeeegrlrrrr-aa----vt5454iiT3737do45050en]--o-ss--eendrrdoivviuseesvtrrterrao--ounddn-oiionssnd-tt-ifrrfsroorteerenneooornnfe--rcffeorremeemeebeunidletdin

Install the recommended driver.

sudoaptinstallnvidia-driver-535

After restarting, run the following to confirm the installation.

Su==nNGF=NP=VPa=/rG=NDIUn=0AoP=oeD=cU=cI=e=rANT=Ts=u2-ae=e4s=n2Smm=s7eGI=nMep=lCsID=i2I=a:=n3==g:5=T=13P=4CI=p05e=PID=r:.r=8=o41f==c28==e3==s2.==s00==e21==s4===P=f=I=o=D=u==nPP==dew==rr=T=s:=1y=iU=0p=ss=We=ta==eg=/=Dne==rc/=P=ieC=O7r=v-a=f0o=eMp=fWc=r=e=s=V=s=eB=0=ru=0n=ss=0a=i-=0m=oI=0e=nd=02=:=0M==1i=5M=:B=3e=0=5m=0/=.o=:=1r=01=8y=05=3D-=.3=.iU=06=0ss=0=1pa=OM=.g=fi=Ae=fB===C=U==DVG==AoP==lU==Va-==etU==rit=0=sli=%=iel==o==nU==:nC=GU=co=Ps=1om=Ua=2rp=Dg=.ruM=eMe=2.tI=fe=eG=am=E=uNo=CMM=l/r=C..=0tAy===

Installing Docker

Install following the official documentation.

https://docs.docker.com/engine/install/ubuntu/

f#sssss#esssouuuuucuuurAdddddAh"$sddddooooodod(uooopdde.dkaaiccbaadgDppnuhtppoottsrmh[etttcic--tloeate--knkggadrceggeeeel-rc/eerdrttlfaeho/tto's+p=sercsui-Sro$-tuiukpnmLs(rcpnneods/ide/dsrfat0hetplaath.fta7ttokeptaeiiel5tcrgatellocl5p/ys/llisaesodac-:pt-od-olad/top&uowc-/r&rcokGcdkAickrePeeoepneeelrGrtwyttcsrd-tcnr-h.-dki/lisaolcoefaonoriecyipaguc"s:ctdsrh$tdda/./ciV.ootkddetEdcceeooseR/kksycc:cSdeerkktIorrcieeuOc--unrrrNkccrg..e_eeolsca)Cr-mosO.cpmcsDllo/iEiislgNseinAtcneModudE>nox-"tc/b)/akuydieb=senru/tve-nea/rcttbndouclu.m//elipga"looppsgt|de/o-kcvek2ye/rrpei-otnbdcgum/siaa/lnpdd-toxd/c-okkpceelkyruer.griainsncgcos]dn/otdhcaotkictenkprees-rr:cd./oa/mrsdpucoonwscne;l-opdalodu.gsdiuondcokearp.tc-ogme/tlirneumxo/vuebu$nptkug;\done

Add azureuser to the Docker Group. Then restart Docker.

snsueudwdogorupssyedsrotmceokmdecrt-laGredsotcakretrd$oUcSkEeRr

Reconnect via SSH.

Installing NVIDIA Container Toolkit

Install following the official documentation.

https://docs.nvidia.com/datacenter/cloud-native/container-toolkit/latest/install-guide.html

Configuring Docker

ssd===CCTBhASuuo===Uohytu==ddc==DnitcnNGF=NP=ook=C=AtsppoVPa=/rG=Ne=U=auspDIUn=0AoP=onsr=D=Vicl:yeD=cU=vy=A=enol/cI=e=risr==reni/oANT=Ts=udtu===srtndf2-ae=e3s=nien===iage2Smm=s3eGI=namoiivtMep=lCsID=i-cnmnaeh2I=a:=nct-aenli3==gtlr1grdos:5=T=km2ep13P=4CI=pr.iuel65e=PID=rre4Cmsri:.r=8=ous-.oai.c51f==cntg1pgnne28==etapyegvn3==siruris2.==smtsiatde00==eegnhi21==sdahdeai4==colt.s=P=foclicc=I=onk(toom=D=ufencsnma==nirv)t/dPP==dgicaneew==ud2oigrr=T=ri0nncas:=y=ea1te/viU=9p=/6ernass=We=c-n,vita==-u2tileg=/=rd0sydaDne==ua2oibrc/=P=n:3aualieC=O7r=t1,r-ev-a=f0o=i2eadeMp=fWc=m.Nceir=e=e4Vgcens==.IoepV=s=d1Dvp-teB=0=o-Ietlhru=0n=ccAreiss=0a=kuntasi-=0m=edCehroI=0e=rnOdencnd=02=nRio:=0M=-Pbtnn=1i=rOyegt5M=:B=uRr-a3e=0=nAtmci5m=0/=tThson.o=:=iIene1r=01=mOatr8y=05=eNNna3D-=.3=-Vdia.iU=06=u&Int0ss=0=bDce1pa=OM=uAIor/.g=fi=nFAn-NAe=fB=tFdlG==uIDiiCC=2Letc-U==2IeieDDVG==.AponLAoP==0Tns-lU==4ELseCVa-==SeOetU==n.aoNrit=0=vrfTsli=%=iAnAiel==dlitIo==ilnhNnU==agiE:nC=GU=-rsRco=Ps=siC-1om=Ua=mgolL2rp=Dg=ihniI.ruM=eMe=ttcC4.tI=fe=saeEeG=am=inNE=uNo=rnsSCMM=l/r=eeeEC..=0tAy=sr:==efrLovirecdey.nosuer.convenience.

Domain Configuration

The Gradio app created this time is secured with HTTPS using Traefik.

Here, Route53 is used to assign a domain to the virtual machine’s IP address.

Starting the NDLOCR App

The above completes the environment setup. Now let’s start the NDLOCR app.

Download the source code with the following command.

gcidtncdllooncer_c-lriecursivehttps://github.com/ndl-lab/ndlocr_cli

Downloading the Gradio App Source Code

The Gradio app source code is published at the following URL.

https://github.com/nakamura196/ndlocr2_gradio

Download it and copy it to the appropriate location.

gcciphtm-ocrdlpo6nn0ed0lhotc/trtp2rs_a:ge/rf/aigdkiitahcumbe..cjosmo/nnakamura196/ndlocr2_gradio

Then, modify the domain name and email address in ./traefik/traefik.yml and ./docker-compose.yml.

Then, run the following.

dockercomposeup

This will start the Gradio app at the configured URL. Here is an example.

https://ndlocr.aws.ldas.jp/

Summary

There may be some incomplete parts, but I hope this serves as a useful reference for converting the NDLOCR app into a Gradio app.