Overview
I tried out Nuxt 3 and Decap CMS, so here are my notes.
Preparing the Nuxt 3 Project
I referred to the following for adding Decap CMS to an existing site.
https://decapcms.org/docs/add-to-your-site/
First, prepare a Nuxt 3 project that includes the nuxt/content module.
Here is an example of the source code.
https://github.com/nakamura196/nuxt3-decapcms
The following two files were created.
Then, it was pushed to GitHub.
Configuration on Netlify
Access the following and log in.
Select the repository that was just pushed to GitHub and deploy it.

At this point, the Build command and Publish directory were changed.

As a result, it was deployed to the following.
https://nuxt3-decapcms.netlify.app
Enable Identity and Git Gateway
Referring to the following, additional configuration is performed on Netlify.
https://decapcms.org/docs/add-to-your-site/#enable-identity-and-git-gateway
First, enable the Identity service from Settings > Identity.
Next, configure Registration preferences and External providers as needed.

Finally, enable Git Gateway.

Then, accessing the following allowed me to log in.
https://nuxt3-decapcms.netlify.app/admin/#/

Content is added as follows.
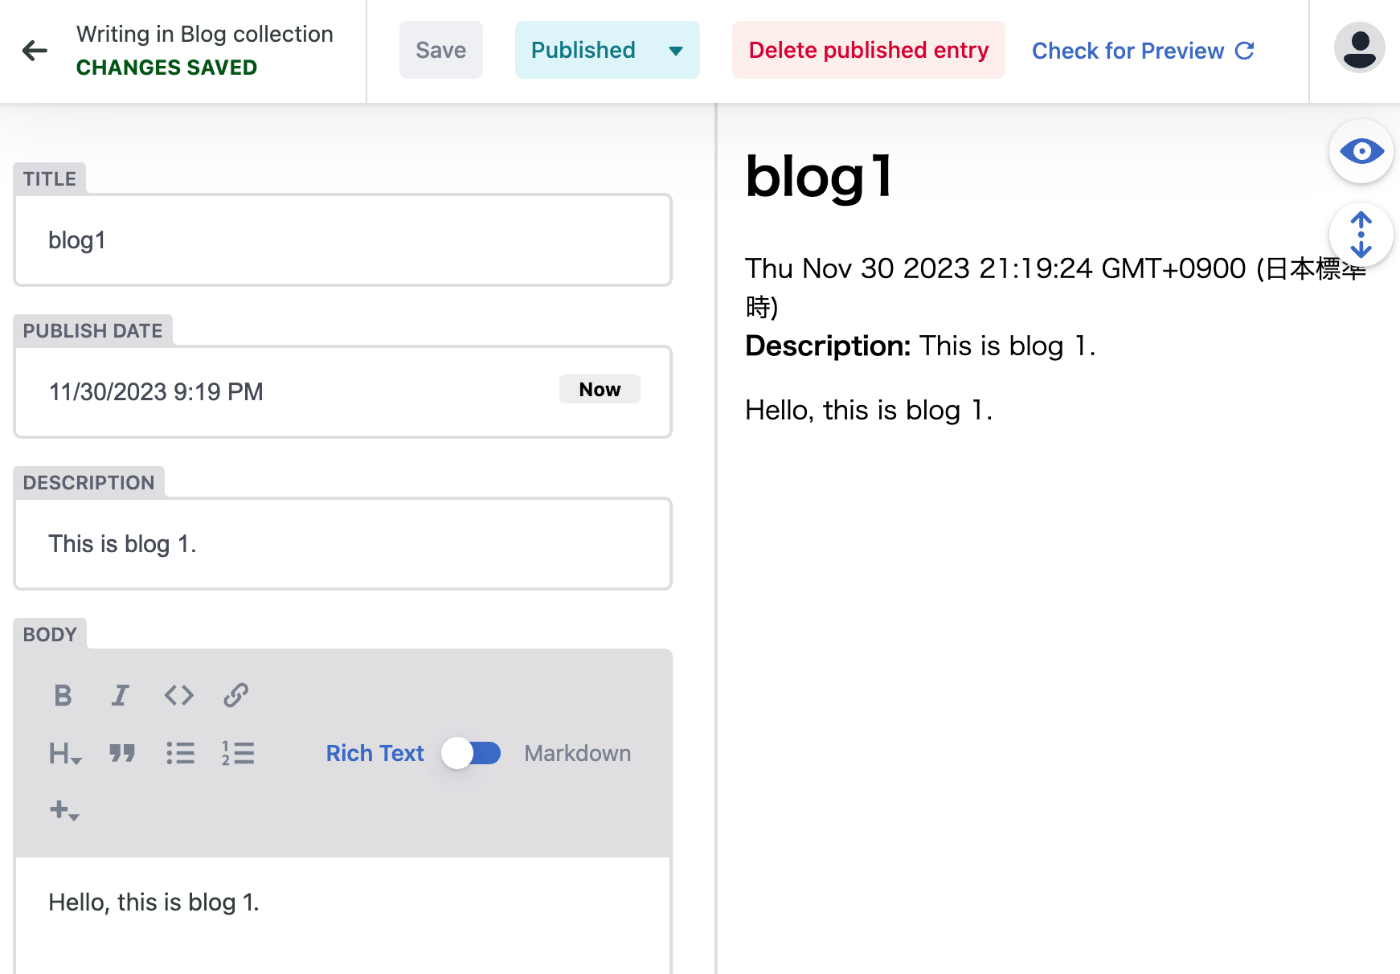
As a result, a markdown file was created in the GitHub repository as shown below.

Furthermore, a page was added as follows.
https://nuxt3-decapcms.netlify.app/blog
Trying the CMS in a Local Environment
The following documentation was available.
https://decapcms.org/docs/beta-features/#working-with-a-local-git-repository
As shown above, set local_backend: true and then run the following.
As a result, accessing the following URL displays a login button, and after logging in, the editing screen is displayed.
http://localhost:3000/admin/#/

Summary
Some explanations may be lacking, but I hope this serves as a useful reference when using Decap CMS.