Overview
I had the opportunity to connect Drupal with Amazon OpenSearch Service, so this is a personal note for future reference. The following article was helpful.
https://www.acquia.com/jp/blog/intergration-with-drupal-and-elasticsearch
Module Installation
In addition to drupal/search_api and drupal/elasticsearch_connector, it was necessary to install nodespark/des-connector.
(There may be room for improvement in how version specifications are handled.)
Then, enable them with the following.
Connecting Drupal to Elasticsearch
Cluster
Access the following.
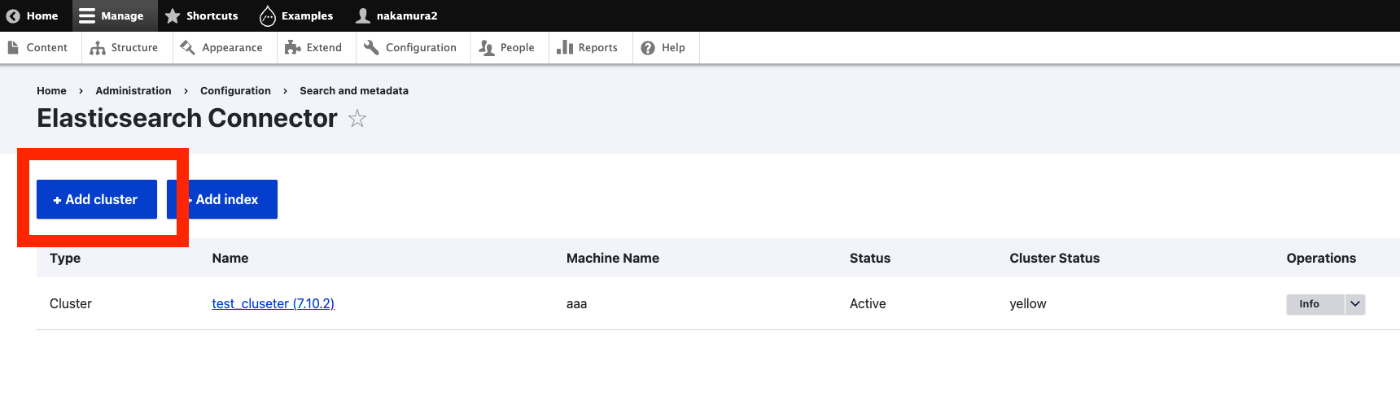
/admin/config/search/elasticsearch-connector
Click “Add cluster”.
Then, enter values as follows. This assumes Basic authentication is configured on Amazon OpenSearch Service. Note that :443 was required at the end of the value entered in “Server URL”.
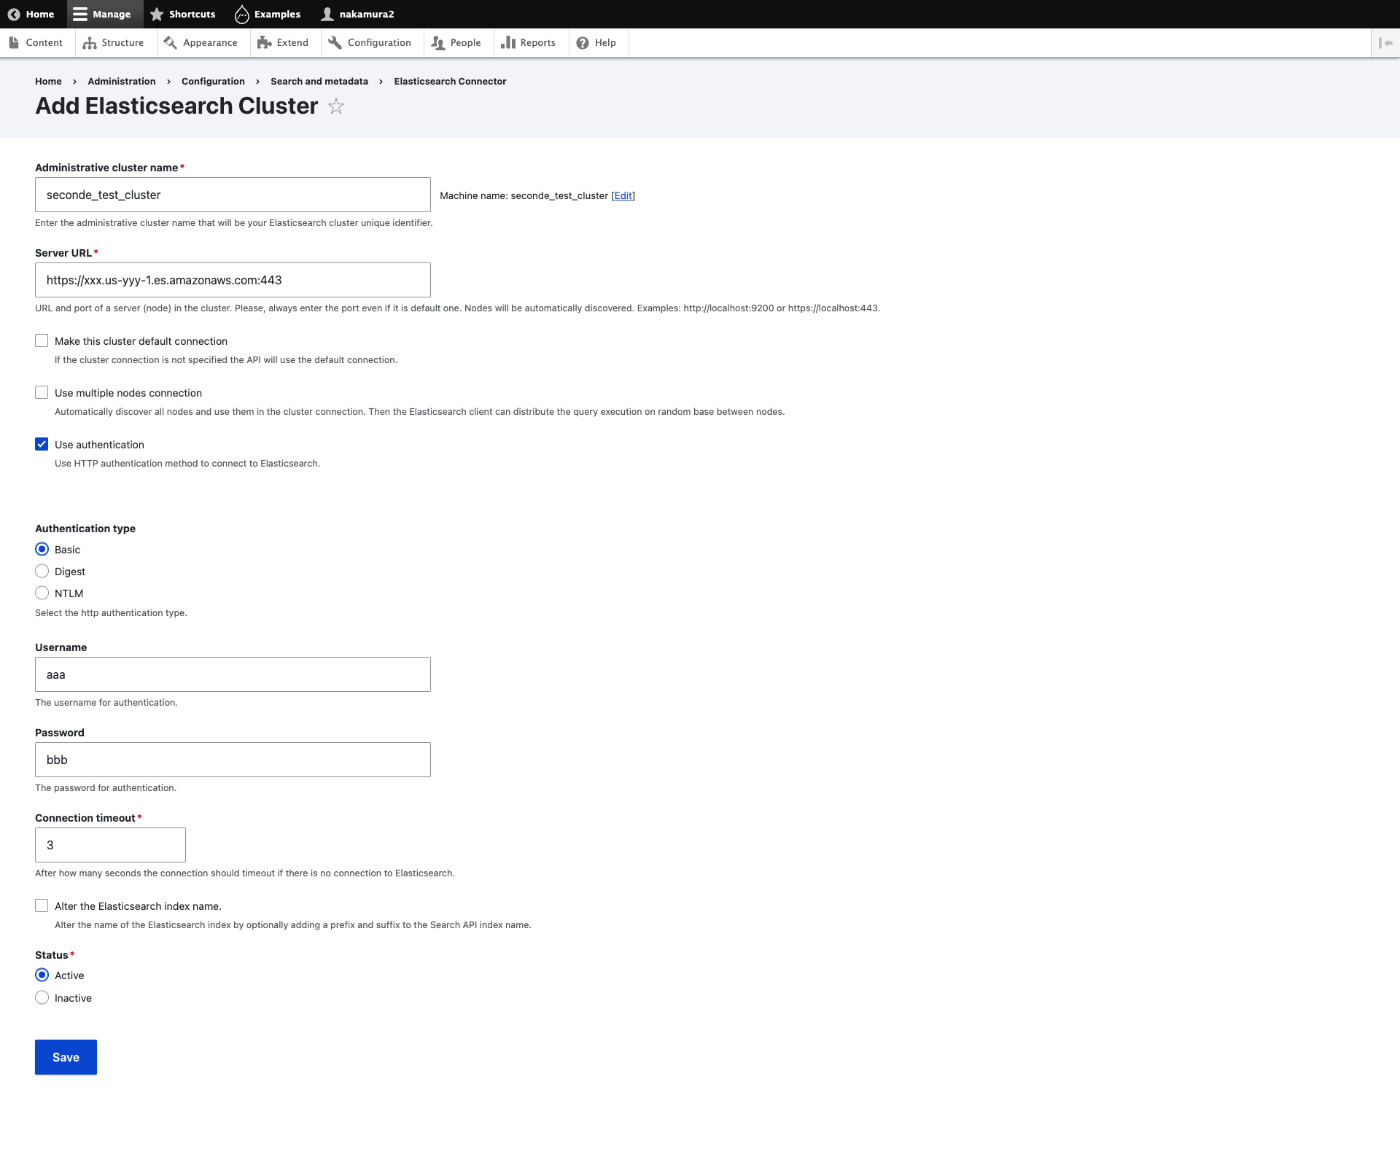
When the connection to the Elasticsearch server is successful, the Cluster Status displays yellow or green.

Index
Next, as an optional task, create an index. Press the “Add index” button and enter just the name. As a result, the index was created as follows.

Search API Configuration
Now, configure the Search API side. Access the following.
/admin/config/search/search-api
Adding a Server
Press the “Add Server” button. In particular, select Elasticsearch for the Backend and select the cluster created earlier for the Cluster.

Adding an Index
Although not shown in the following screen, “Content” is selected under “Datasources”. Also, the server created above is selected under “Server”.
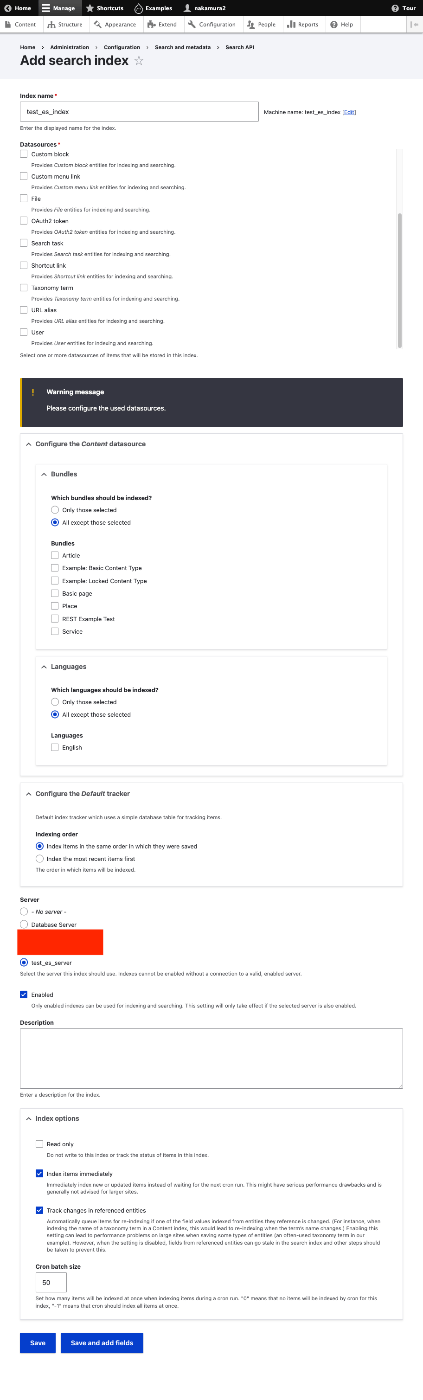
Next, click the “Save and add fields” button at the bottom.
Adding Fields
This time, as a minimum field, add Title.

To enable fulltext search on the added fields, change the “Type”. Please modify these settings as appropriate.

Reindexing
When you press “Save changes”, a link (in yellow) to reindexing is displayed as shown below.
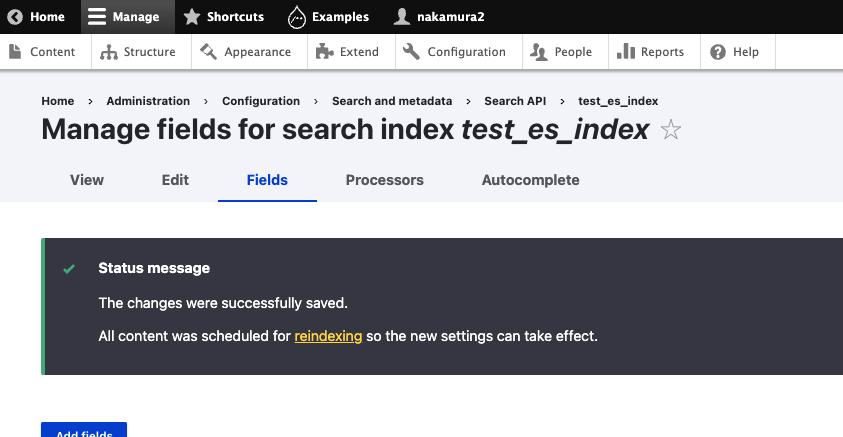
Click the link above to access the following.
/admin/config/search/search-api/index/{index name}
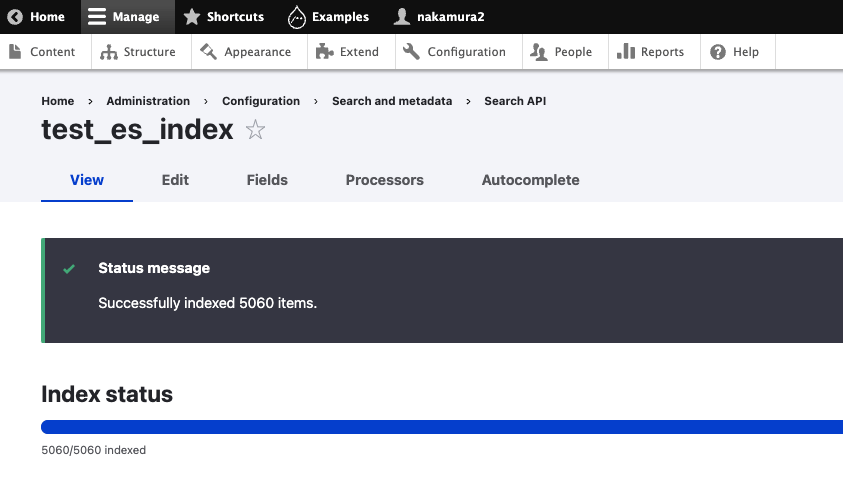
Click “Index now” at the bottom of the page to perform indexing.
Verifying Data
Access the following URL to check the Amazon OpenSearch Service data. Change the index name and other values as appropriate.
https://{opensearch server}/elasticsearch_index_bitnami_drupal_test_es_index/_search
You can confirm that data has been registered as follows.
Conclusion
After this, I would like to create a search results page using the Views feature and add faceted search and suggest functionality, but since this article has gotten long, I will stop here.
After the above configuration, when content is registered, the Amazon OpenSearch Service (Elasticsearch) index was also automatically updated.
This seems to be a valuable solution for searching large amounts of content at high speed.