Overview
Previously, I shared a method for running the NDLOCR app using Google Cloud Platform’s Compute Engine.
However, the above method involves somewhat cumbersome procedures and incurs costs. While it is suitable for production environments, it presented a high barrier for small-scale or experimental use.
To address this issue, @blue0620 created a method for running the NDLOCR app using Google Colab.
https://twitter.com/blue0620/status/1519294332159012864
By using the above notebook, you can easily (with one click from “Runtime” > “Run all”) and freely run OCR.
This time, based on that notebook, I have compiled a method for using Google Colab that includes the procedures for image input via Google Drive and saving results.
Notebook
The Google Colab notebook created this time can be accessed from the following link.
https://colab.research.google.com/github/nakamura196/ndl_ocr/blob/main/ndl_ocr_folder.ipynb
You can run OCR processing simply by preparing a folder of input images on Google Drive.
For basic operation instructions, please refer to the descriptions within the notebook above. Below is an execution example.
Execution Method
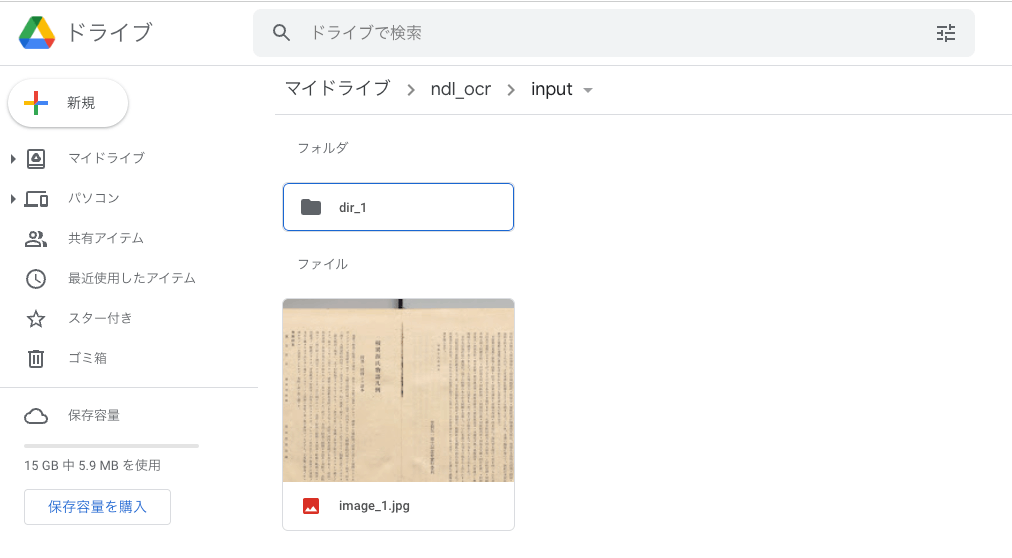
Preparing the Input Folder
First, create a folder containing image files on Google Drive. This time, as shown below, I created a folder “ndl_ocr > input” in My Drive, placed an image file “image_1.jpg” and a folder “dir_1” directly under it, and stored an image file “image_2.jpeg” inside the “dir_1” folder.
In tree view, it looks like this:
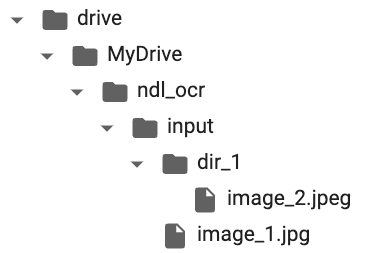
The program created this time recursively searches for images in the specified input folder.
Running the Notebook: 1. Initial Setup
Please access the notebook shown earlier.
https://colab.research.google.com/github/nakamura196/ndl_ocr/blob/main/ndl_ocr_folder.ipynb
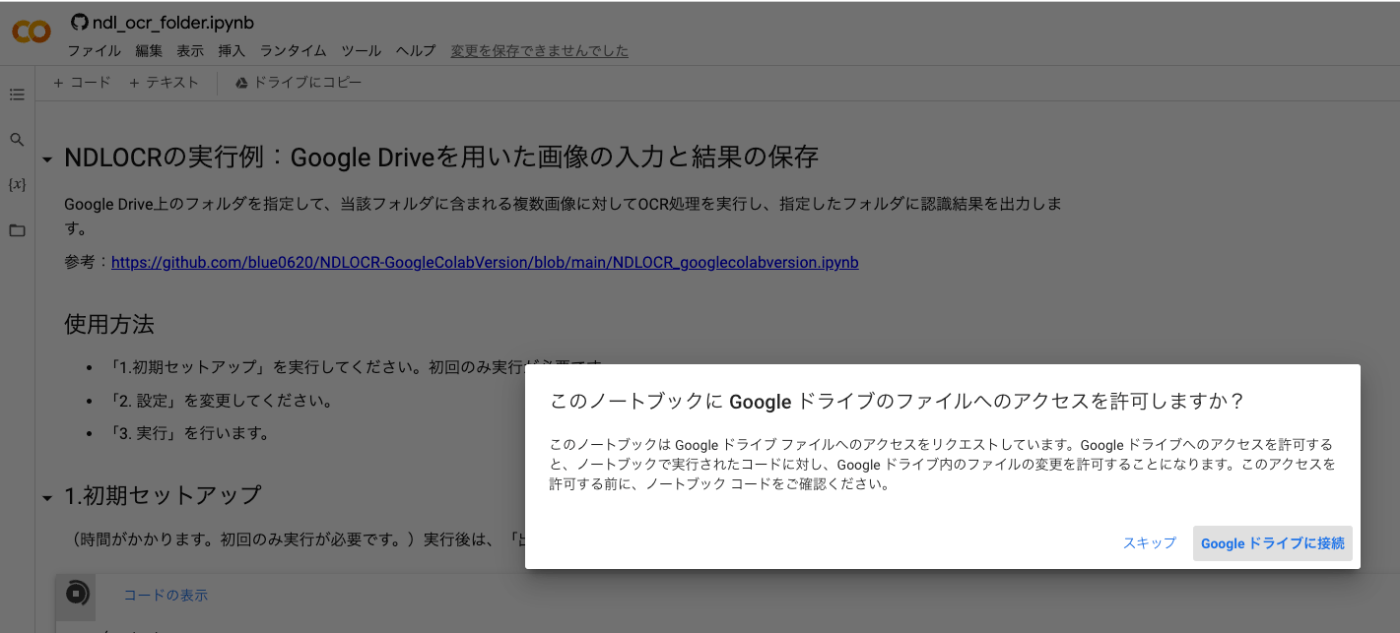
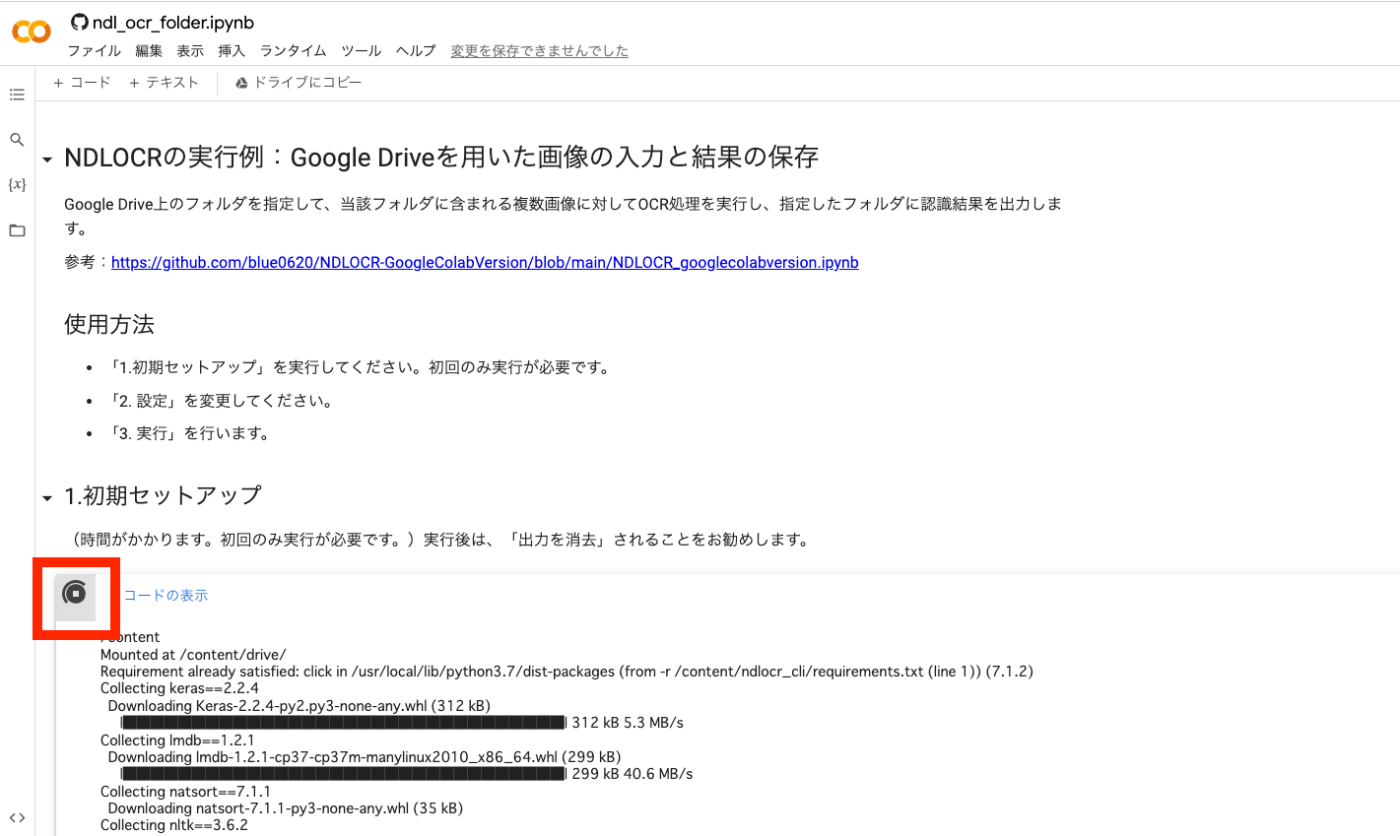
Then, click the play button shown below. It takes some time, but it installs the necessary libraries. This step only needs to be run once after launching the notebook.

After clicking the play button, you will be asked “Allow this notebook to access your Google Drive files?” Click “Connect to Google Drive” to grant permission.
After that, the running button will be displayed for a while. Once it completes, proceed to the next step.
Running the Notebook: 2. Configuration
Next, configure the OCR processing target.
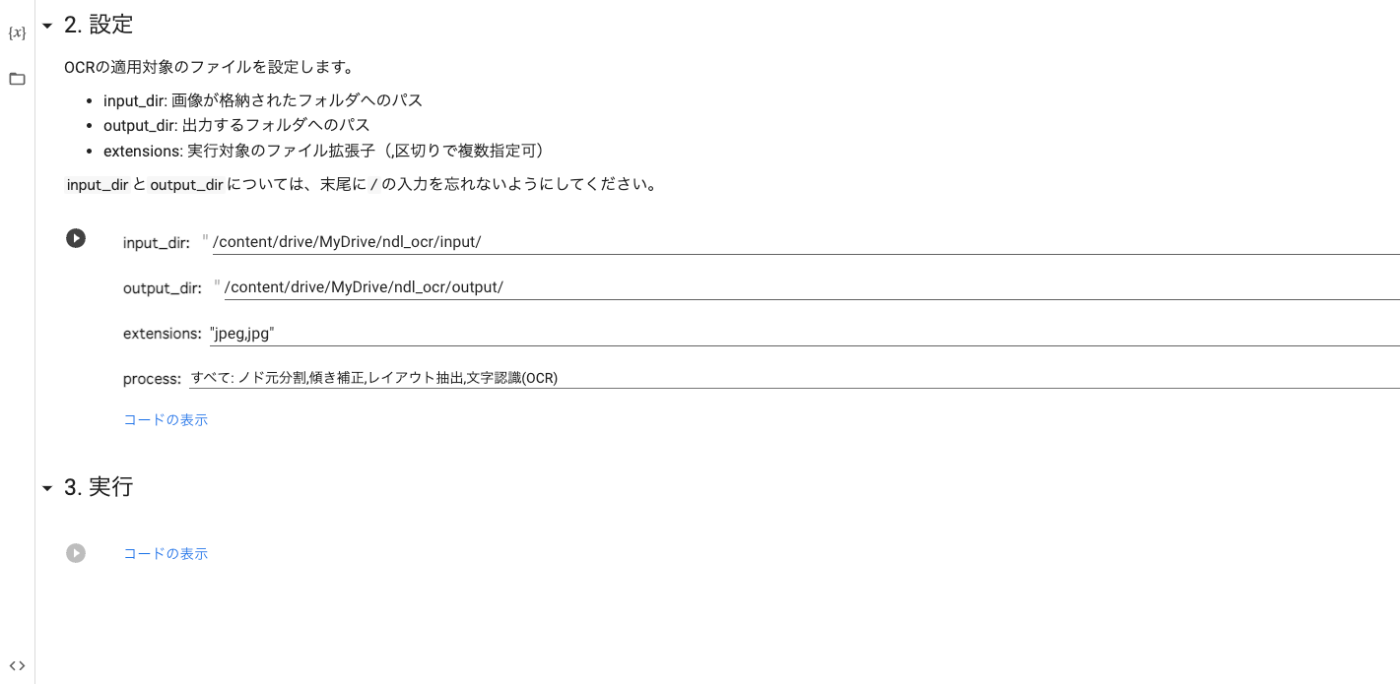
The input folder (input_dir) was set to “/content/drive/MyDrive/ndl_ocr/input/” as described above.
The output folder (output_dir) was set to “/content/drive/MyDrive/ndl_ocr/output/”. This folder does not need to be created in advance.
For extensions, since I stored images with jpg and jpeg extensions this time, I set these two.
For process, please refer to the following:
https://github.com/ndl-lab/ndlocr_cli#推論処理の実行
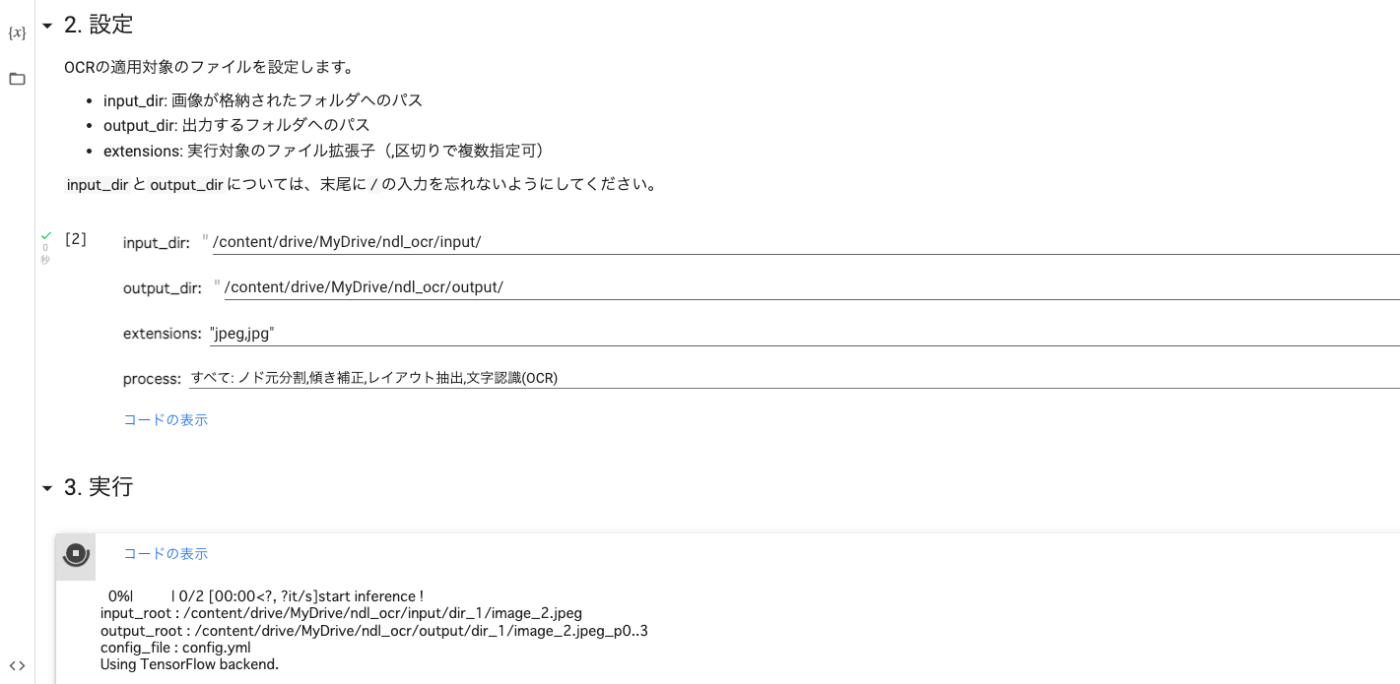
Running the Notebook: 3. Execution
Click the play button for “3. Execution.”

After clicking the play button, the running button will be displayed as follows.
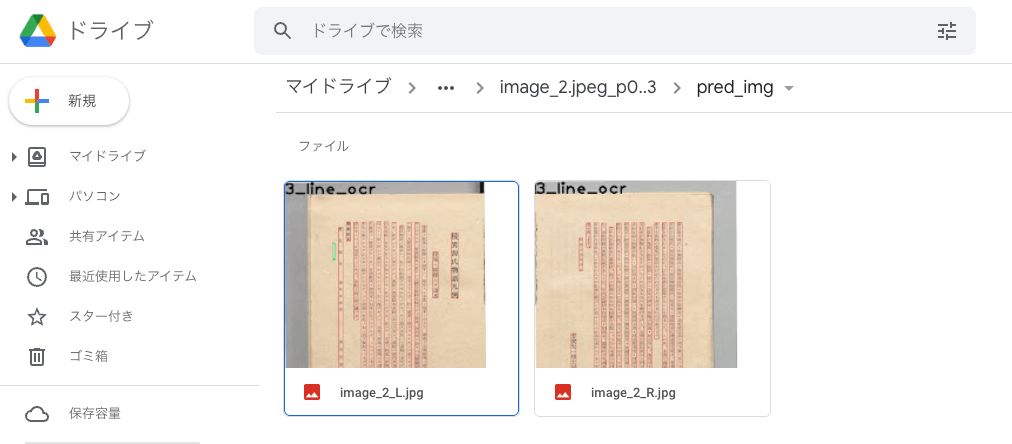
After completion, the recognition results are saved in the specified output folder as shown below. The output maintains the input folder structure. Additionally, the process value selected in the configuration is appended to the folder name. This ensures that each output folder is preserved when running with different process values.

As shown below, you can save and verify the recognition results on Google Drive.
Summary
With the above method, you can perform OCR processing on images stored on Google Drive and save the results for free. The saved results can be utilized for various purposes.
I would like to thank @blue0620 for demonstrating the execution method using Google Colab.
Addendum
2022.05.02
I created Version 2, an improved version of this notebook. Please also refer to the following article.
2022.04.30
I added a “Single input dir mode” to the settings. Please also refer to the following article.