Overview
NDL Lab publishes the following automatic figure/table extraction program.
https://github.com/ndl-lab/tensorflow-deeplab-v3-plus
This time, I summarize how to use Google Colab for the above program, including the procedures for inputting images via Google Drive and saving results.
Notebook
The Google Colab notebook created this time can be accessed from the following.
https://colab.research.google.com/github/nakamura196/ndl_ocr/blob/main/ndl_deeplab.ipynb
By preparing a folder of input images on Google Drive, you can execute the automatic figure/table extraction process.
For basic operation instructions, please check the explanations within the notebook above. Below, I introduce execution examples.
This notebook provides two methods: (1) preparing an input folder, and (2) entering a IIIF manifest file URL. I will explain each.
Execution Method: (1) Preparing an Input Folder
Preparing the Input Folder
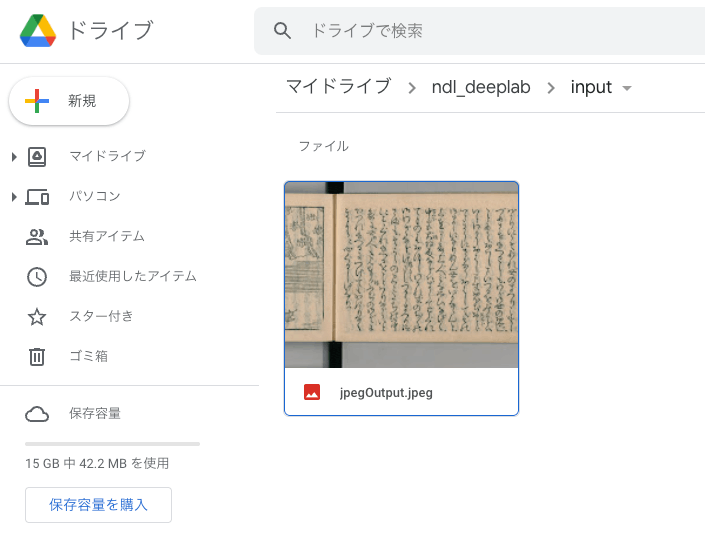
First, create a folder containing image files on Google Drive. In this case, I created a folder called “ndl_deeplab > input” in My Drive and placed image files directly inside it.
Running the Notebook: 1. Initial Setup
Access the notebook shown earlier.
https://colab.research.google.com/github/nakamura196/ndl_ocr/blob/main/ndl_deeplab.ipynb
Then press the two play buttons provided. It takes some time, but this installs the necessary libraries. This step only needs to be performed once after starting the notebook.
Running the Notebook: 2. Settings
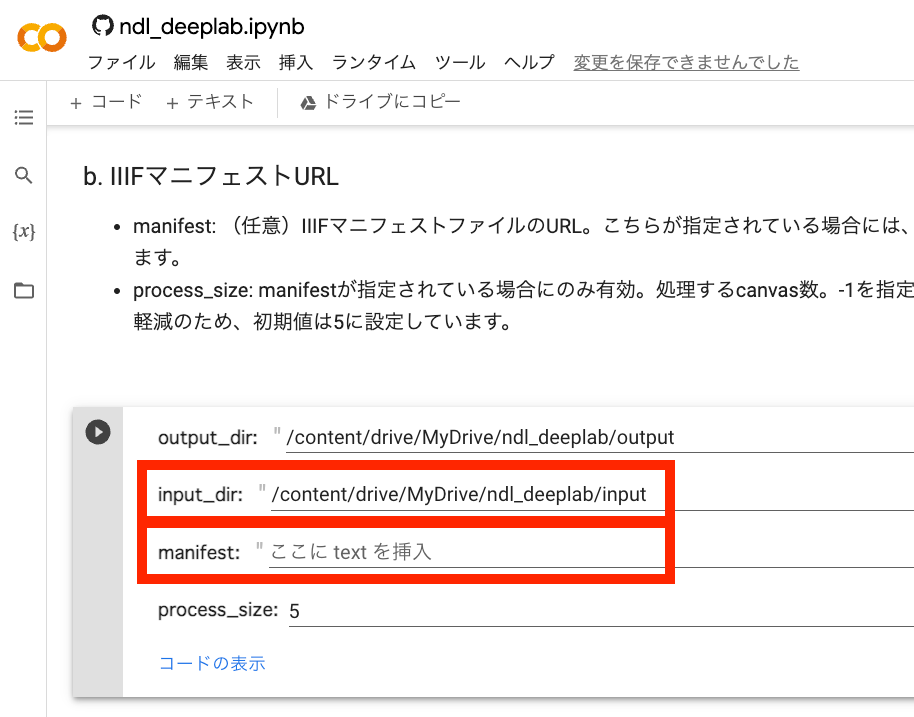
Next, configure the processing target. Specify the path to the folder prepared earlier in input_dir as shown below. Also, leave the manifest value empty. This will process the image files stored in input_dir.
Press the play button and the settings are complete.
Running the Notebook: 3. Execution
Press the play button for “3. Execution.”
After completion, a folder based on the processing start time is created in the specified output folder on Google Drive, and the recognition results are saved inside it, as shown below.
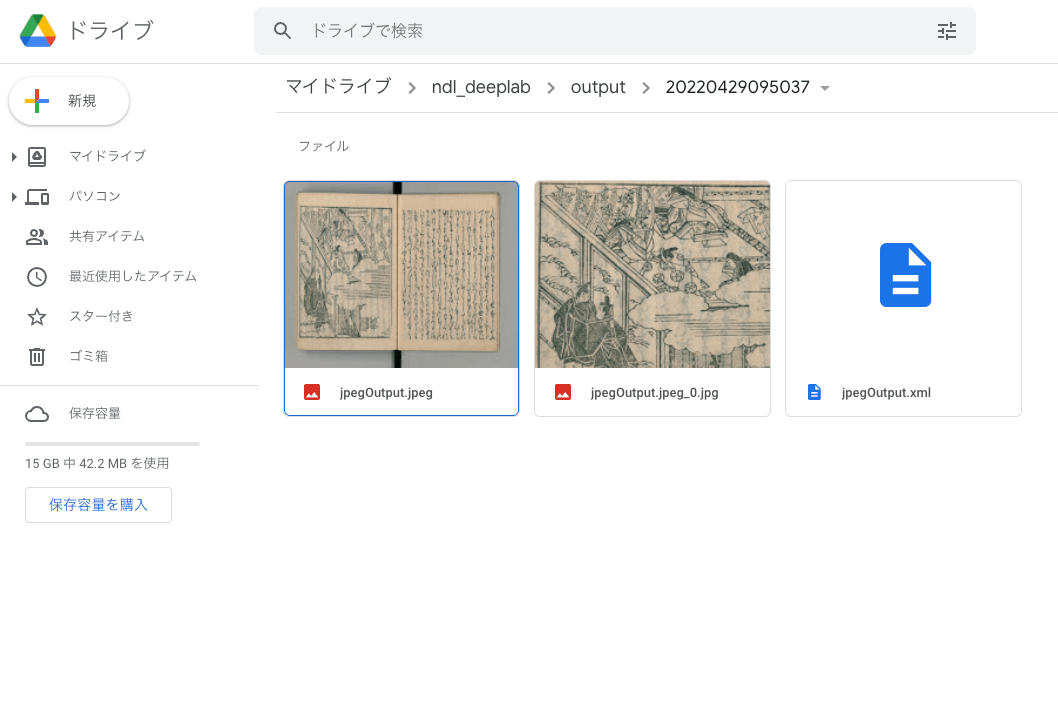
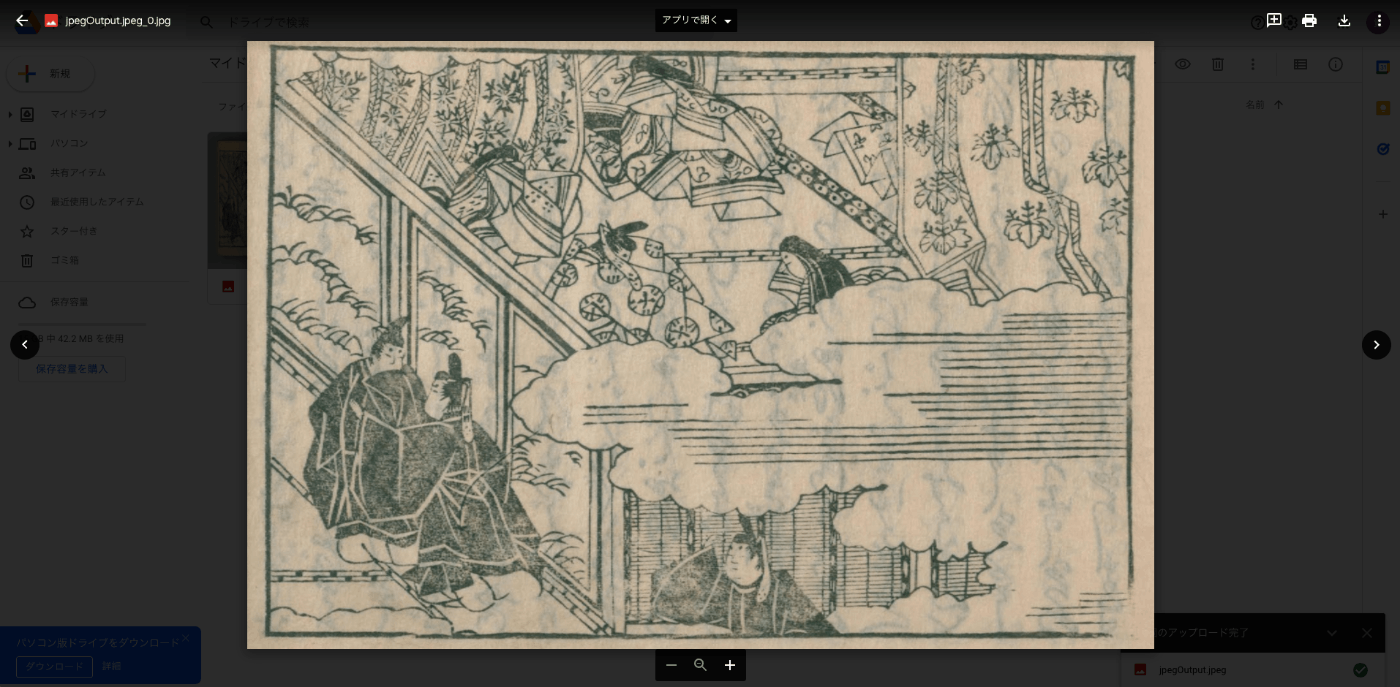
While figure/table extraction may sometimes fail, in this case, figures and tables were correctly extracted as shown below.
Execution Method: (2) Entering a IIIF Manifest File URL
Running the Notebook: 1. Initial Setup
This is the same process as before. Skip it from the second time onward.
Running the Notebook: 2. Settings
Enter the URL of the IIIF manifest file to process in manifest as shown below.
Also, specify the number of canvases to process in process_size. Entering -1 will process all canvases (images) contained in the manifest file.
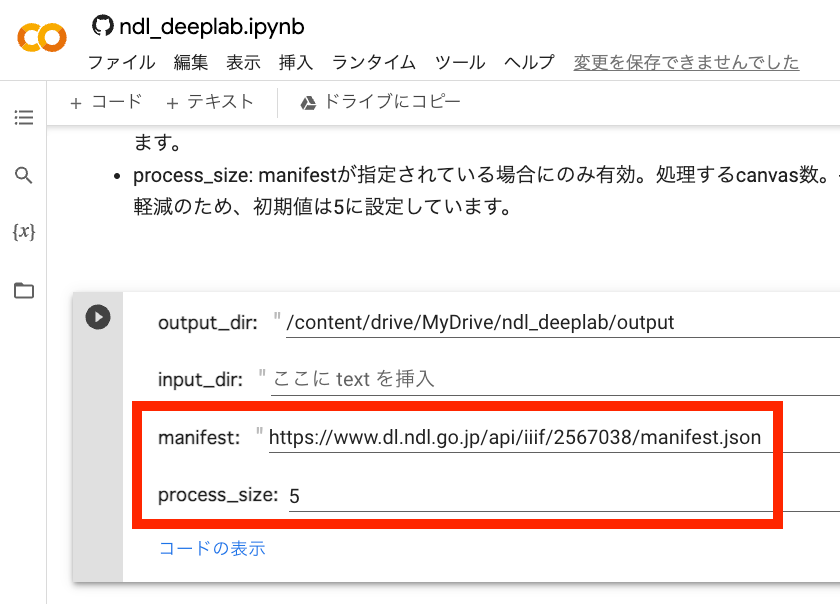
Press the play button and the settings are complete.
Running the Notebook: 3. Execution
Press the play button for “3. Execution.”
In this case, image downloading is first performed as shown below.
Then the extraction process begins. If there are many target images, it will take time to complete.
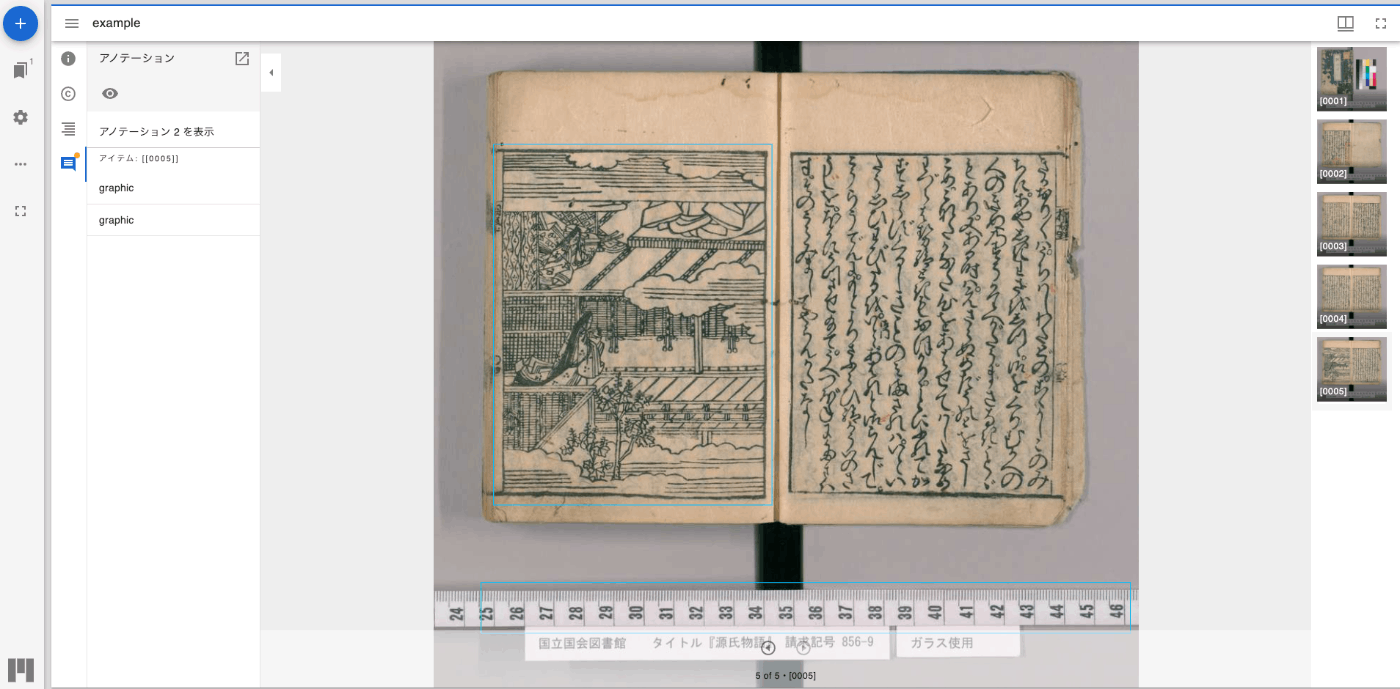
After the extraction process is complete, in addition to saving the recognition results to the specified output folder on Google Drive as shown in “Execution Method: (1) Preparing an Input Folder,” the recognition results are also output as an IIIF manifest file, and a URL for viewing them in the Mirador viewer is displayed.
Clicking the above link allows you to verify the recognition results using Mirador as shown below.
Summary
This time, I presented an example of how to use Google Colab to run the automatic figure/table extraction program published by NDL Lab. I hope this is helpful for others.
I am deeply grateful to the NDL staff who made such an application publicly available.