Overview
This is a note from trying Azure Logic Apps for the purpose of investigating no-code or low-code development.
Result
Below is the Logic App Designer screen. We create a workflow that receives an HTTP request, saves data to Cosmos DB, and sends an email upon success.

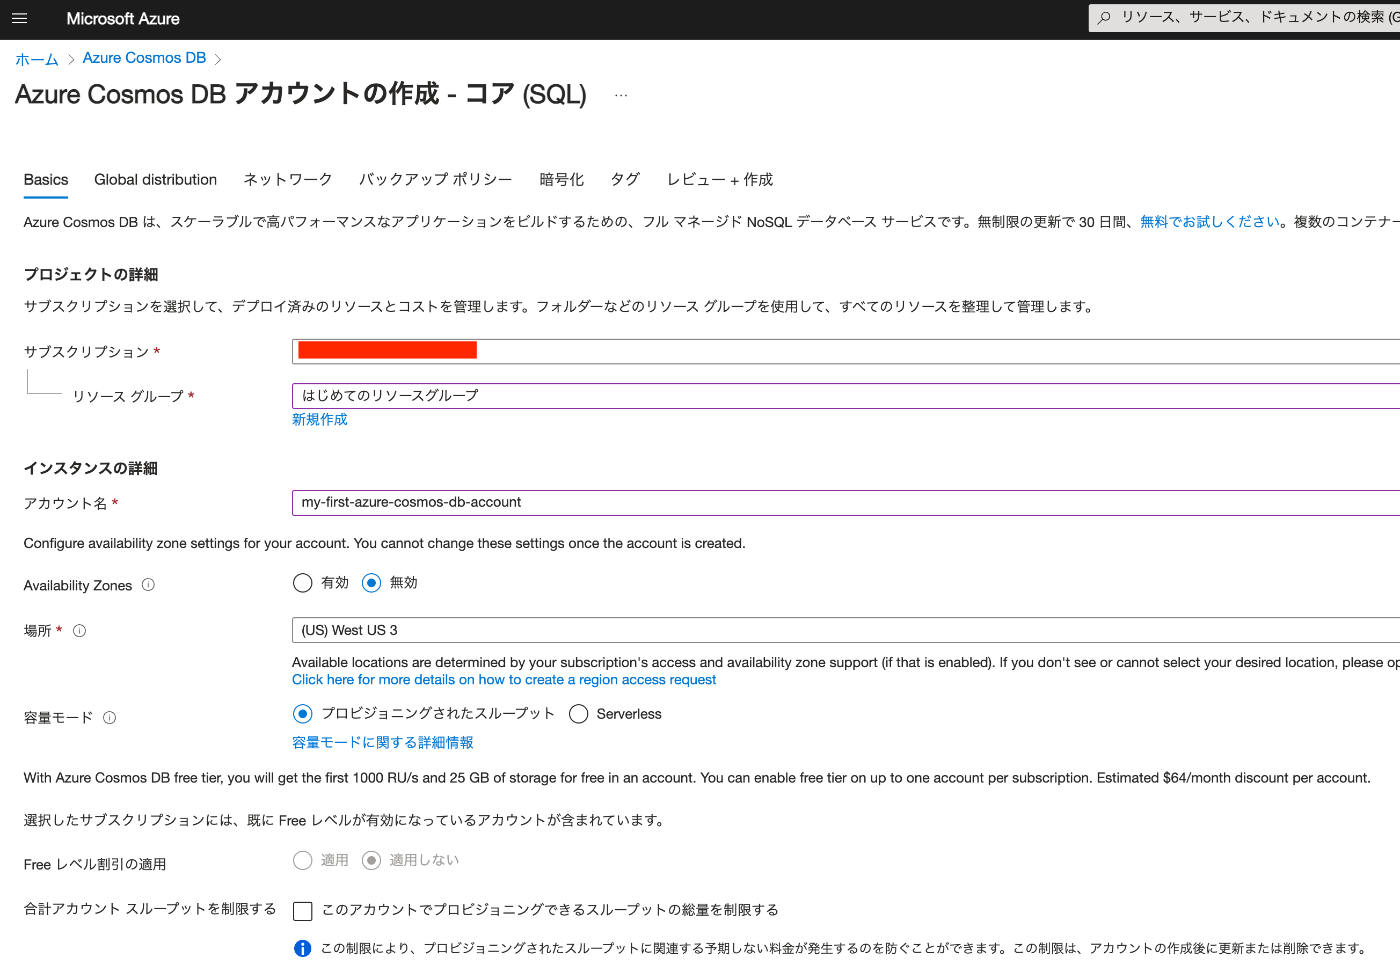
Creating Azure Cosmos DB
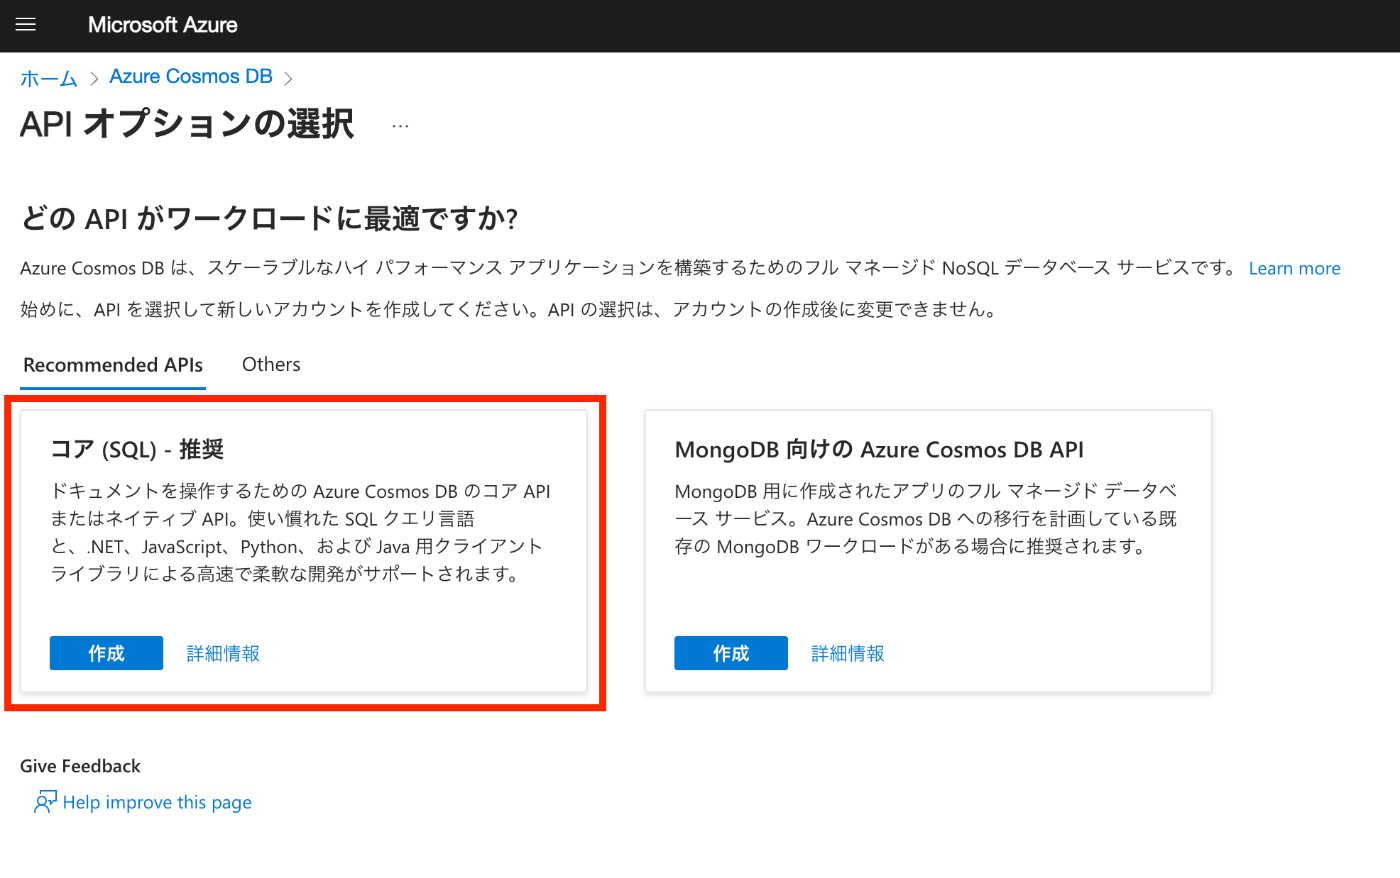
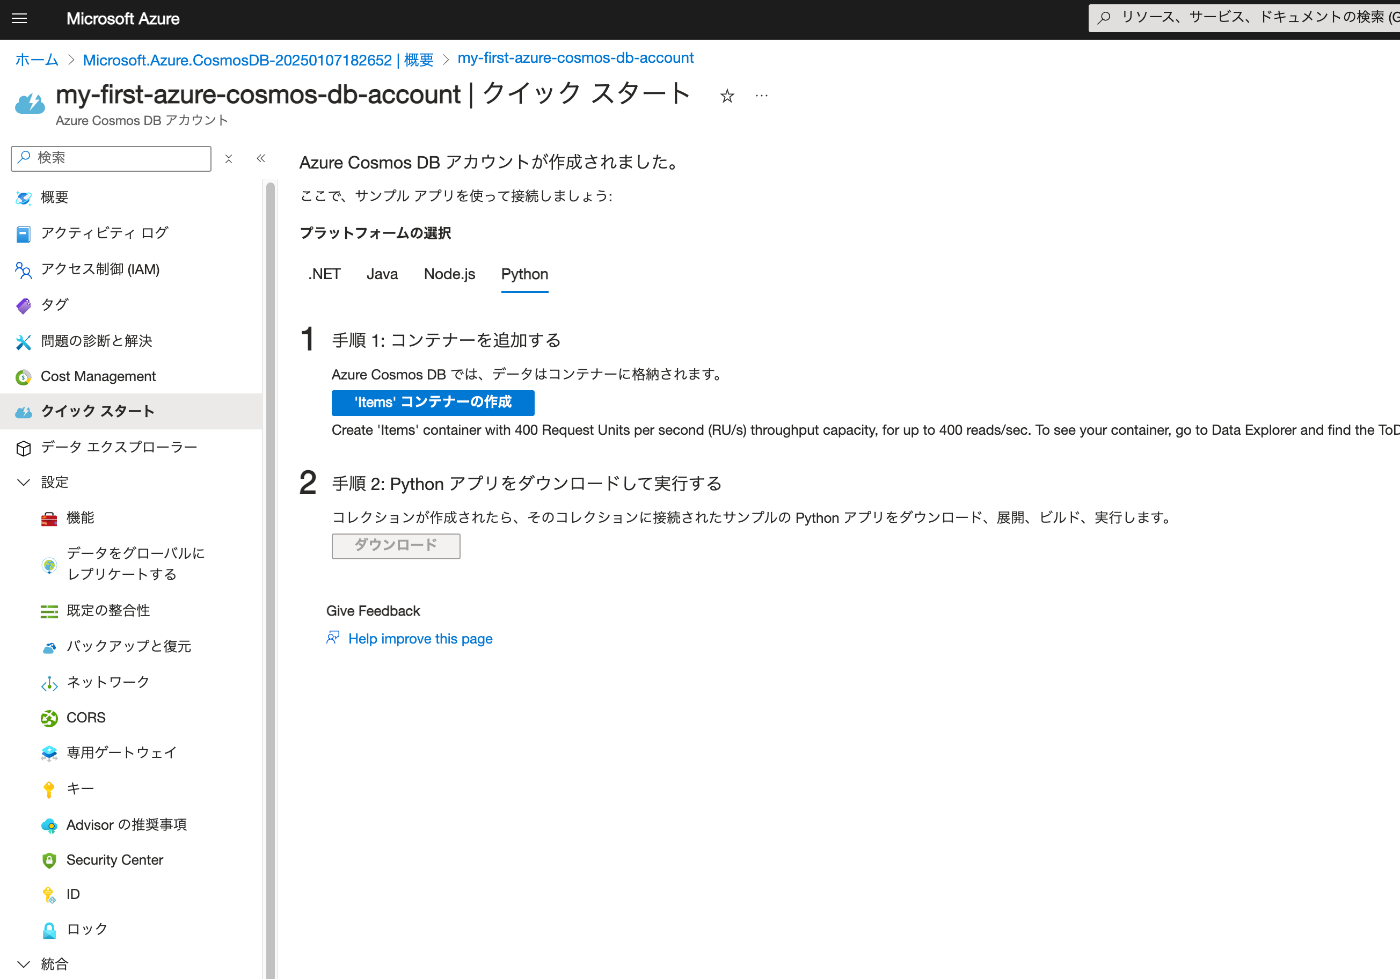
Everything except “Account name” was left as default. It was created with the name “my-first-azure-cosmos-db-account.”
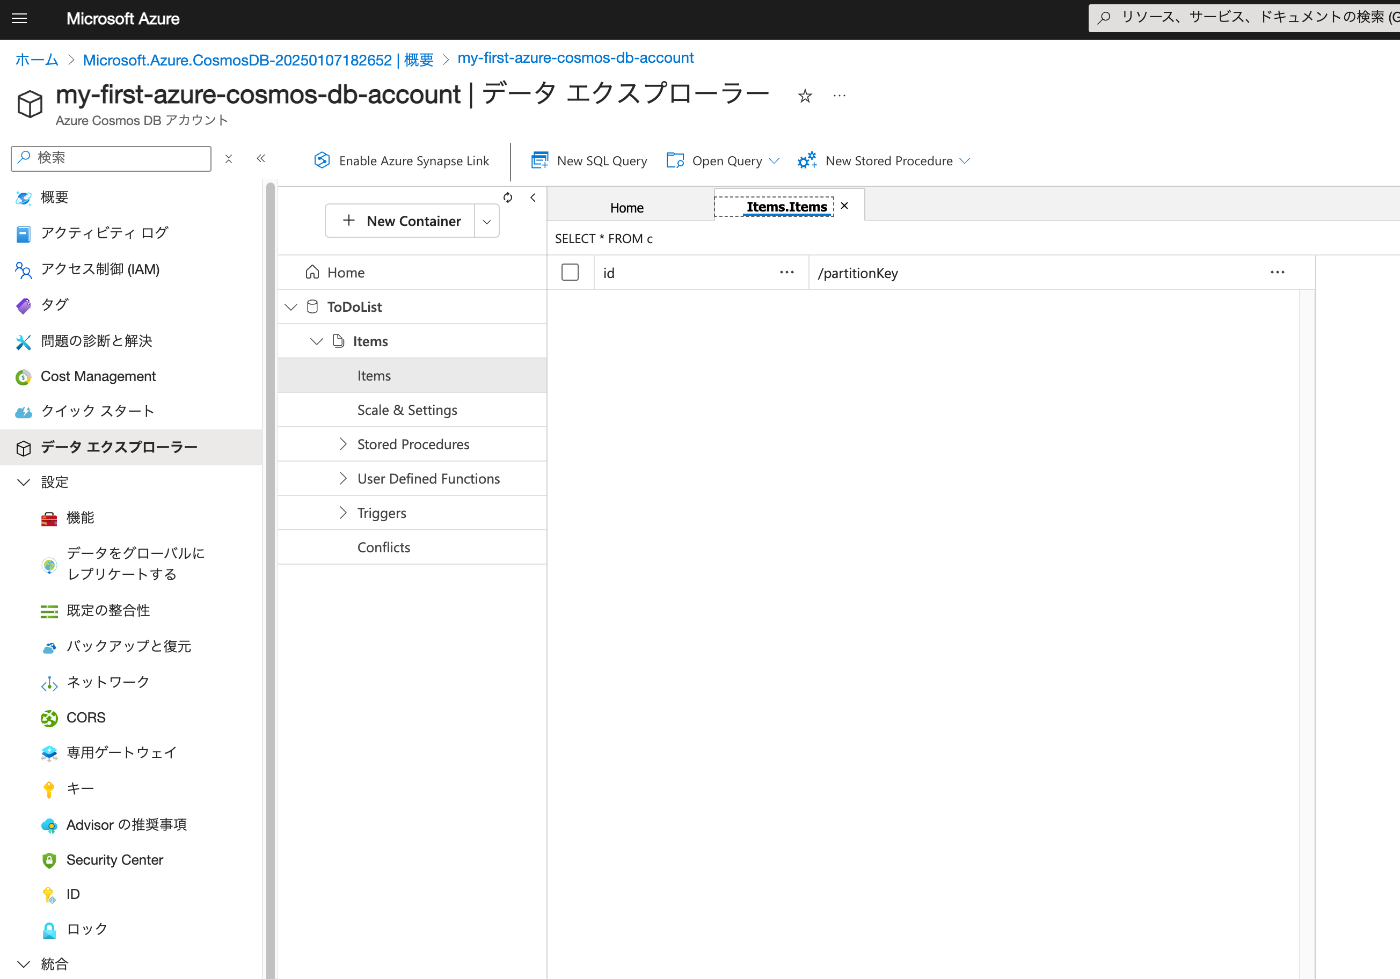
Create an “Items” container.
Using “Data Explorer,” you can confirm that the collection “Items” has been created under the database “ToDoList.”
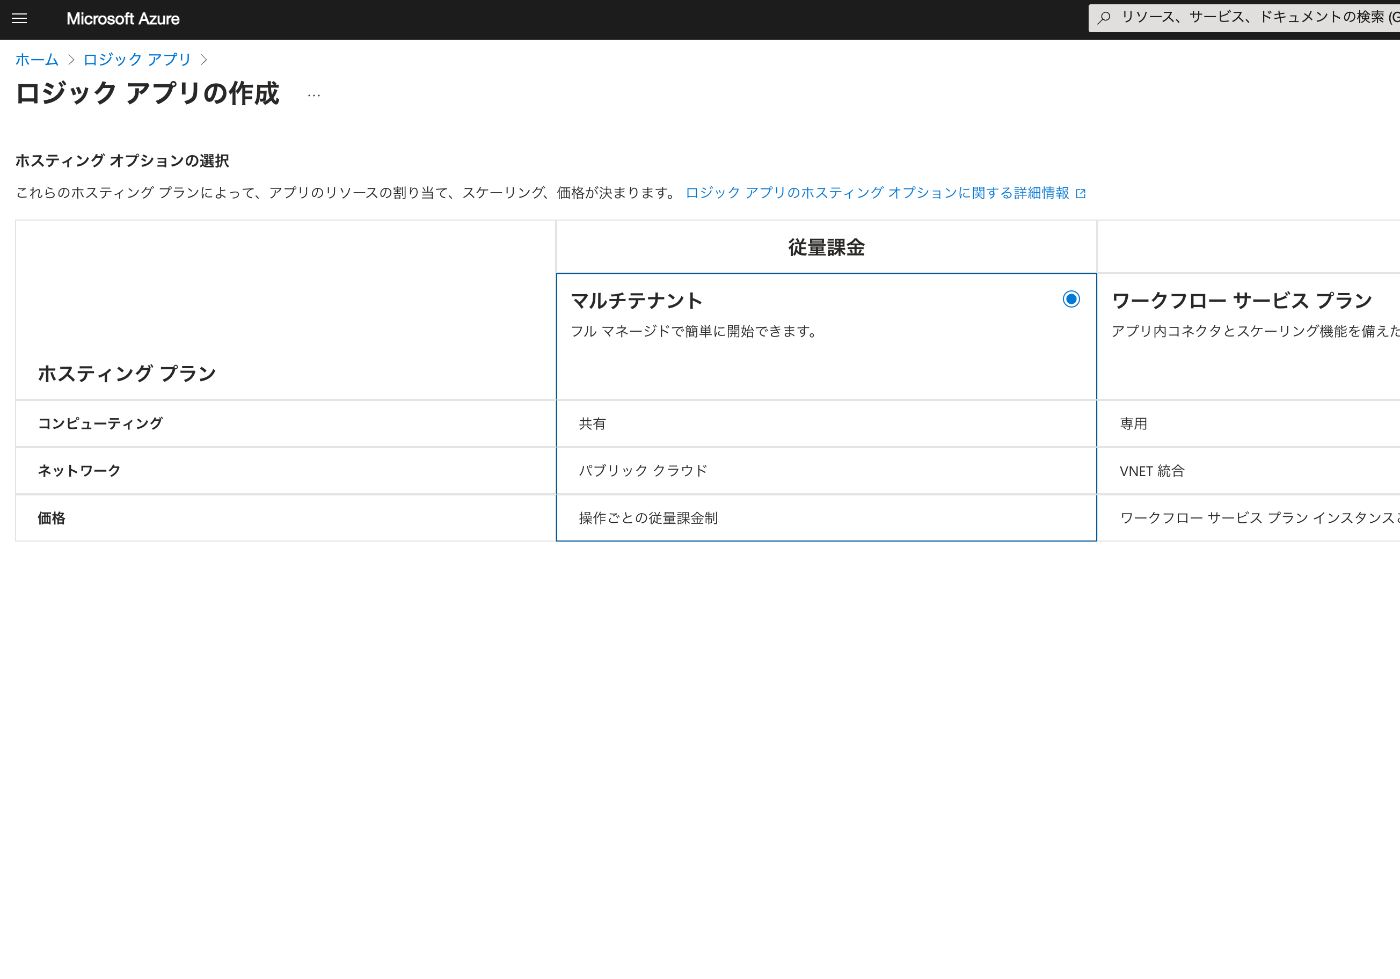
Creating a Logic App
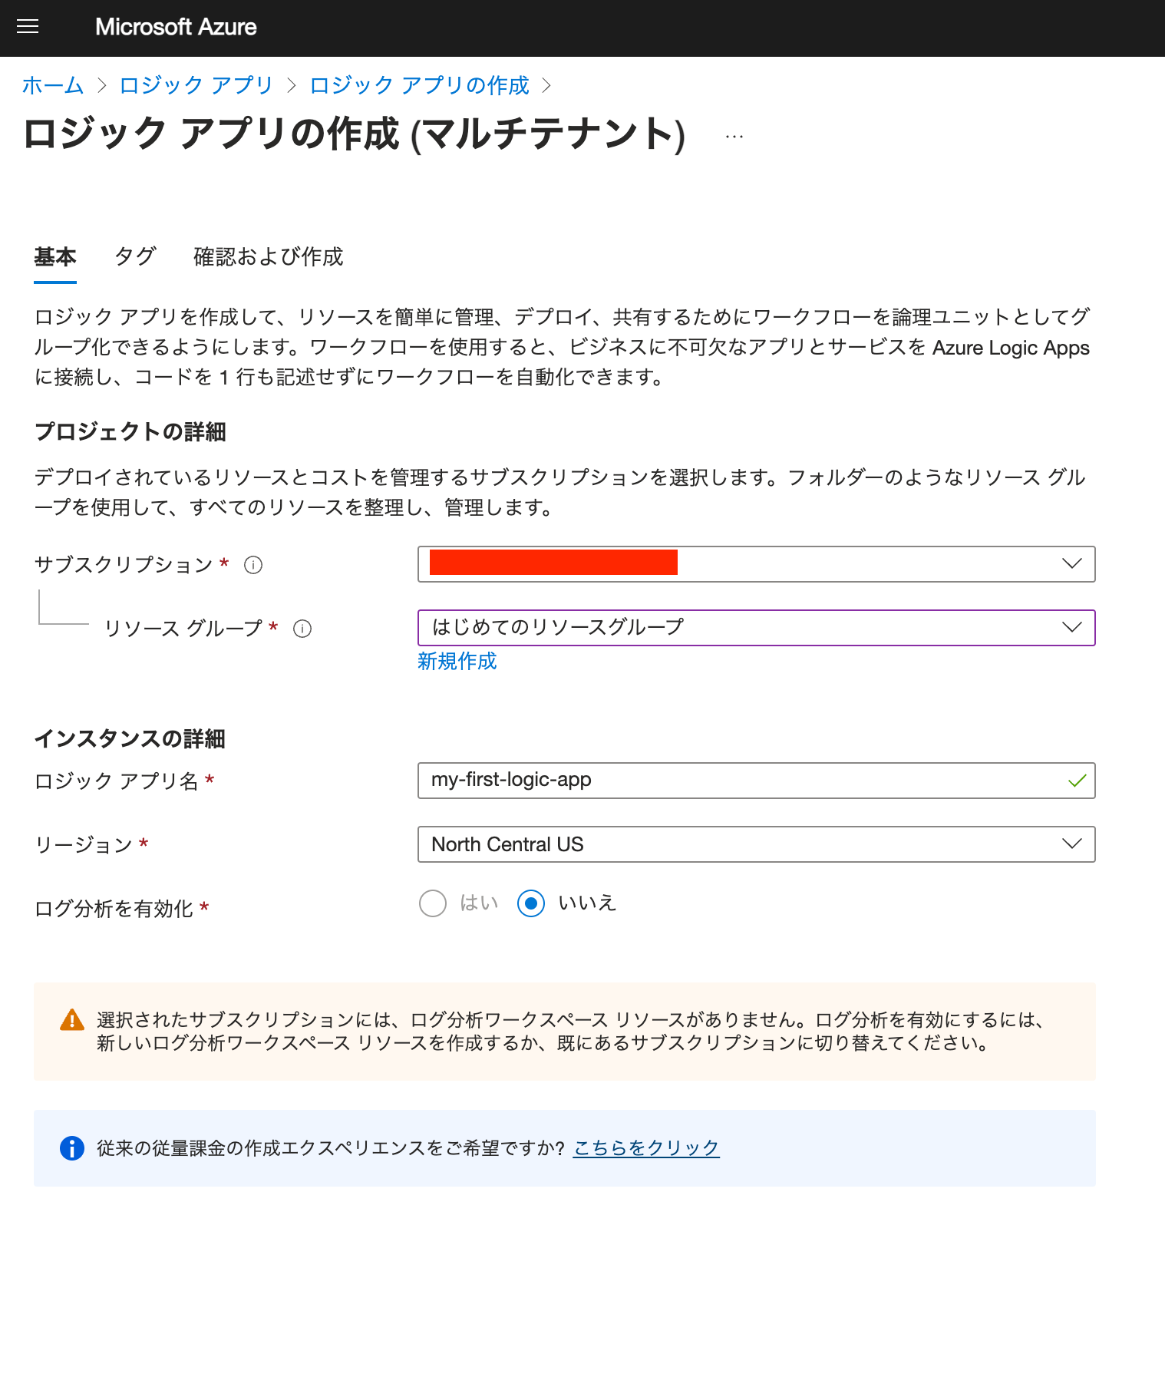
Create a Logic App.
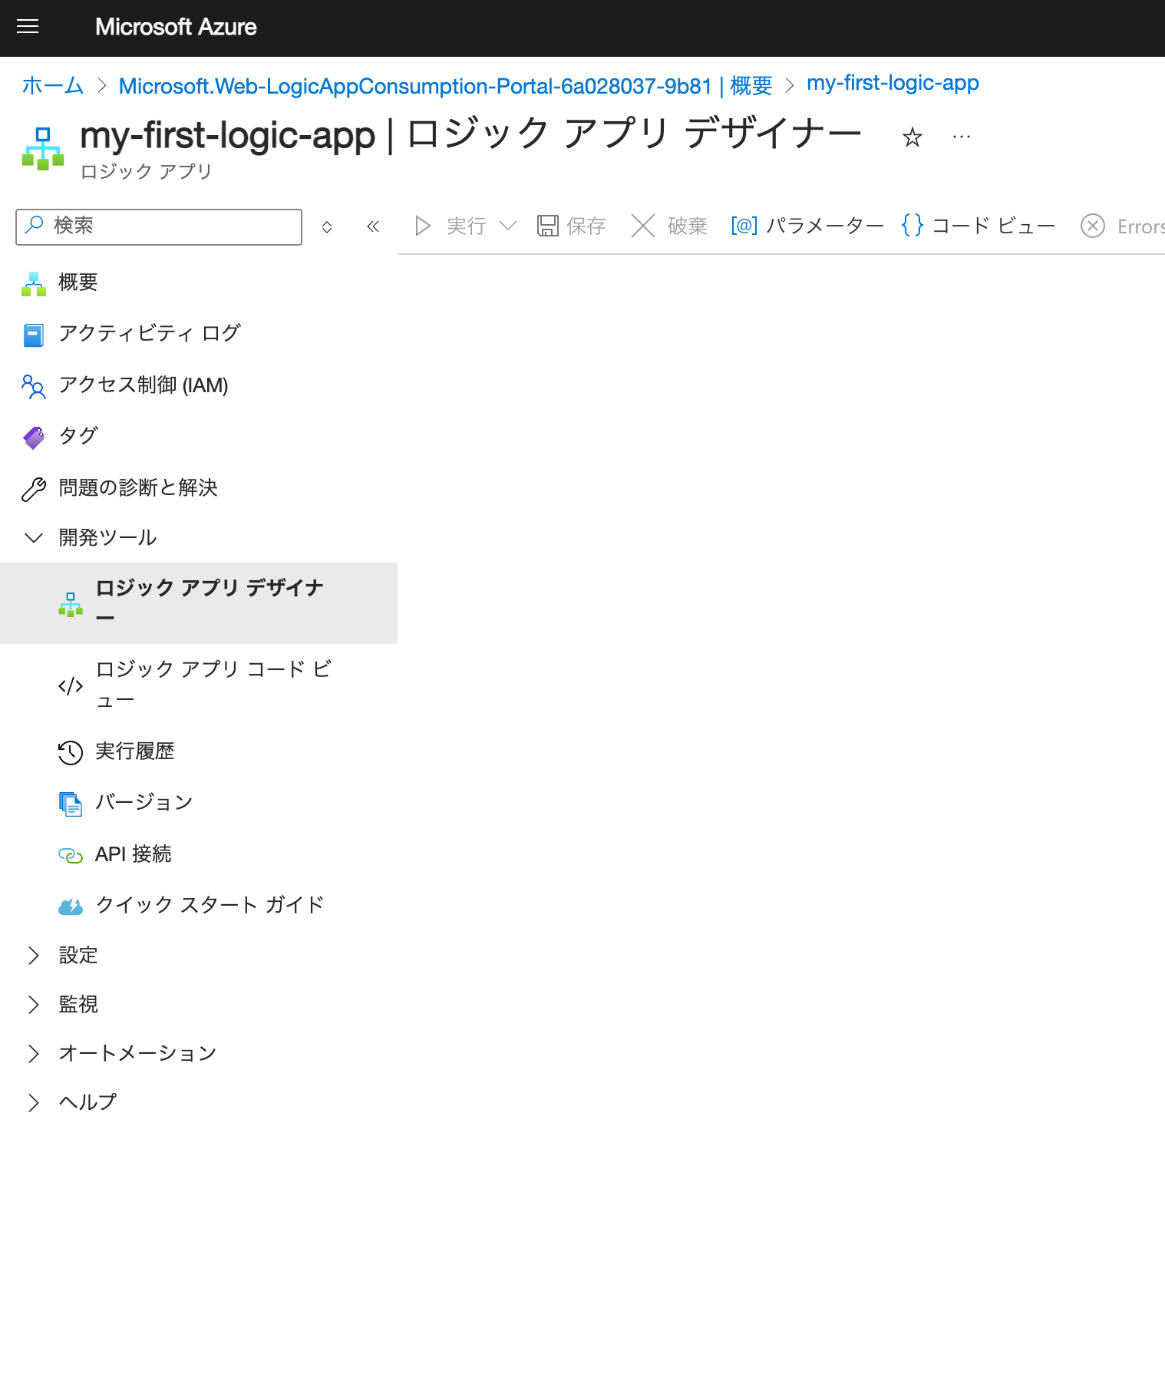
“my-first-logic-app” was created.
Navigate to “Logic App Designer.”
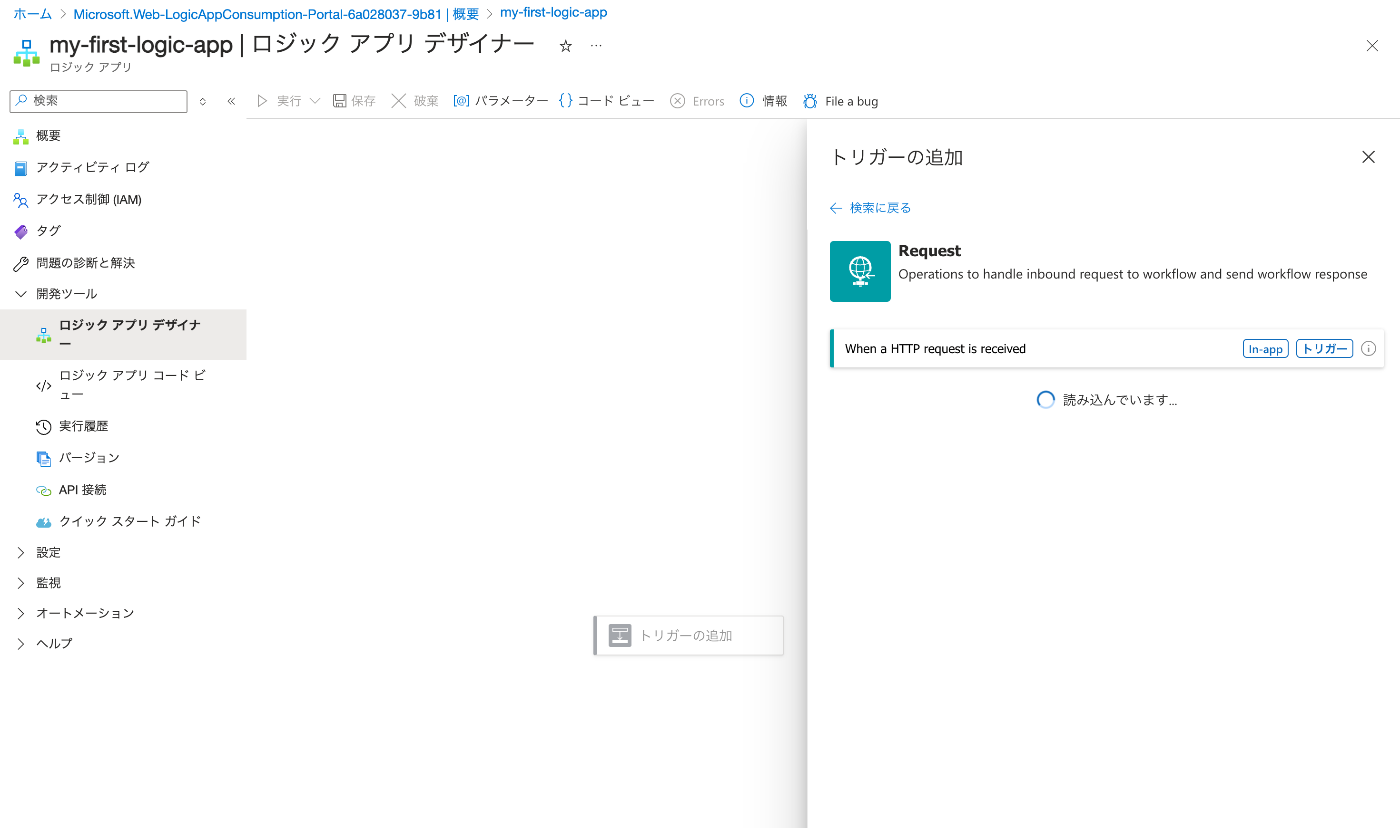
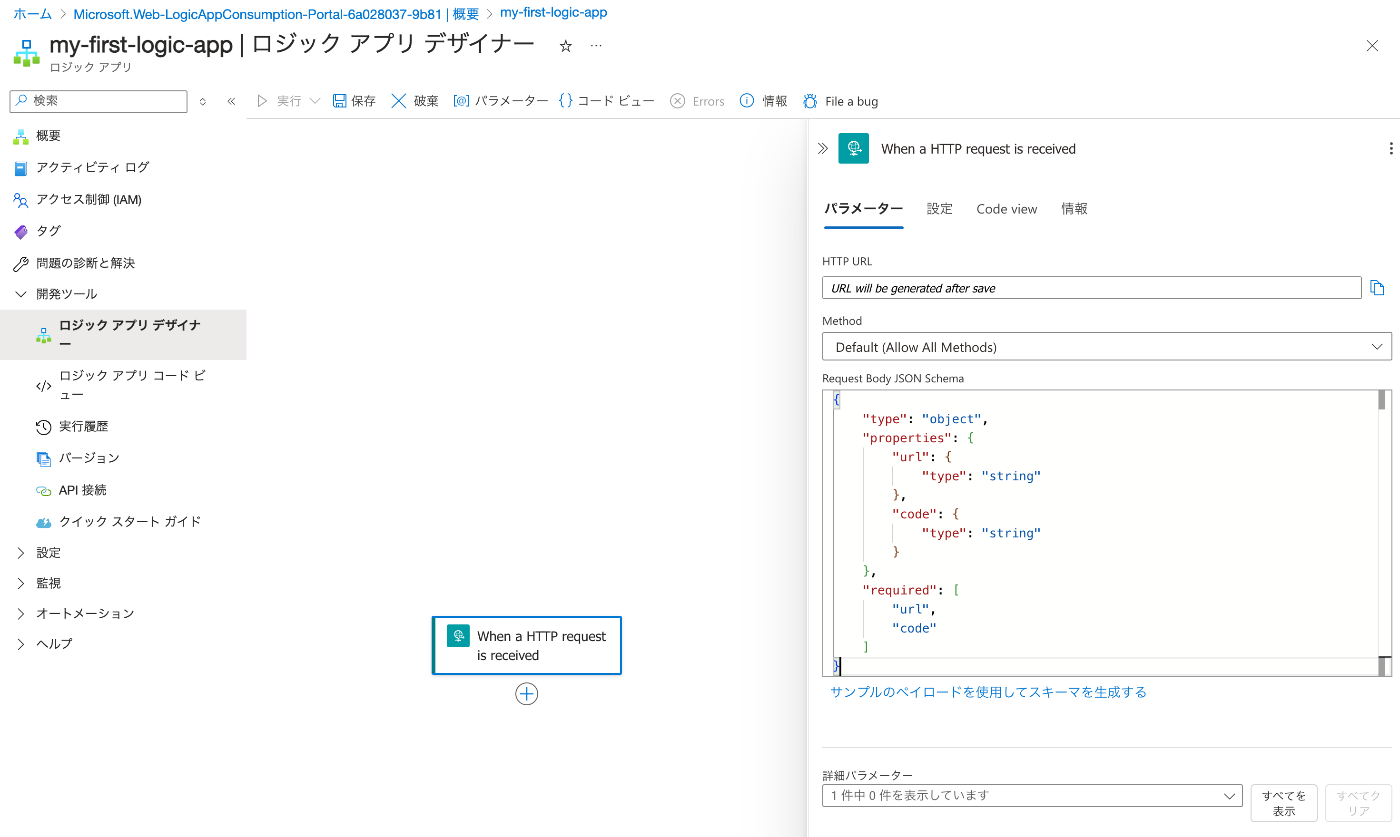
HTTP Request
First, select “Request.”
Then enter the following. This time we simply manage items called “url” and “code.”
Adding Cosmos DB
First, create a connection.
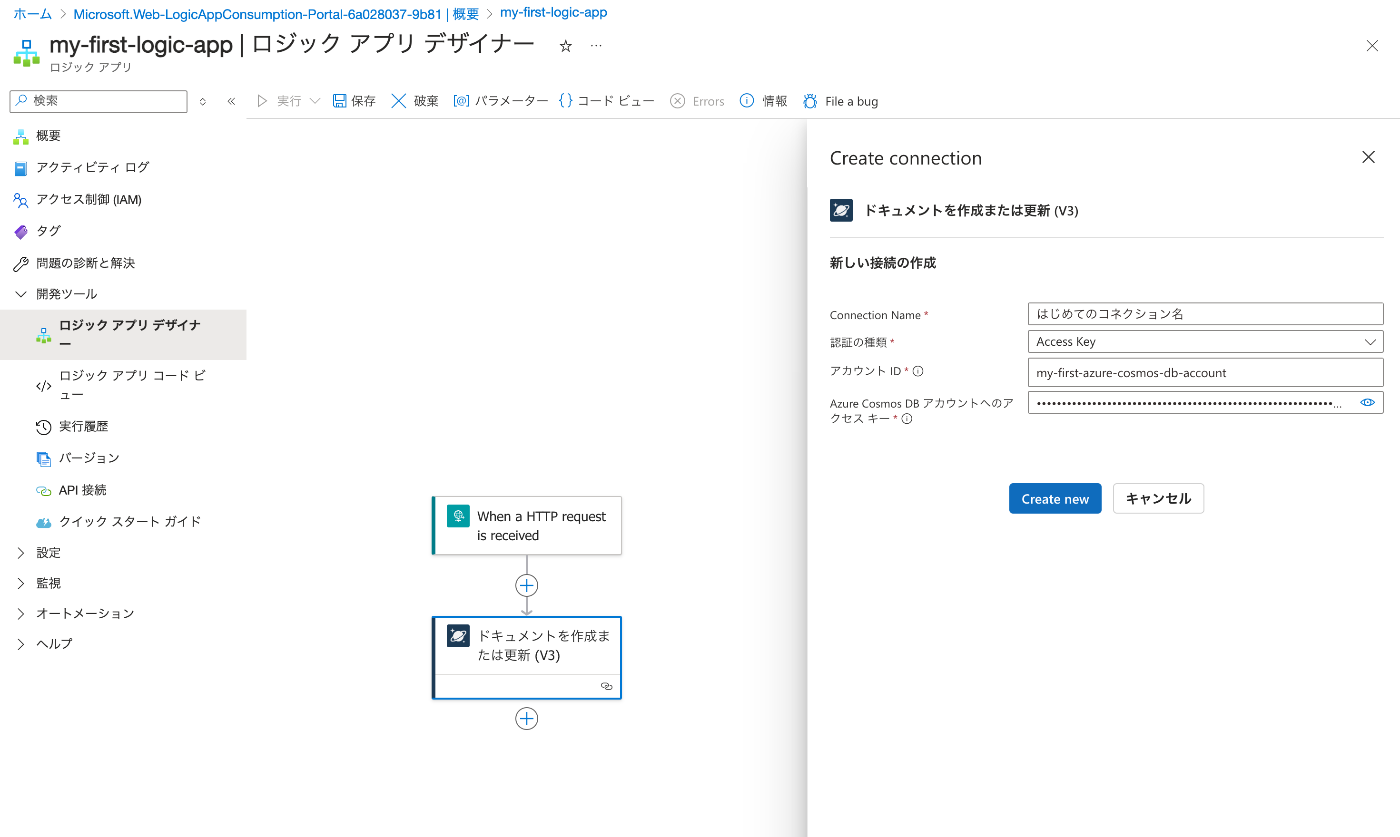
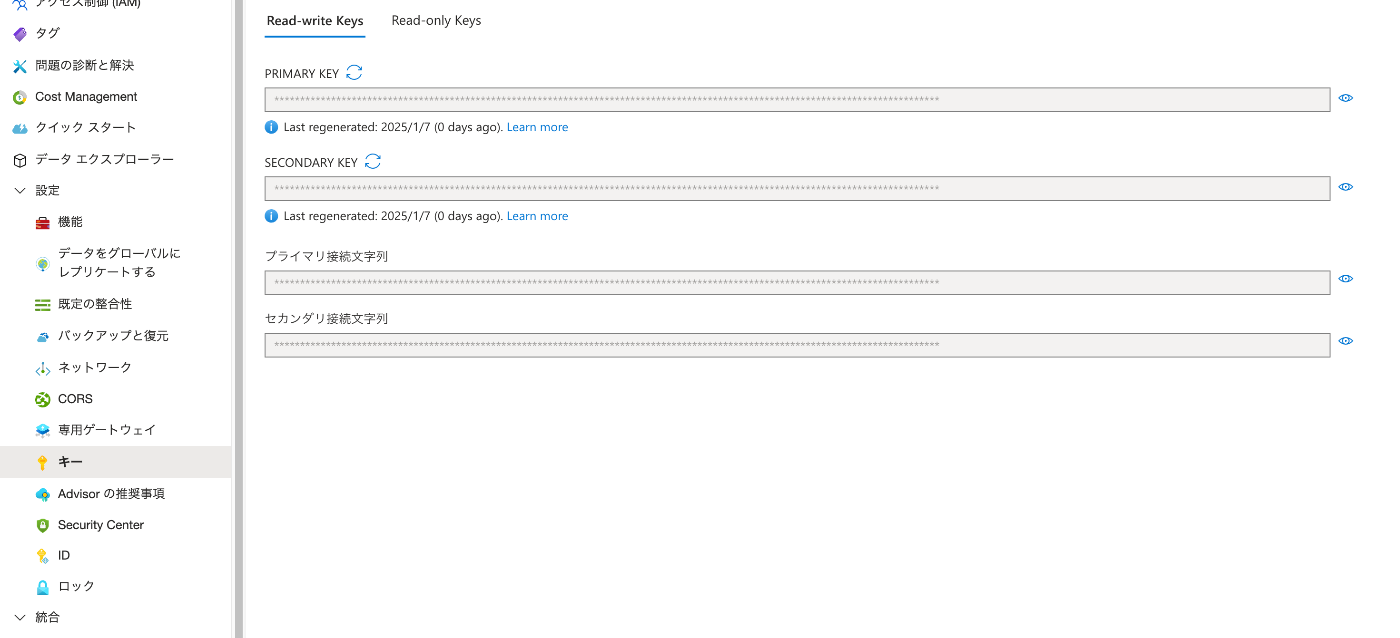
The values to enter can be found on the “Azure Cosmos DB Account” page under “Settings > Keys.”
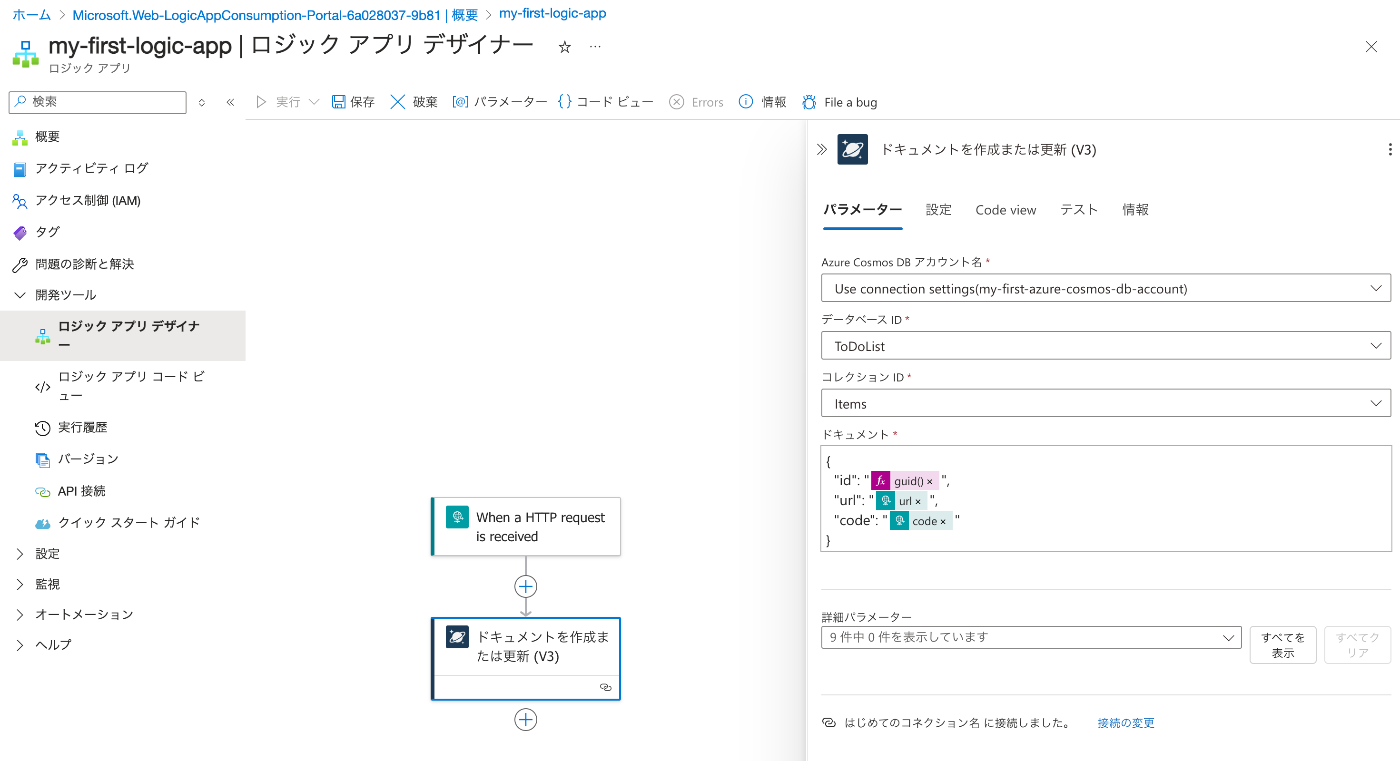
Next, enter the parameters. Select the previously created collection “Items” and enter the following in “Document.”
Enter a UUID as id, and register the url and code received from the form into the DB.
Sending Email
Finally, configure the email sending. This time I selected “Send an email (V2)” from “Office 365 Outlook.”

Testing
Let’s try POSTing using “Thunder Client.”

As a result, the data was registered as follows.

Summary
I only covered the basics, but I hope this is helpful for using Azure Logic Apps for no-code or low-code development.