Overview
I summarized how to build Omeka S using Amazon Lightsail in the following article.
This time, I introduce how to build Omeka Classic using Amazon Lightsail. As introduced in the following book, Omeka Classic is useful for building annotation environments using the IIIF Toolkit.
https://zenn.dev/nakamura196/books/2a0aa162dcd0eb
Amazon Lightsail
Creating an Instance
Access the following page.
https://lightsail.aws.amazon.com/ls/webapp/home/instances
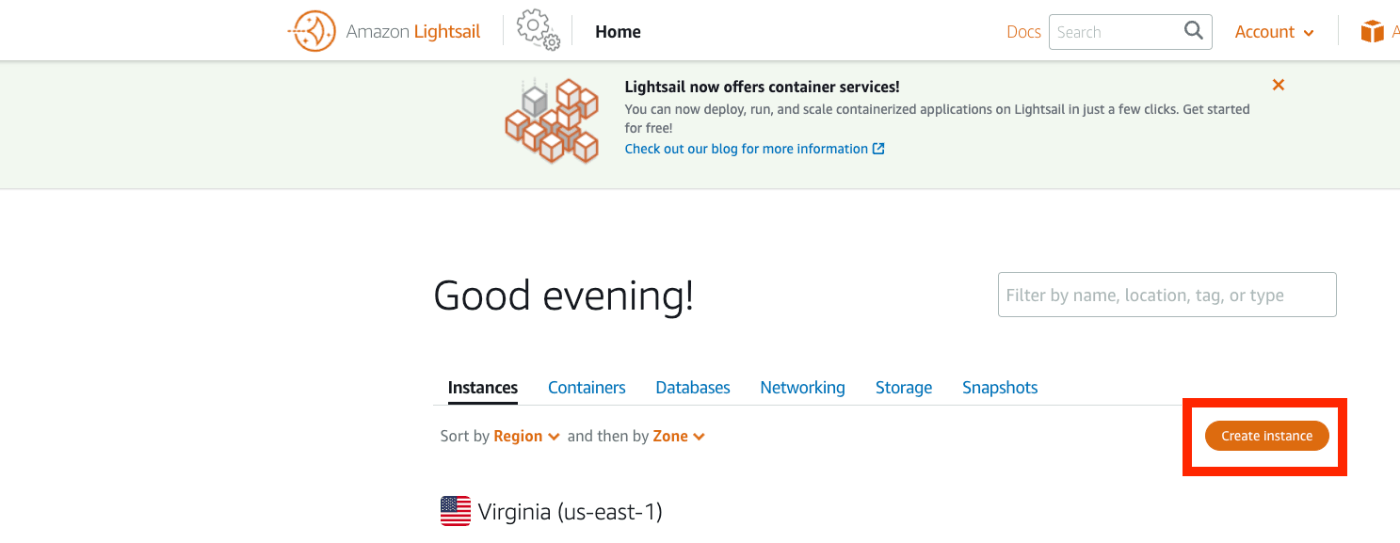
Then click the “Create Instance” button below.
Under “Select a blueprint,” select “LAMP (PHP 7).”

Under “Choose your instance plan,” select an instance plan. This time I chose the lowest-priced plan.

After it starts, access the instance page and press the “Connect using SSH” button.
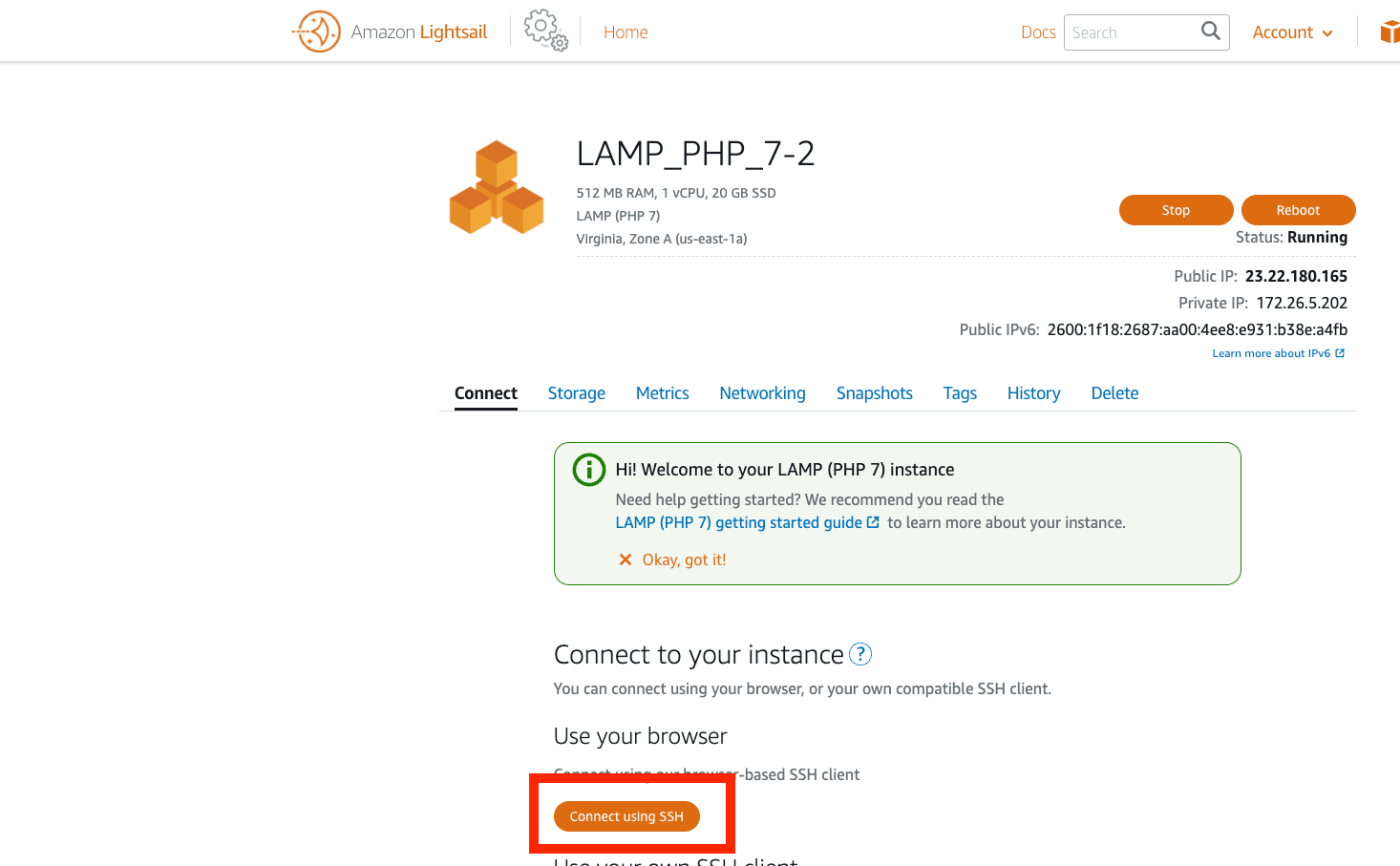
The following screen is displayed.
Work Inside the Instance
Moving Files
First, download and move the necessary files.
Creating a Database
Next, create a database.
Configuring Omeka Classic
Next, modify the Omeka Classic configuration file.
Modify the file contents as follows.
Also, change the owner of the files folder.
Furthermore, install imagemagick, which is needed for thumbnail generation.
Browser Configuration
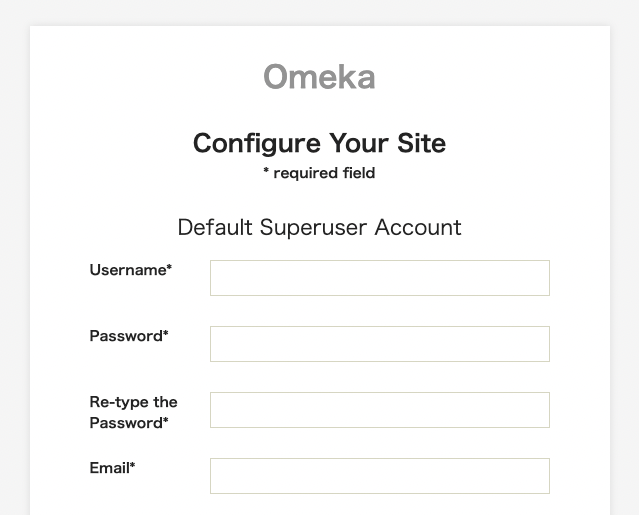
Access the IP address displayed under “Public IP” on the Amazon Lightsail instance page.

The installation screen is displayed as follows.
From here, the procedure is the same as basic Omeka Classic operations. Please refer to the following article to use Omeka Classic.
https://zenn.dev/nakamura196/books/2a0aa162dcd0eb/viewer/f17a5b
Custom Domain and More
For “Custom Domain,” “SSL,” and “Basic Authentication,” please refer to the following article.
/en/posts/5772d6c918508a/#独自ドメインの付与
Summary
Above, I summarized the basic setup method for Omeka Classic using Amazon Lightsail.
I hope this is helpful when building a digital archive system using Omeka Classic.