Overview
This is a memo on using the browser extension “Authenticator” to set up two-factor authentication (2FA) for GitHub.
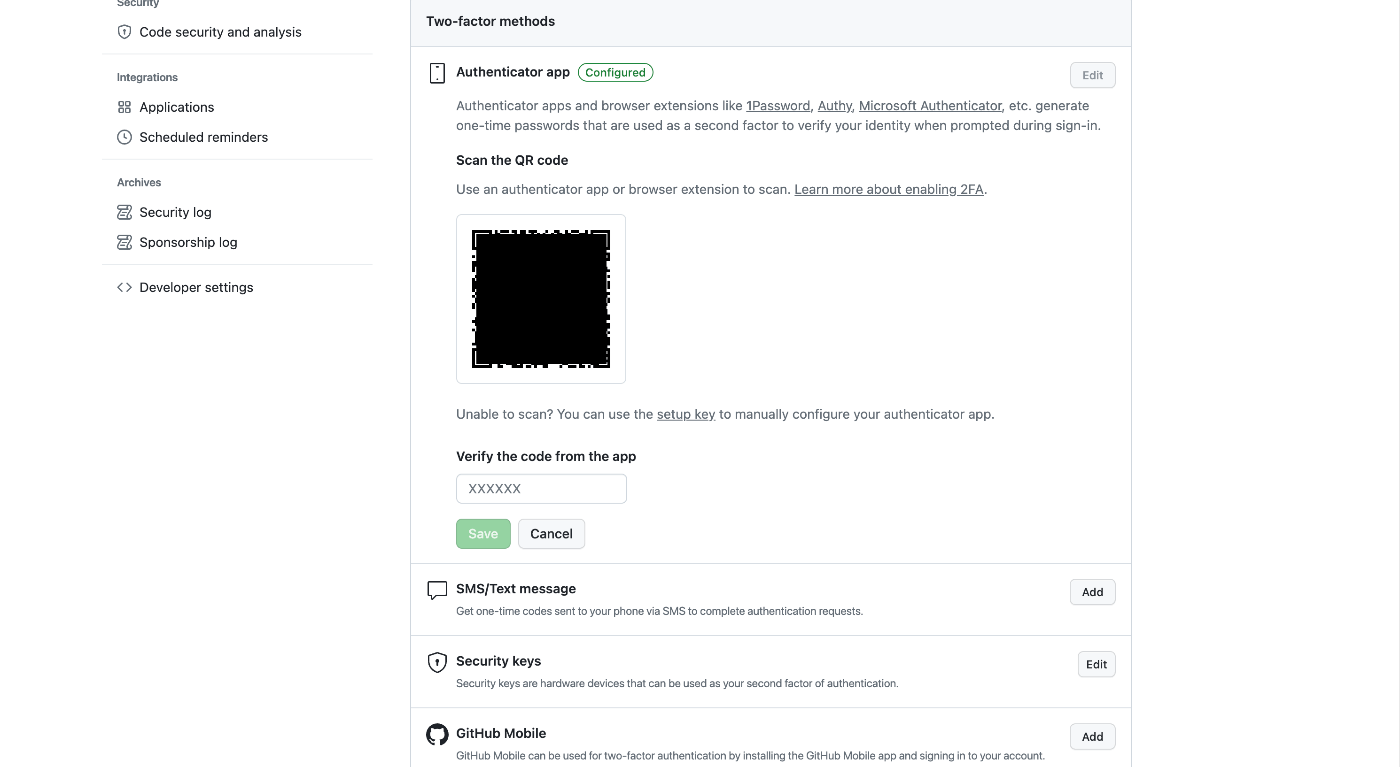
Preparing the QR Code
First, prepare the QR code on the GitHub side. I’ll skip the detailed steps, but the QR code will be displayed on a screen like the following.
Adding the Browser Extension
Access the following URL from Chrome, Firefox, or Edge. The example below uses Chrome.
Click the “Add to XXXX” button on the screen below.
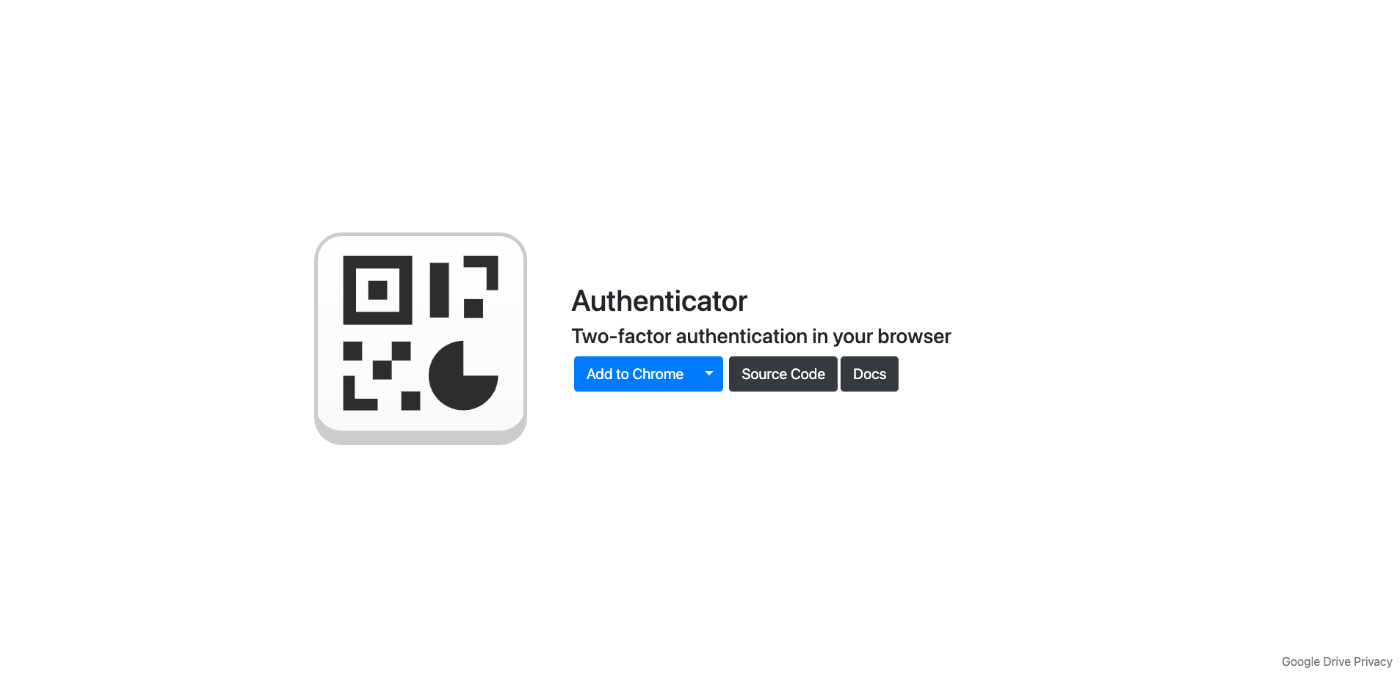
Click the “Add to Chrome” button.
If the following screen appears, the installation was successful.
Adding an Account
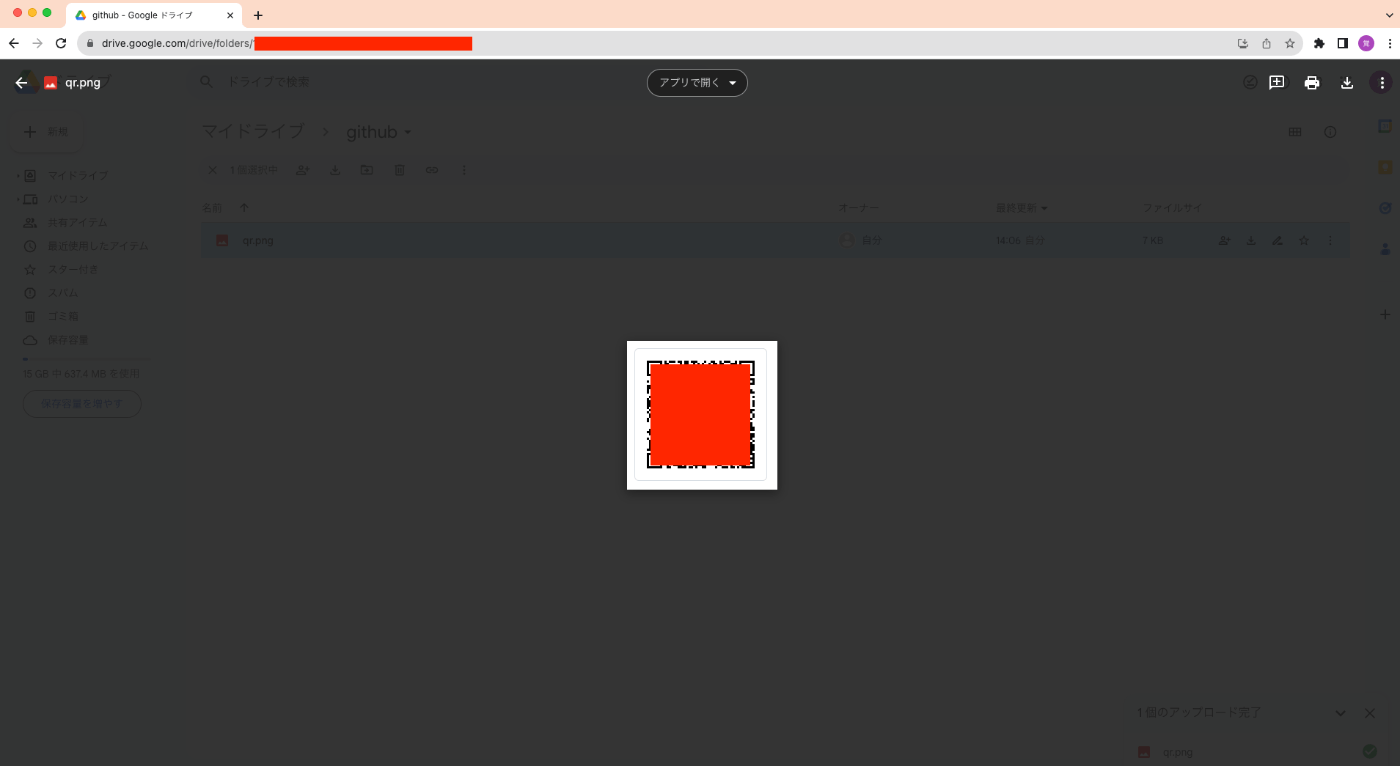
Display the QR code you prepared earlier in your browser. Below is an example screen showing a QR code image saved to Google Drive.
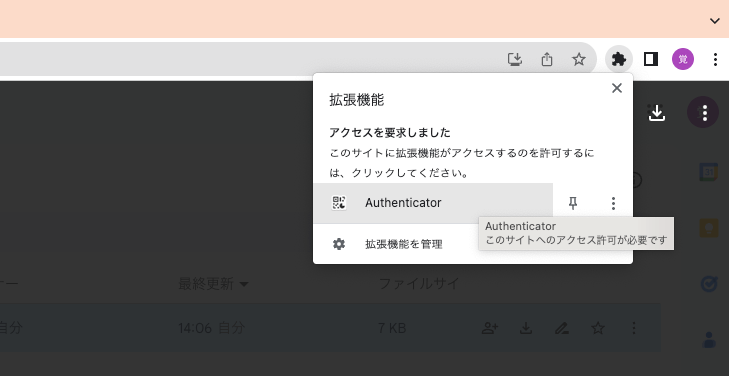
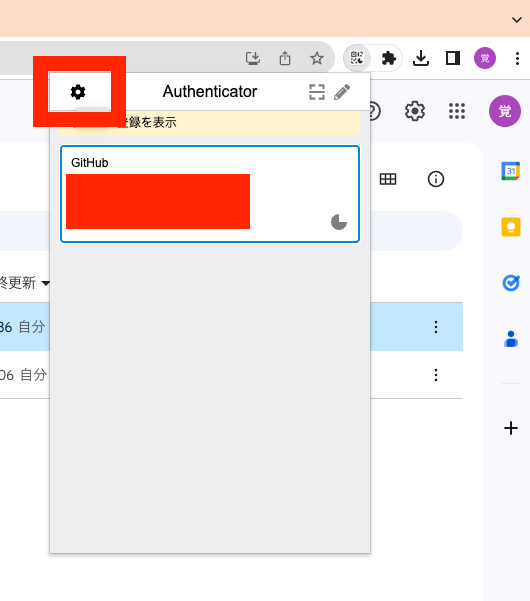
Click the “Extensions” button in the upper right and then click “Authenticator.”
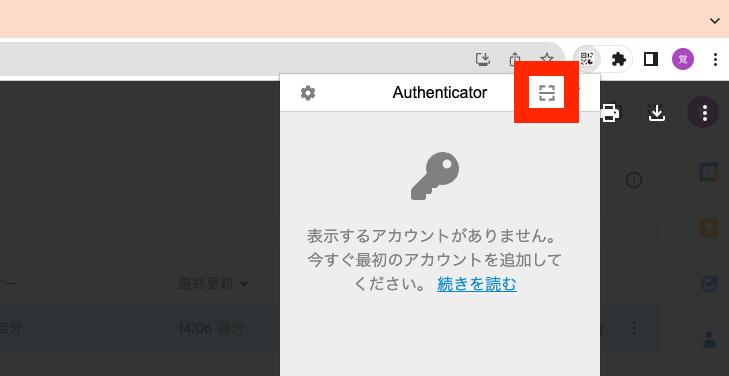
Click the scan icon.
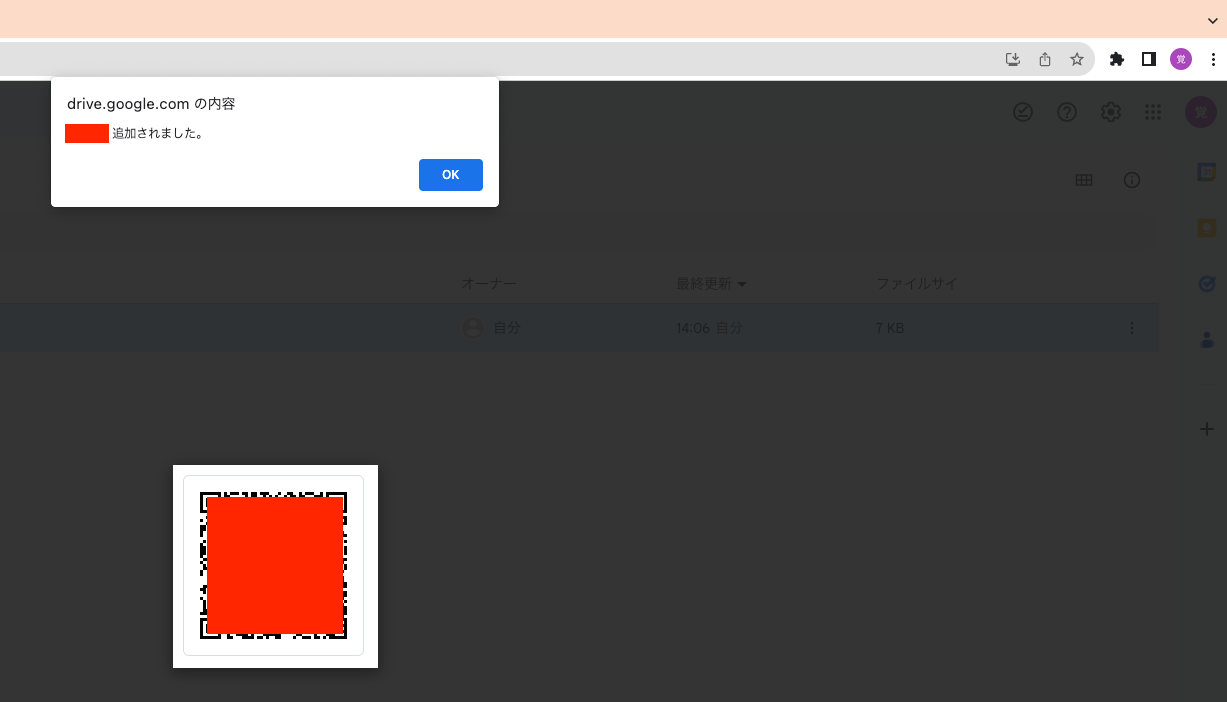
Select the area of the displayed QR code, and the message “
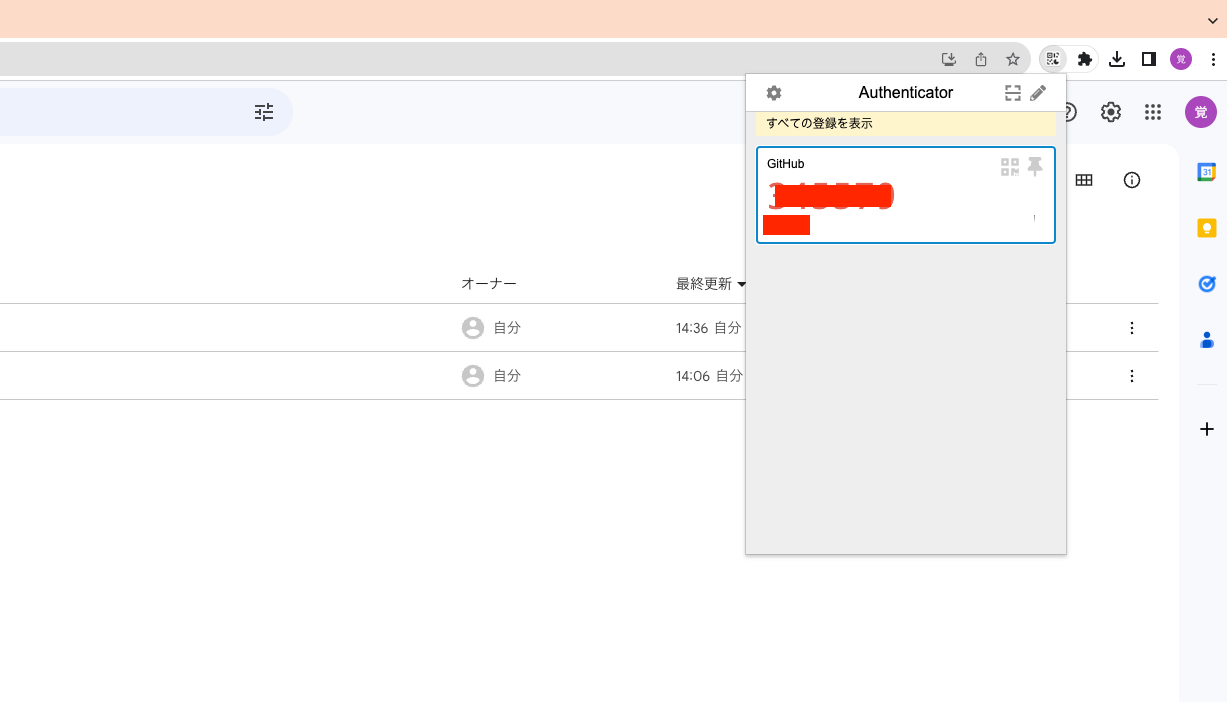
From now on, when 2FA is required, select the extension and click “Authenticator.”
A One-Time Password (OTP) will be displayed as shown below. Copy the password and use it.
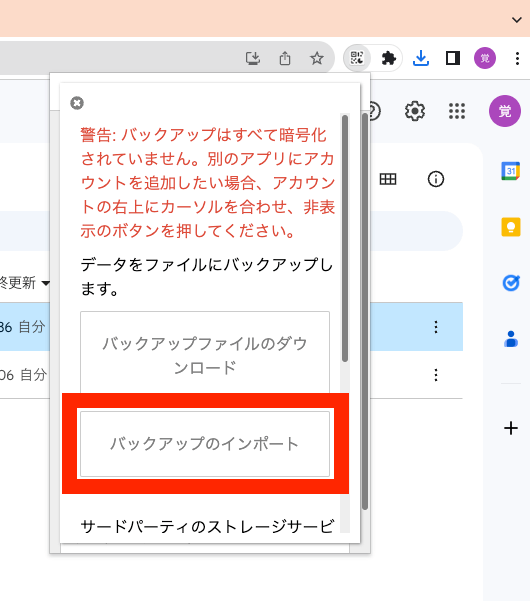
Using Backup Files
You can also create a backup file and import it on other devices or browsers for use.
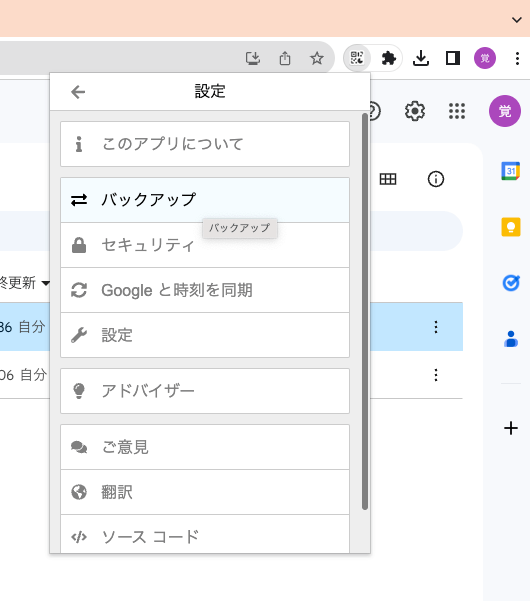
Creating a Backup File
From the extension settings screen, select “Backup.”
Then click “Download Backup File.”
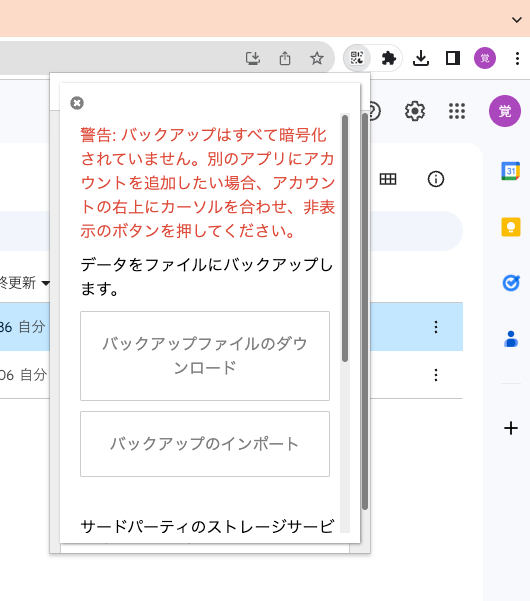
A file called “authenticator.txt” will be downloaded. Share this file or the string within it with others.
Importing a Backup File
To import, go to Settings > Backup, then select “Import Backup.”
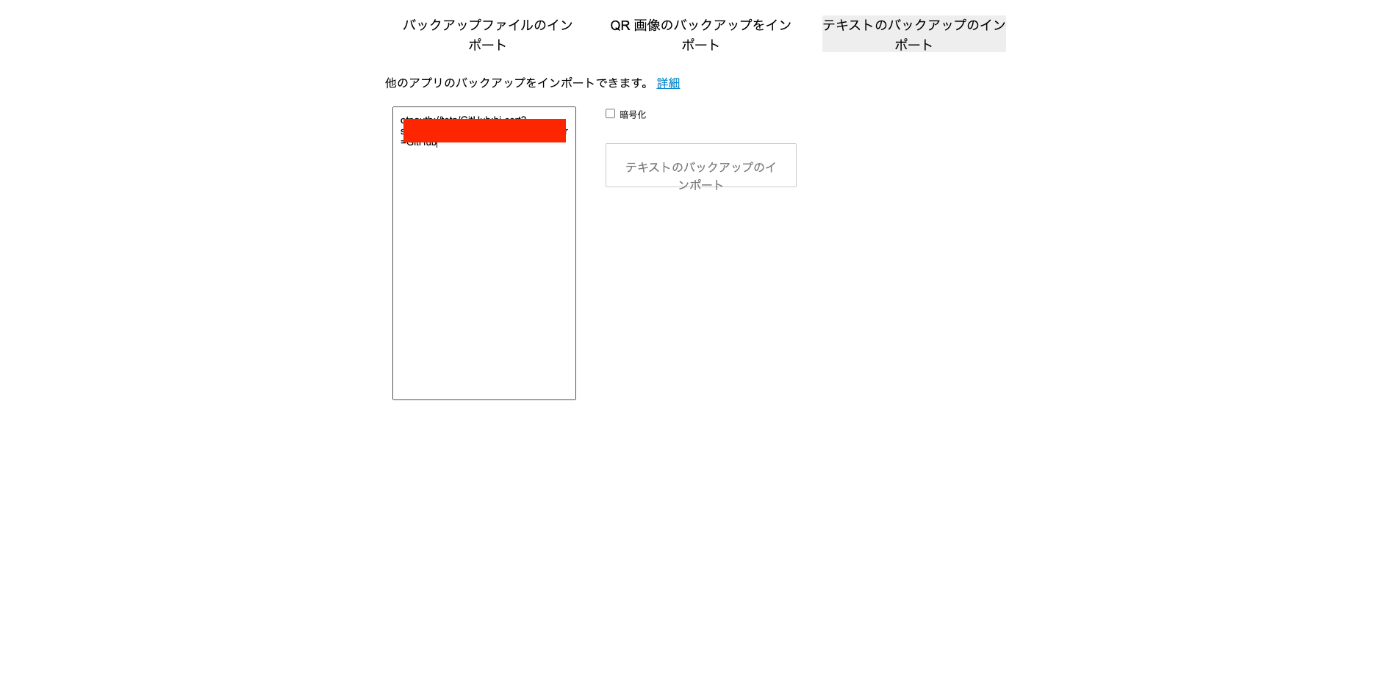
On the following screen, either select the “Import Backup File” tab and upload the txt file, or select “Import Text Backup” and paste the text contents of the txt file to import.
As a result, the account will be registered.
Summary
I hope you find this helpful.